Vagrant creates and runs virtual machines, relying on virtualization providers such as Virtualbox, KVM, Docker, VMWare, and 30+ others. It will always default to launching the VM with Virtualbox unless we explicitly specify a different provider. In this guide I explain how I set up Vagrant with the Libvirt KVM provider on Linux.
KVM Installation
Since I didn’t have KVM installed, I followed these steps on my Linux Desktop (Debian 11 - Bullseye) to install KVM.
Hardware virtualization support
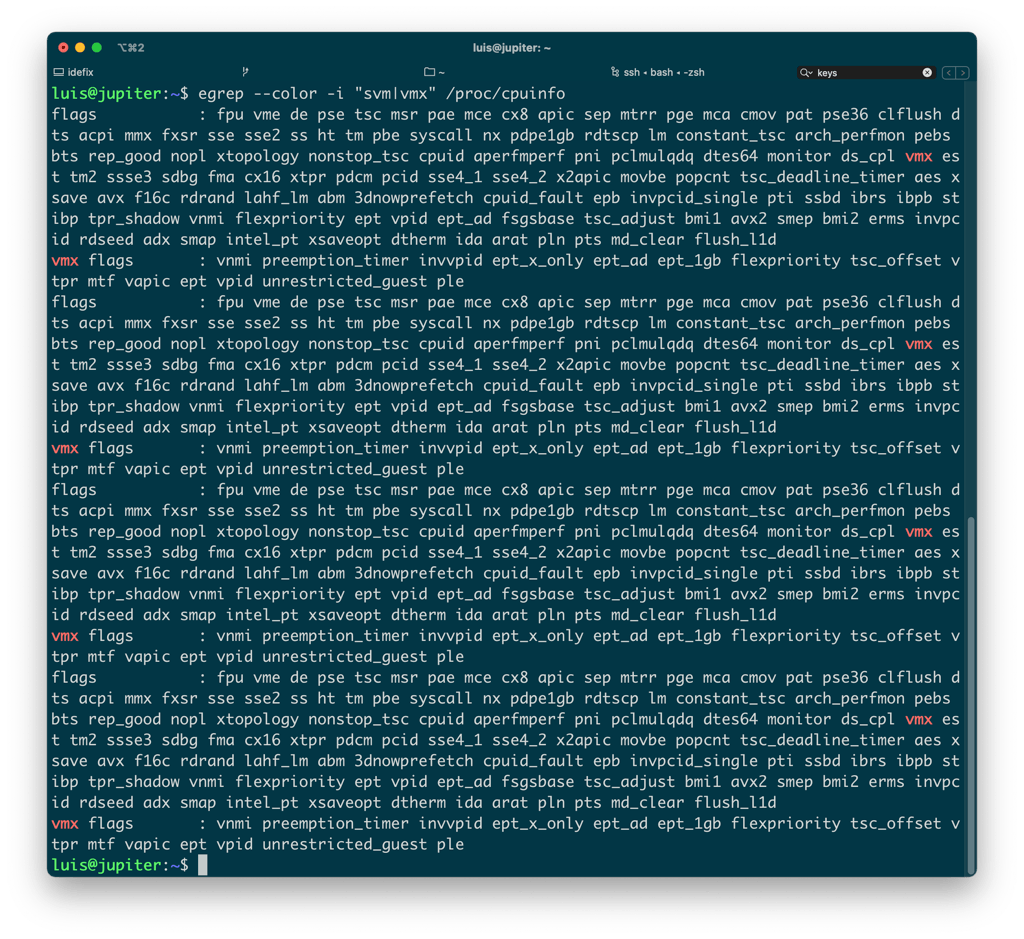
First I check that my hardware supports virtualization. I look for “vmx” (Intel-VT) or “svm” (AMD-V) in the output of the command:
luis@jupiter:~$ egrep --color -i "svm|vmx" /proc/cpuinfo
On some CPU models, VT support may be disabled in the BIOS. Check it to enable it…
Another method is to use the command:
luis@jupiter:~$ lscpu | grep -i Virtualiz
Virtualización: VT-x
Installing KVM and dependencies
I install KVM and all the necessary dependencies to set up a virtualization environment.
luis@jupiter:~$ sudo apt install qemu qemu-kvm libvirt-clients libvirt-daemon-system virtinst bridge-utils
- qemu - A generic machine emulator and virtualizer,
- qemu-kvm - QEMU metapackage for KVM support (i.e., full QEMU virtualization on x86 hardware),
- libvirt-clients - programs for the libvirt library,
- libvirt-daemon-system - Libvirt daemon configuration files,
- virtinst - programs to create and clone virtual machines,
- bridge-utils - utilities for configuring the Linux Ethernet Bridge.
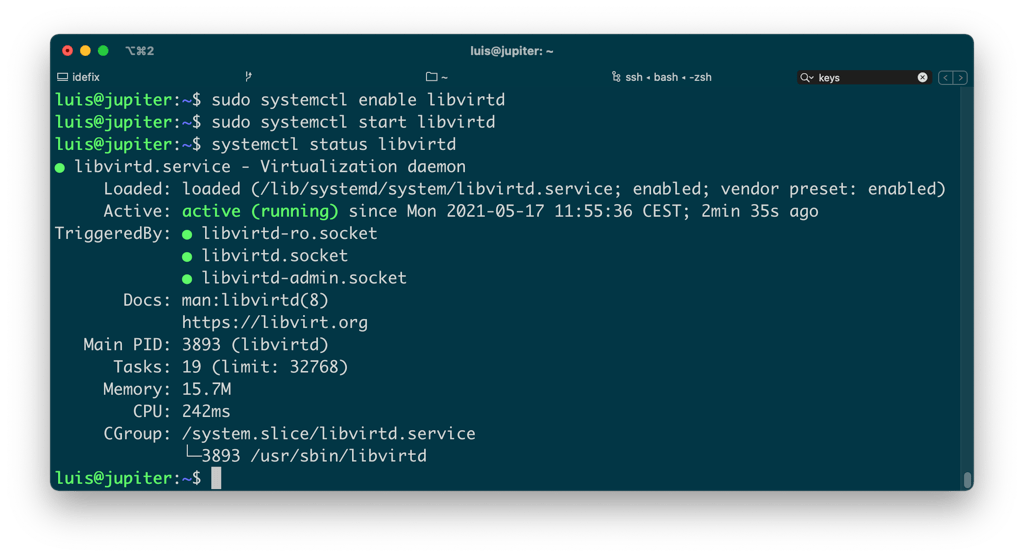
The service should have started (Ubuntu starts services when they’re installed), in any case you would do:
sudo systemctl enable libvirtd
sudo systemctl start libvirtd
I add my user to the libvirt group
sudo adduser luis libvirt
I verify everything is working
systemctl status libvirtd
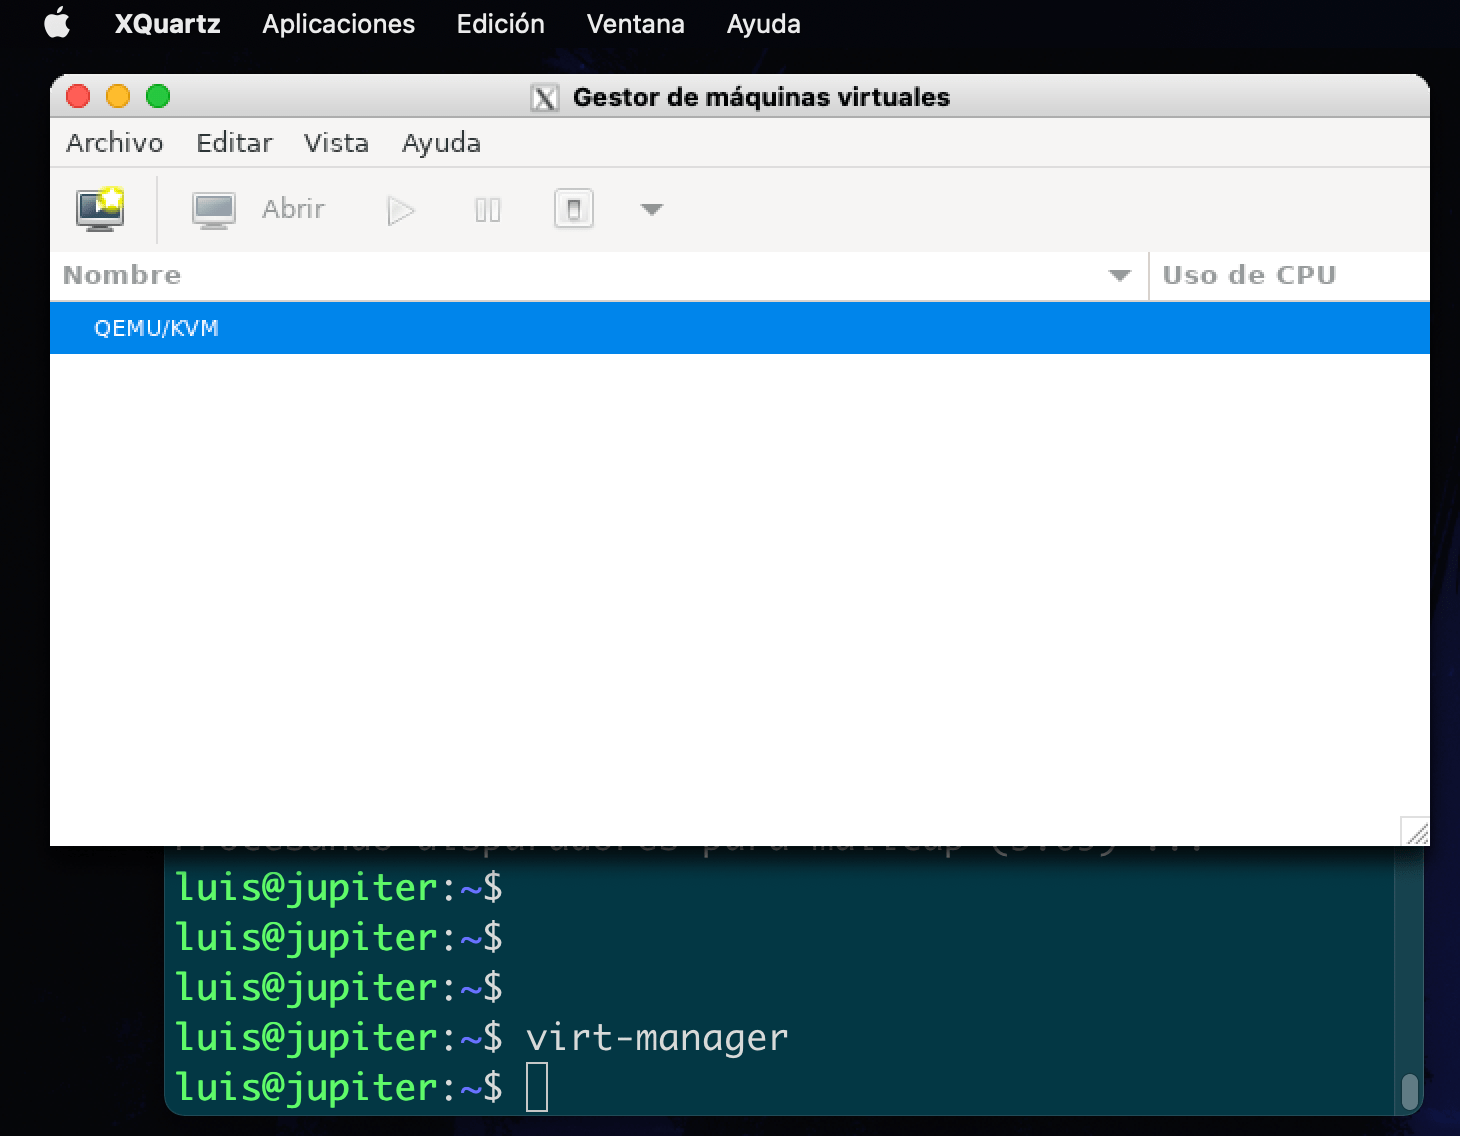
I install Virt-Manager and start it. Although it’s the recommended software for managing VMs, in this post I use it as a monitor — it will be useful to see how Vagrant creates, starts, stops, and destroys them.
luis@jupiter:~$ sudo apt install virt-manager
| We now have an operational installation where we can start creating and managing virtual machines, with Vagrant! |
Vagrant Installation
I install vagrant and the vagrant-libvirt plugin.
luis@jupiter:~$ sudo apt update
luis@jupiter:~$ sudo apt upgrade -y
:
luis@jupiter:~$ sudo apt-get install vagrant-libvirt
I create my first VM
Always in a dedicated directory, I create the Vagrantfile and bring up my first VM, in this example a simple Vanilla Debian box.
| Note: Here’s the list of boxes (machines) you can install. I recommend reading this guide |
luis@jupiter:~$ mkdir miproyecto
luis@jupiter:~$ cd miproyecto/
luis@jupiter:~/miproyecto$ vagrant init debian/buster64
A `Vagrantfile` has been placed in this directory. You are now
ready to `vagrant up` your first virtual environment! Please read
the comments in the Vagrantfile as well as documentation on
`vagrantup.com` for more information on using Vagrant.
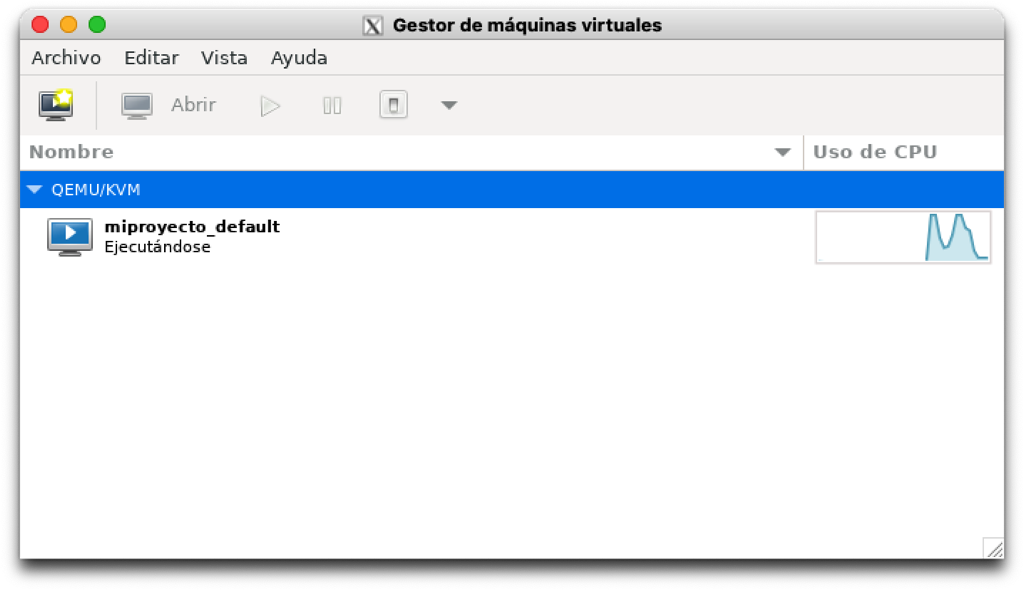
luis@jupiter:~/miproyecto$ vagrant up --provider=libvirt
I try connecting to the VM
luis@jupiter:~/miproyecto$ vagrant ssh
Linux buster 4.19.0-16-amd64 #1 SMP Debian 4.19.181-1 (2021-03-19) x86_64

The programs included with the Debian GNU/Linux system are free software;
the exact distribution terms for each program are described in the
individual files in /usr/share/doc/*/copyright.

Debian GNU/Linux comes with ABSOLUTELY NO WARRANTY, to the extent
permitted by applicable law.
-bash: warning: setlocale: LC_ALL: cannot change locale (es_ES.UTF-8)
vagrant@buster:~$
Networking
By default, virtual machines with Vagrant are created with a private network and use DHCP. I prefer to use static IPs for my lab, but that’s a matter of taste and use case. These are the configurations I typically use:
Private networking + static IP, Vagrantfile:
    # Private Networking, with static IP to make SSH from the Host easier.
    config.vm.network :private_network,
                      :ip => "10.20.30.40",
                      :libvirt__domain_name => "coder.local"
Public networking + static IP, Vagrantfile:
    # Public Networking, with static IP
    config.vm.network "public_network",
                      :dev => "br0",
                      :mode => "bridge",
                      :type => "bridge",
                      :ip => "192.168.1.100"
Watch out!… if you’re going to use the public IP version, you need to prepare the Host (your Linux server). It’s necessary to configure the Ethernet interface with a bridge, and I recommend doing a manual configuration (don’t use NetworkManager or similar). Here’s an example of what I did on Linux with Debian 11:
root@jupiter:~# cat /etc/network/interfaces.d/br0
#
# Static IP configuration on the main Ethernet interface.
# Using Vagrant with public IPs, I need to create a Bridge
#
# After modifying this file: service networking restart
#
auto br0
iface br0 inet static
 address 192.168.1.200
 broadcast 192.168.1.255
 netmask 255.255.255.0
 gateway 192.168.1.1

 # I also installed the "resolvconf" package so I don't have to
 # edit the /etc/resolv.conf file but instead set
 # the DNS server IP from here.
 dns-nameservers 192.168.1.253

 # I add my physical interface to the Bridge. The interfaces
 # configured with Vagrant in public mode with static IP will be
 # added to this bridge.
 #
 bridge_ports enp0s25
 bridge_stp off       # Disable Spanning Tree Protocol
 bridge_waitport 0    # Don't wait before enabling the port
 bridge_fd 0          # No forwarding delay
- I install
resolvconfand restart the networking service
# apt install resolvconf
# service networking restart  (you might need to reboot)
Use case
In this GitHub repository you’ll find a virtual machine for software development prepared with Vagrant. You can also find in the post “User Systemd Services” how to run user processes during system boot, to start this virtual machine with Vagrant during boot.