To have control and management over IT assets, equipment, and labs, I’ve been trying iTop. iTop stands for IT Operations Portal. It’s a complete web-based ITIL service management tool that includes a fully customizable CMDB, a helpdesk system, and a document management tool. It offers bulk import tools and web services to integrate with your IT. I set up a small lab to test it.
Installation
- I prepare a machine (virtual machine) with Linux Ubuntu Server. I create a disk and the VM from the Ubuntu Server ISO image. I’ll dedicate 20GB of disk, 2 CPUs, and 2GB of RAM.
luis@maclinux:~$ wget https://releases.ubuntu.com/20.04/ubuntu-20.04.3-live-server-amd64.iso
luis@maclinux:~$ qemu-img create -f qcow2 itop.tudominio.com.qcow2 20G
luis@maclinux:~$ virt-manager
- From
virt-manager> New virtual machine, I use the ISO above and name the serveritop.tudominio.com(the domain is private, with my DNS Server) based onpihole.- With the official documentation and installation guide as reference, I start with the dependencies: MySQL and PHP and Apache
root@itop:~# apt update && apt upgrade -y
root@itop:~# apt install -y apache2
root@itop:~# apt install -y mysql-server mysql-client
root@itop:~# apt install -y php php-mysql php-ldap php-cli php-soap php-json graphviz
root@itop:~# apt install -y php-xml php-gd php-zip libapache2-mod-php php-mbstring php-curl
- I adjust the PHP configuration in /etc/php/7.4/apache2/php.ini
max_input_time = 120
max_input_vars = 5000
post_max_size = 26M
upload_tmp_dir =/tmp
upload_max_filesize = 25M
- I adjust the MySQL configuration in /etc/mysql/conf.d/mysql.cnf
[mysql]
max_allowed_packet = 30M
- I adjust the MySQL configuration in /etc/mysql/conf.d/mysqldump.cnf
[mysqldump]
:
max_allowed_packet = 30M
- I reboot the machine
root@itop:~# systemctl reboot -f
- I set the
rootuser password in MySQL.
root@itop:~# mysql_secure_installation
- This MySQL will only be used with iTop, so I use root and set a password
root@itop:~# mysql
mysql > ALTER USER 'root'@'localhost' IDENTIFIED WITH caching_sha2_password BY 'YourPassword';
mysql> FLUSH PRIVILEGES;
mysql> exit
- I download the latest version of iTop from Sourceforge, in my case version 3.0.0, and extract it in the web server directory. This Apache will only serve this purpose, so I leave it at the root.
root@itop:~# cd /var/www/html/
root@itop:/var/www/html# rm index.html
root@itop:/var/www/html# unzip /home/luis/iTop-3.0.0-8663.zip
root@itop:/var/www/html# mv web/* .
root@itop:/var/www/html# rmdir web
root@itop:/var/www/html# chown -R www-data .
- I connect to iTop, which launches the configuration wizard
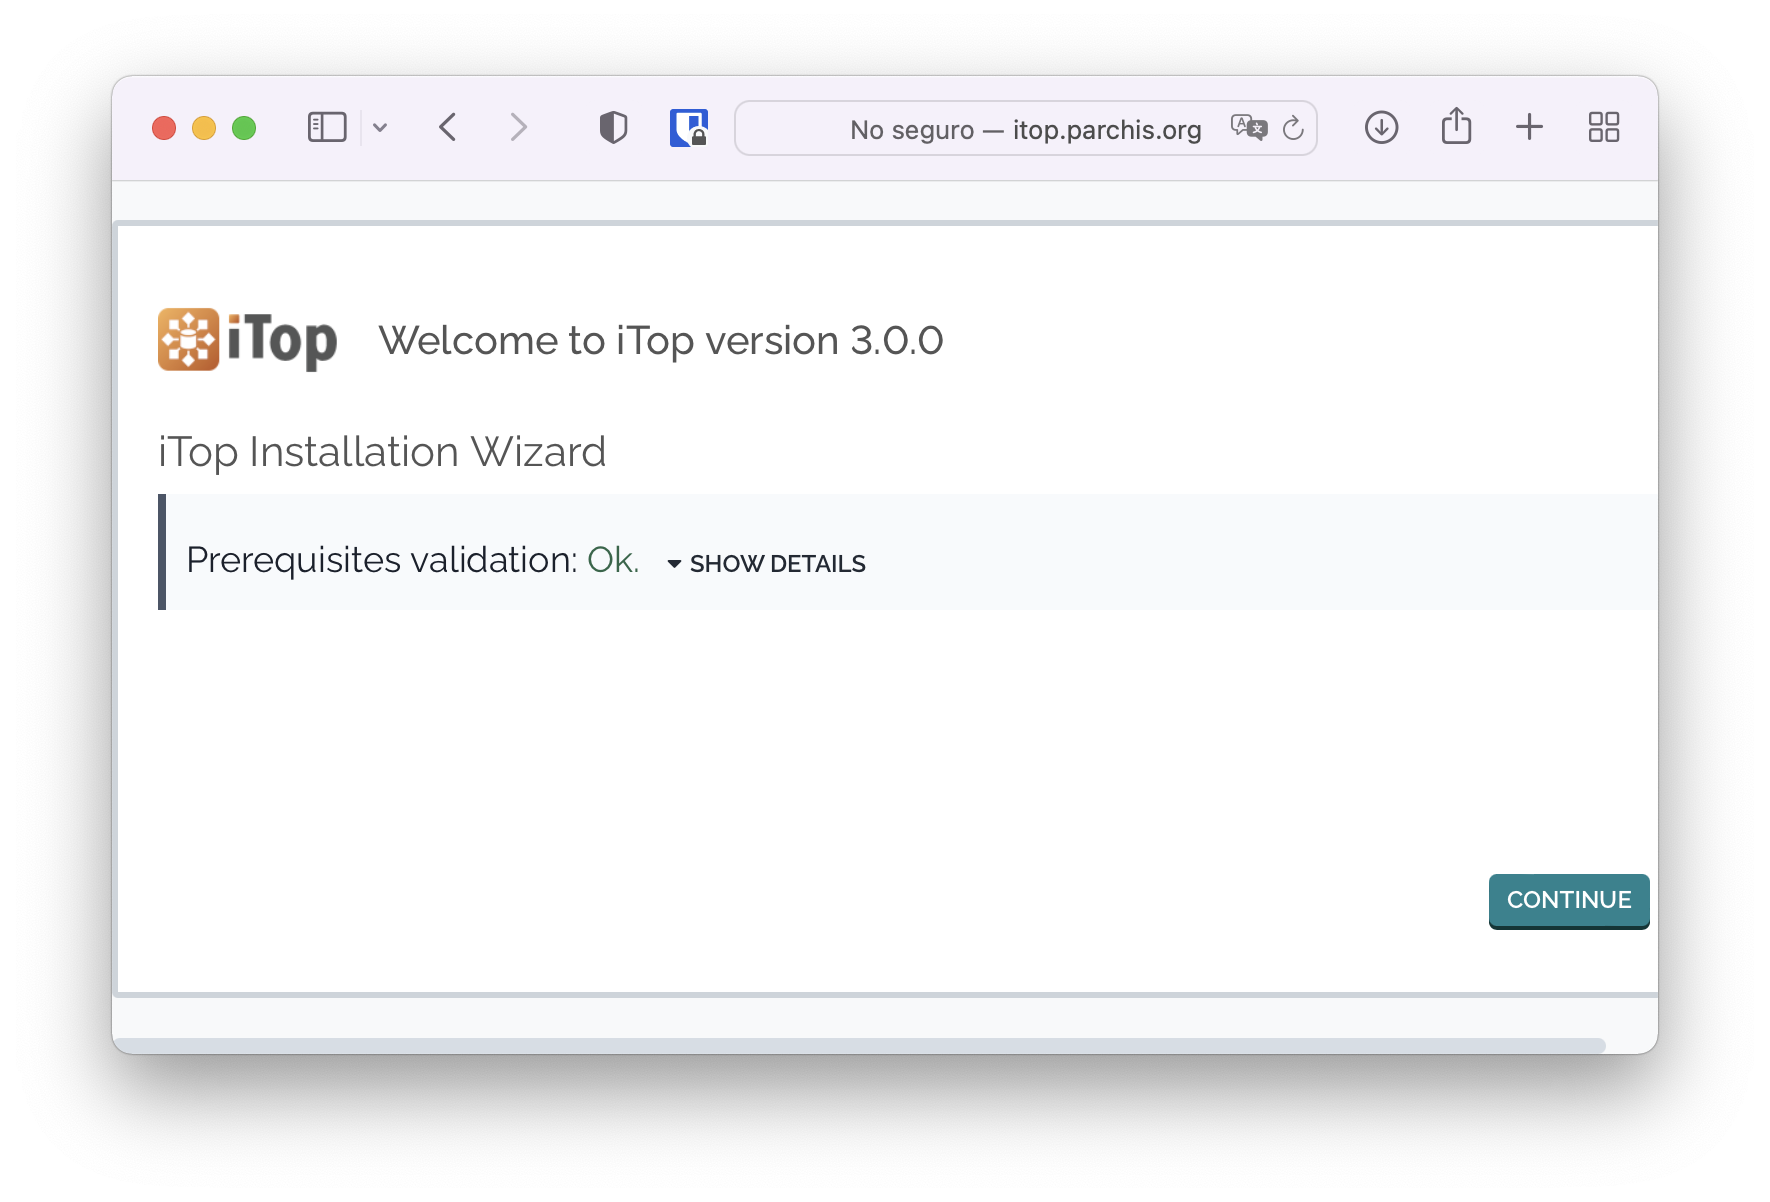
Starting the wizard
I follow the installation steps:
- Install a new iTop
- Server connection: root,
- Create new database: itop
- Administrator account: admin,
- I leave it in English
- I start with an empty DB
- I leave all element type management options.
- Service Management for Enterprises
- I indicate I won’t be doing Ticket management.
- I indicate I won’t be doing Change management.
From this point on, it’s installed and accessible at http://itop.tudominio.com on my intranet.