I explain how I connected Node-RED with my Home Assistant (HASS), considering that they run on separate servers. They are deployed on different virtual machines, to allow independent maintenance and improve their performance.
For your reference, I created another post here where I describe the Node-RED installation using Alpine and Docker underneath, running as a virtual machine on my KVM server.
Home Assistant Configuration
I’ll assume you have both installed and can access their respective web interfaces even though they’re on different machines or in different locations, as in my case. To connect them, we’ll start with Home Assistant.
On the administration screen, I go to the user icon at the bottom left of the screen.

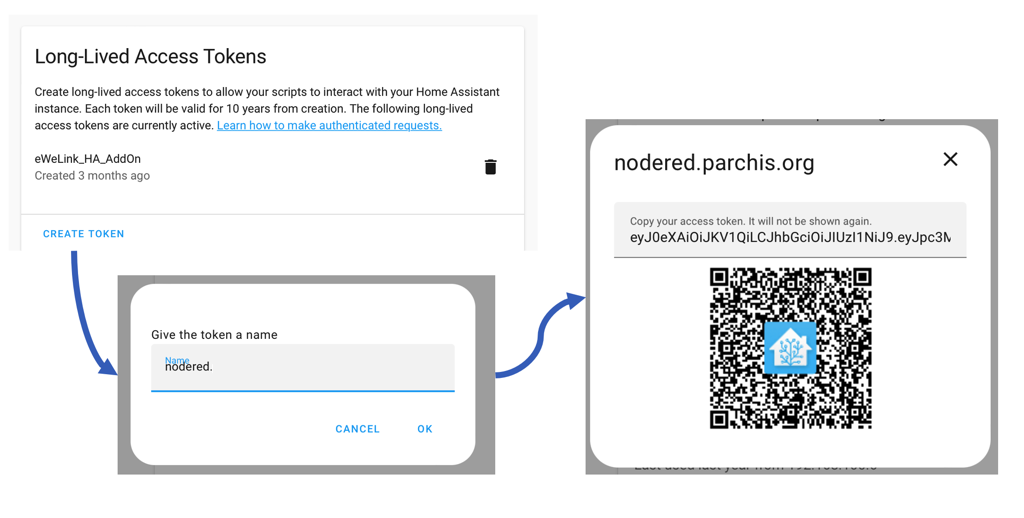
Next, I scroll down to the bottom of the page until I reach the long-lived access tokens. I create a token and copy the string it presents. IMPORTANT: Copy the entire text because once created, it won’t be possible to see the string again. So copy it, as we’ll need it later. If you make a mistake, no worries — just delete it and create another. You can even generate a QR code to print it and access the text string in the future. Here’s an example of the sequence:
Node-RED Configuration
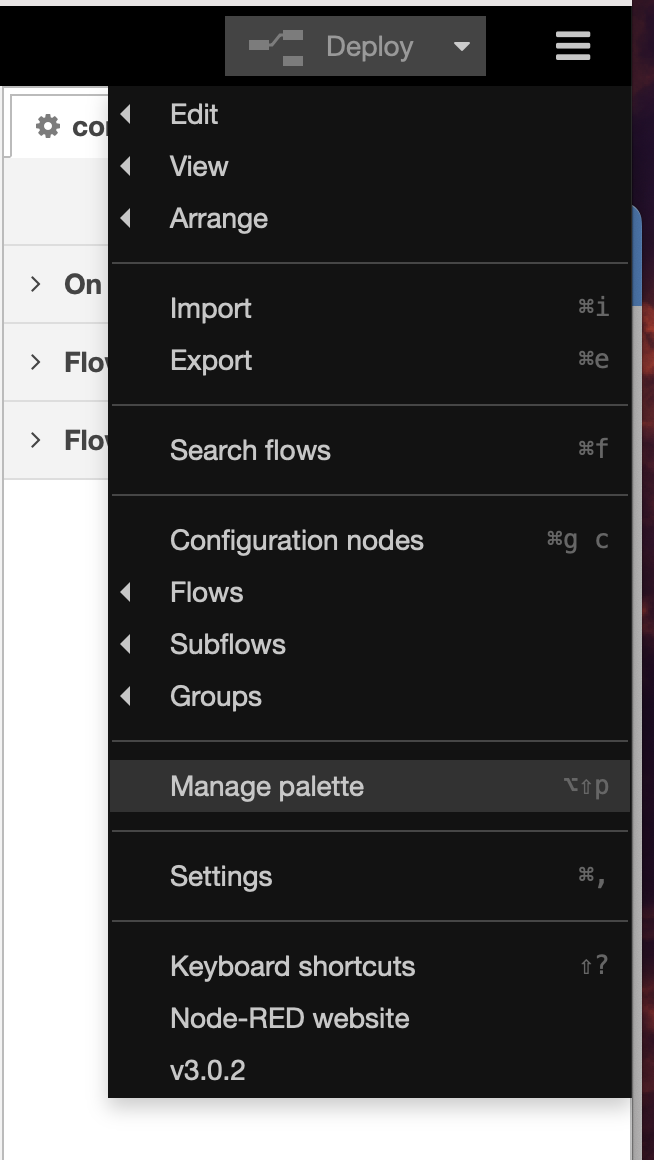
Next I go to my Node-RED instance and click the hamburger icon to open the dropdown menu. I select Manage Palette.
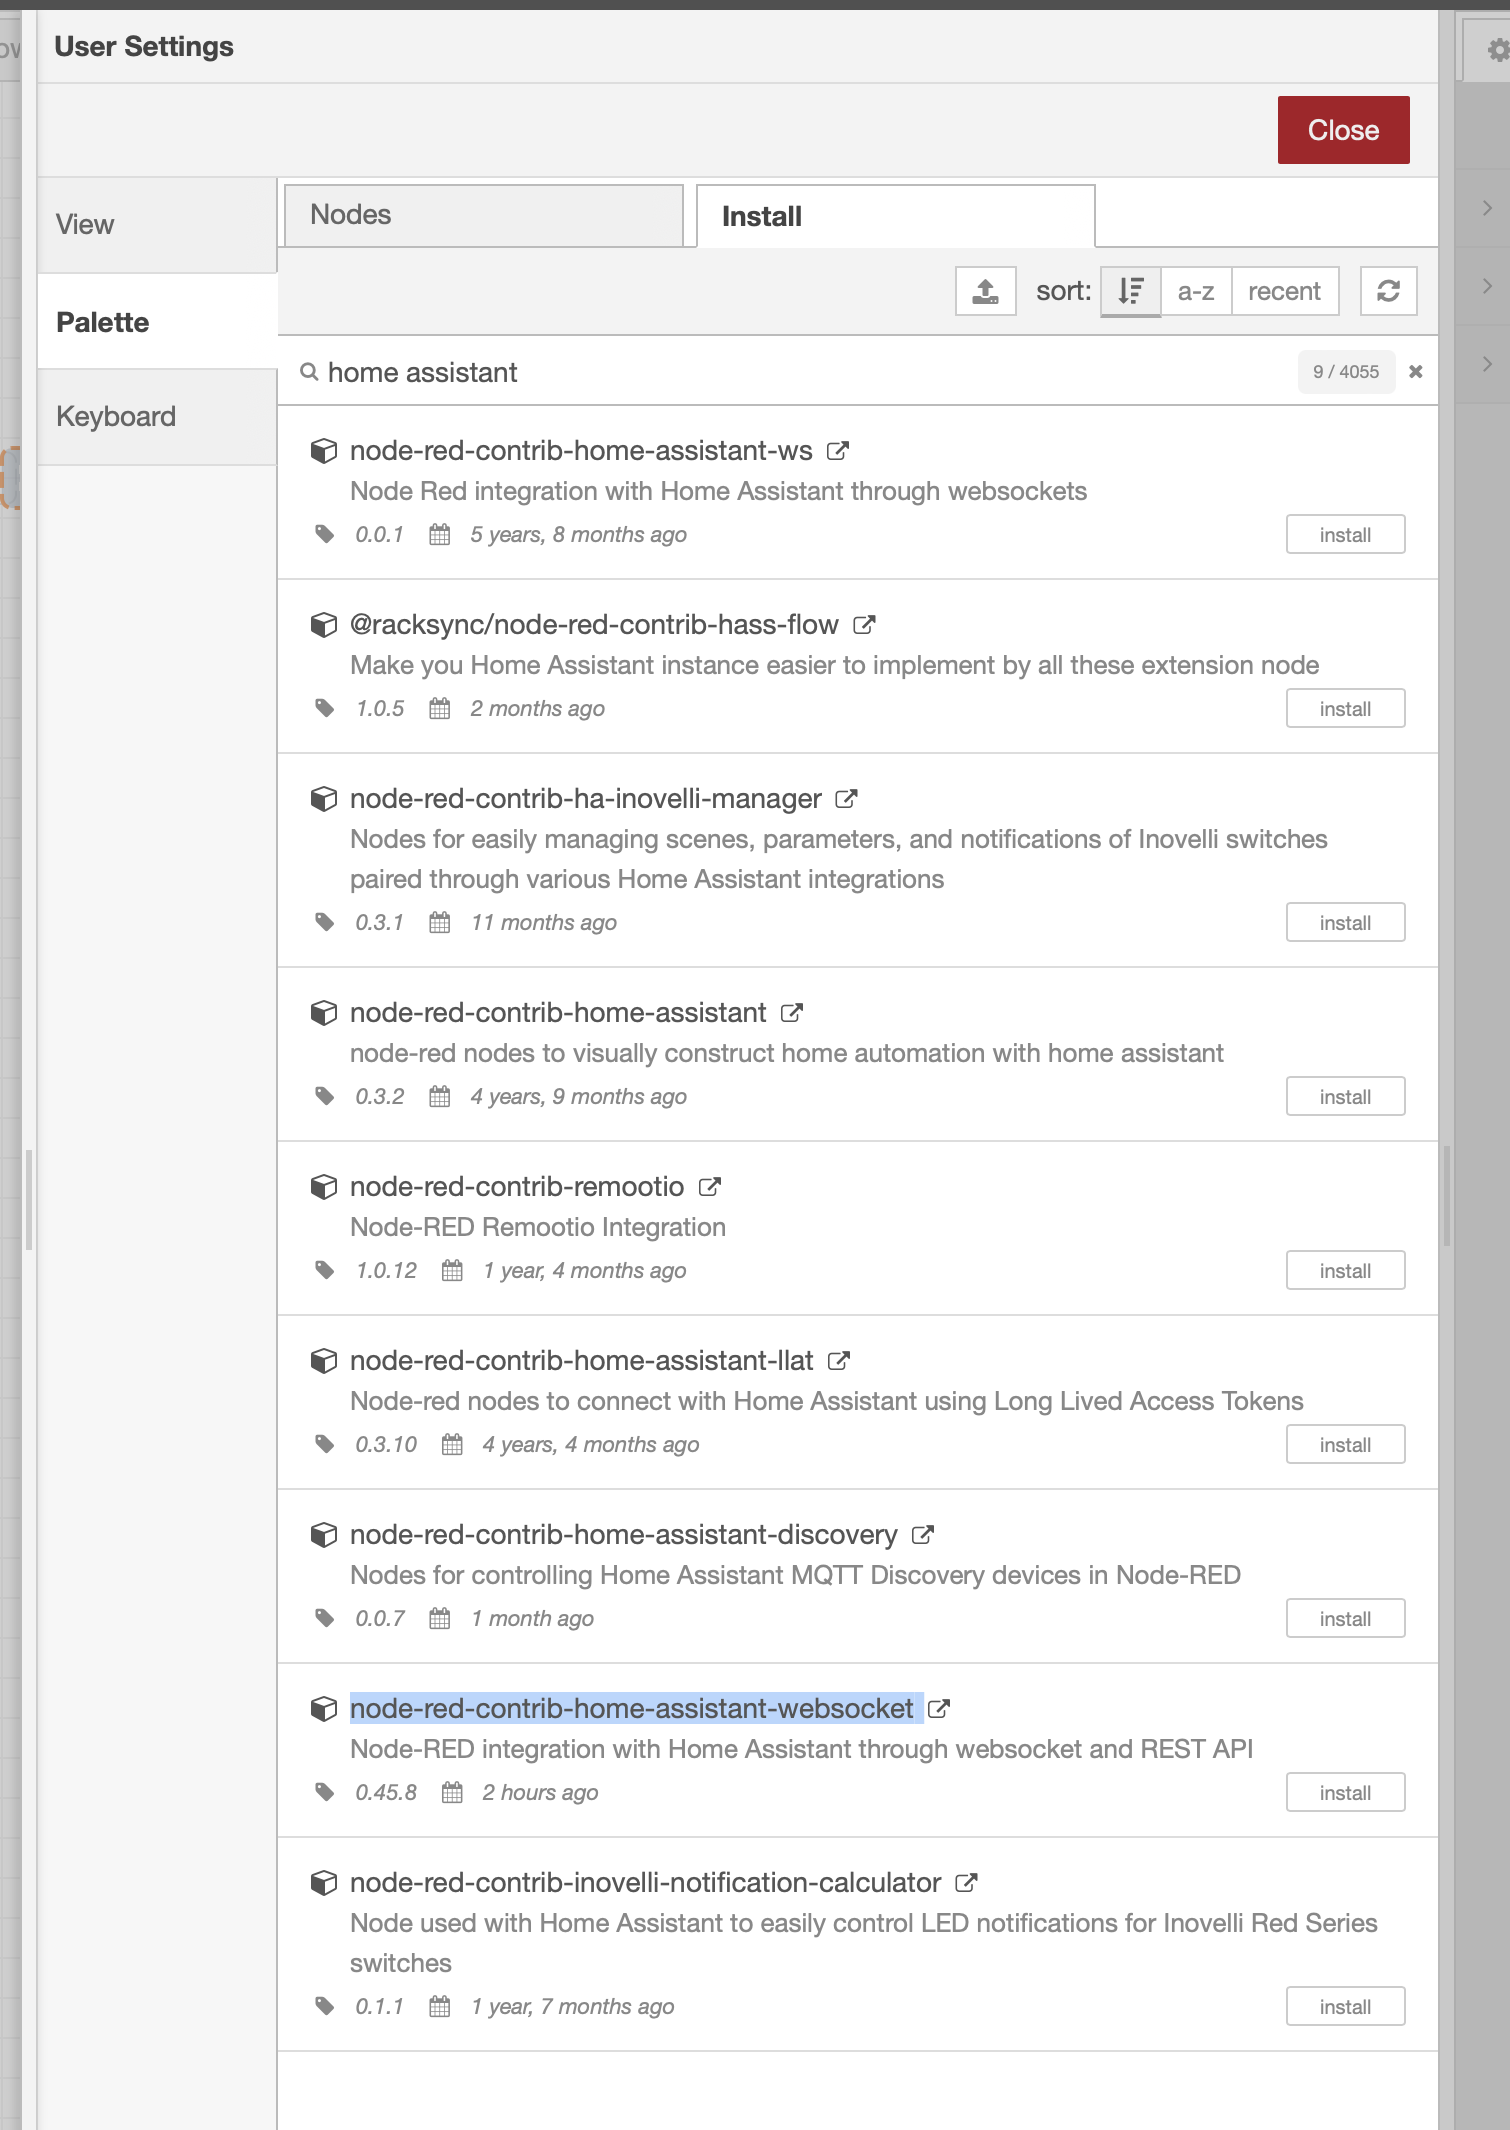
I click on the “Install” tab and type “Home Assistant”. Several different nodes appear. The one I need is titled “node-red-contrib-home-assistant-websocket” (more information here).
Once the installation finishes (after a few moments), you’ll see a new palette appear. By the way, if you click on the left tab (Nodes), you’ll see the ones already installed. I check this regularly because there are often updates that need to be installed manually.

Once we see the new palette on the left side, the next step is to configure the palette to link to my Home Assistant server. I drag any node from this list (for example events: state) and double-click it to configure it. Here we need to go to the “server” field and add a server, or click the pencil icon.
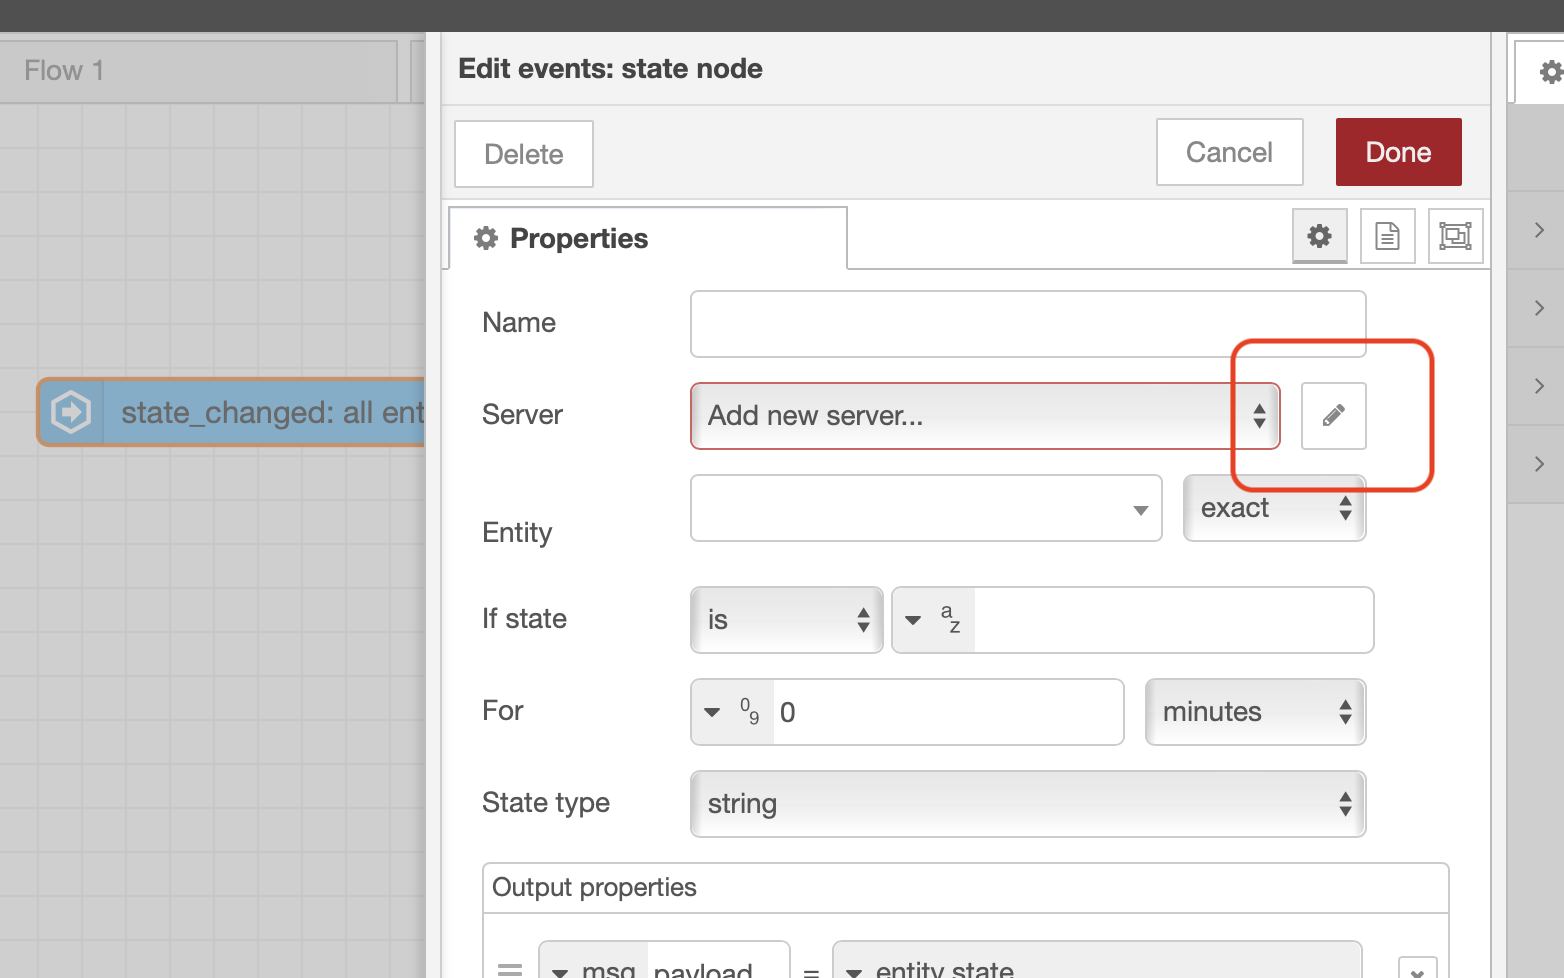
I add the base URL (requires http:// and the port number), paste the Token I created in Home Assistant. I leave the rest as-is and click ADD, DONE, and DEPLOY.

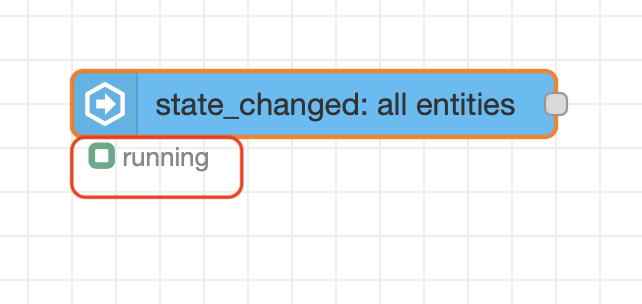
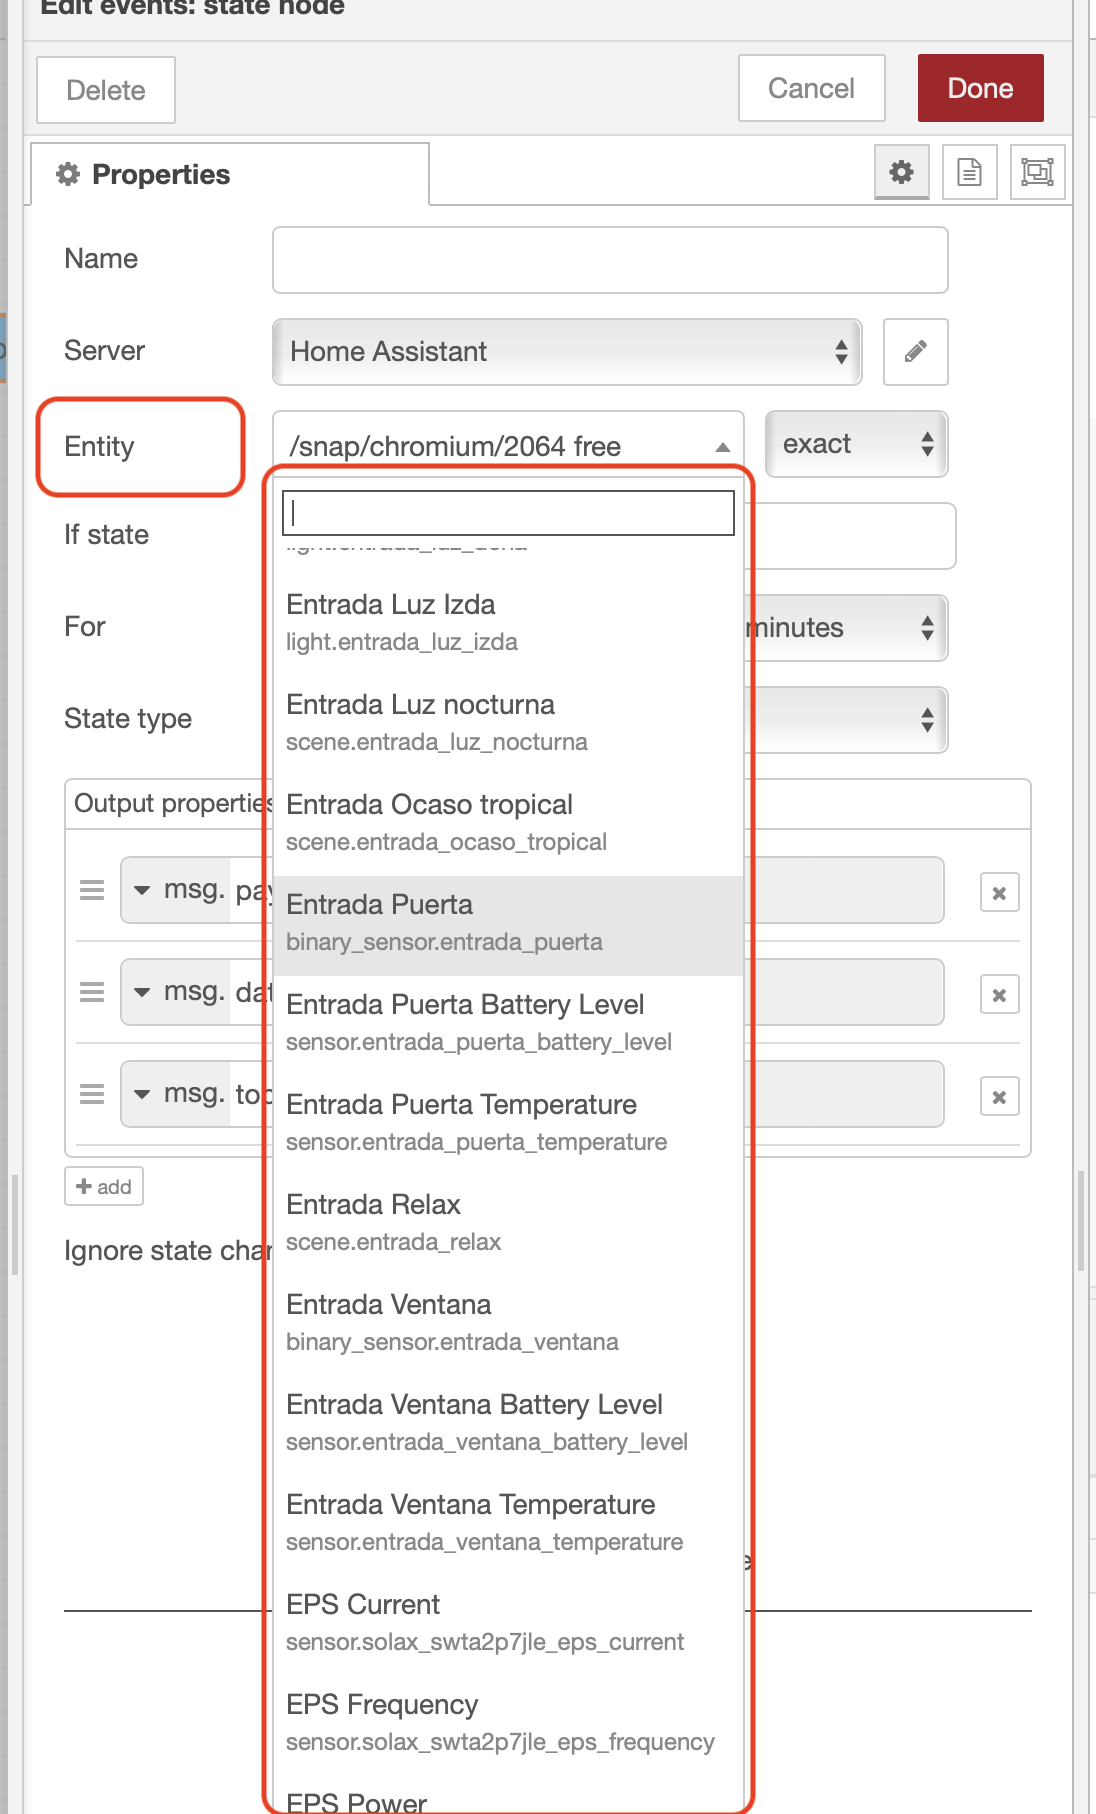
If everything went well, I should see a green icon under the state change node, and if I enter the node and click on the entity field, I see a list of my Home Assistant entities, which I recognize perfectly…
From here you can create flows since both are perfectly connected. In fact, I could connect to multiple Home Assistant servers if I had them.
The advantage of running Node-RED on a separate server, as I mentioned at the beginning, lies in modularly separating the services. Now there are no dependencies between them, and I can run home automation functions from Node-RED independently of Home Assistant.
Apple HomeKit
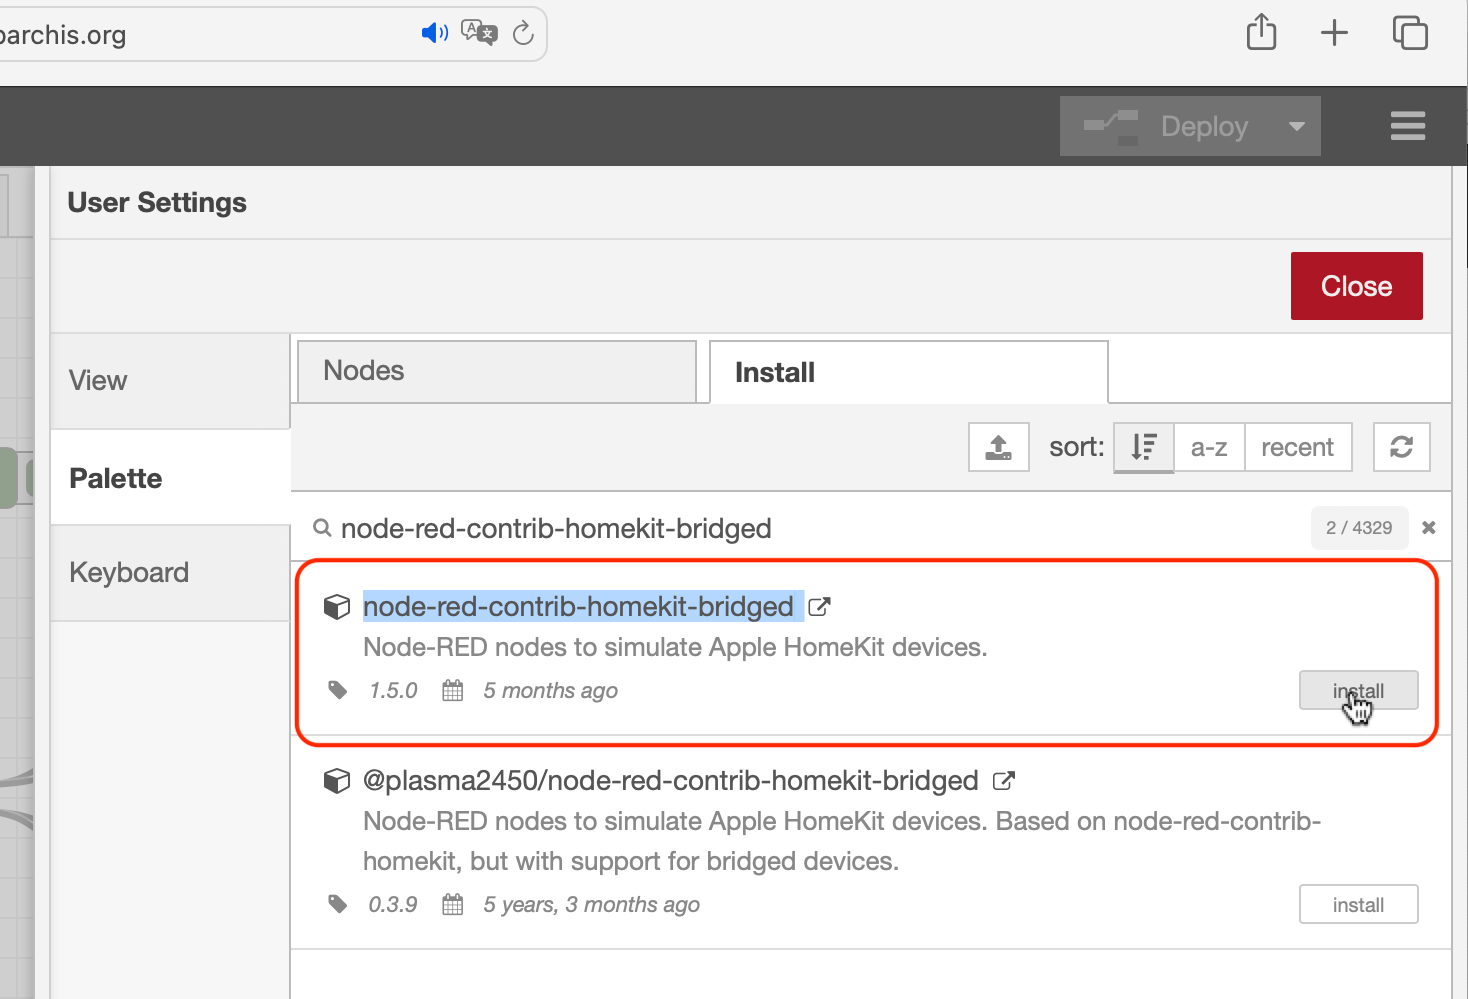
Now that we have Node-RED installed, we can add additional nodes from the library, like HomeKit. I installed the node-red-contrib-homekit-bridged project, which integrates HomeKit with Node-RED. I know I could have integrated it directly with HASS, but I prefer to have Node-RED as an intermediary between both (HASS and HomeKit).
- From the Node-RED menu (top right) in the web interface ->
Manage Palette->Install, search and installnode-red-contrib-homekit-bridged.
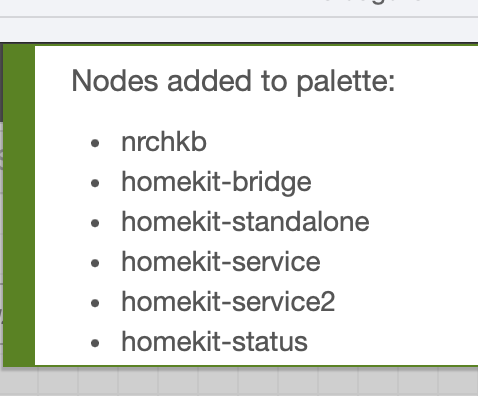
A couple of links for creating flows with this node:
- Examples. They can be imported from Node-RED’s hamburger menu.
- Documentation, information about how it works and examples.