Installation of Home Assistant OS (HAOS) on an Intel NUC5i5RYK — a very powerful machine for this task, but I had it available and wanted to make use of it. I started by setting it up on a Raspberry Pi4B, moved to a virtual machine (with considerably better performance) on KVM, and in this post I describe how I did the installation on a NUC.
Installation
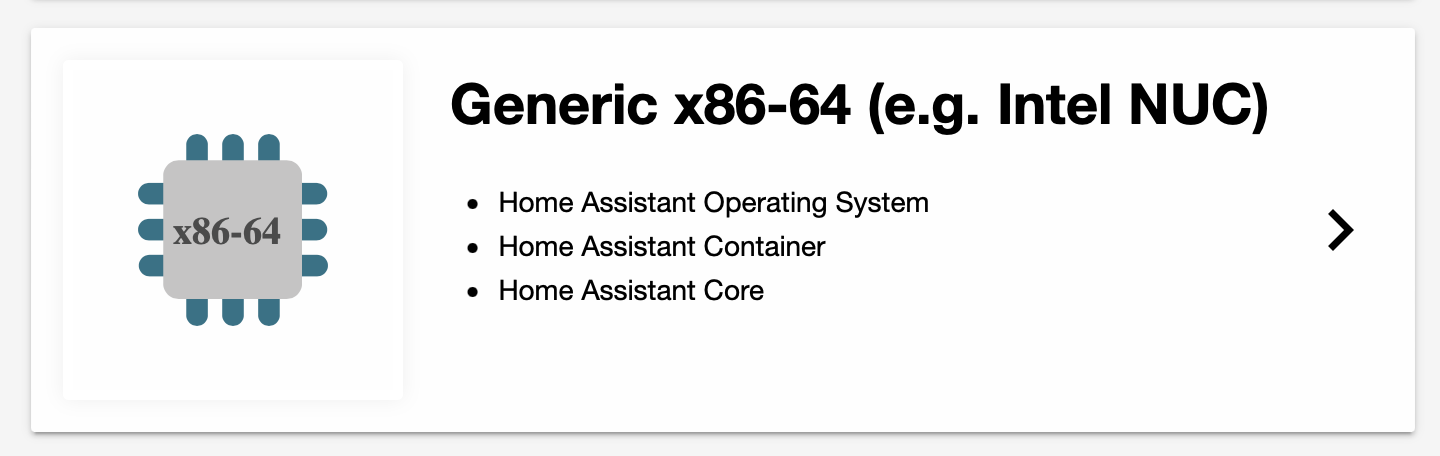
The documentation for installing Home Assistant can be found on their website. Of all available options, I choose the “Home Assistant Operating System” installation method and the Generic x86-64 (e.g. Intel NUC), Home Assistant Operating System option.
The installation is not straightforward. We’re used to downloading an image, copying it to a USB, booting from it, and installing. That’s not how it works here. Fortunately, I found this detailed guide on installing HA on a NUC.
The process is a bit more involved. It consists of cloning (copying bit by bit) the Home Assistant OS image for X86-64 onto the NUC’s physical disk. To do this we need two USB drives: one with a Clonezilla image (a Linux distribution specialized in cloning) which we’ll boot from, and another with the Home Assistant OS for X86-64 (which we’ll clone).
The summarized process:
- From my iMac I download and burn both images to USB drives
- USB 1) I burn a stable Clonezilla image with Balena Etcher
- USB 2) I burn the latest HAOS image for X86-64 with Balena Etcher
- I connect both USBs to the NUC and boot by pressing F10 to select the boot device.
- I start the NUC, press F2, configure the BIOS
- Enable UEFI Boot
- Disable Secure Boot
- I boot selecting the Clonezilla USB as the boot drive
- I select the first option, keyboard and region set to Spain/Spanish.
- From Clonezilla:
- Disk/Partition to Disk/Partition
- Expert Mode: Select your own options
- Local_disk to cloned_local_disk
- I select sdc (USB with HAOS image) as source and sda (NUC’s SSD) as destination
- I leave default options (the -r option is important and should always be checked)
- Click OK.
- Skip checking/repairing the source filesystem
- Use the source disk’s partition table
- Choose reboot/shutdown/etc when everything is done
- In the console I confirm all the commands
- When finished, I remove both USBs and click Reboot
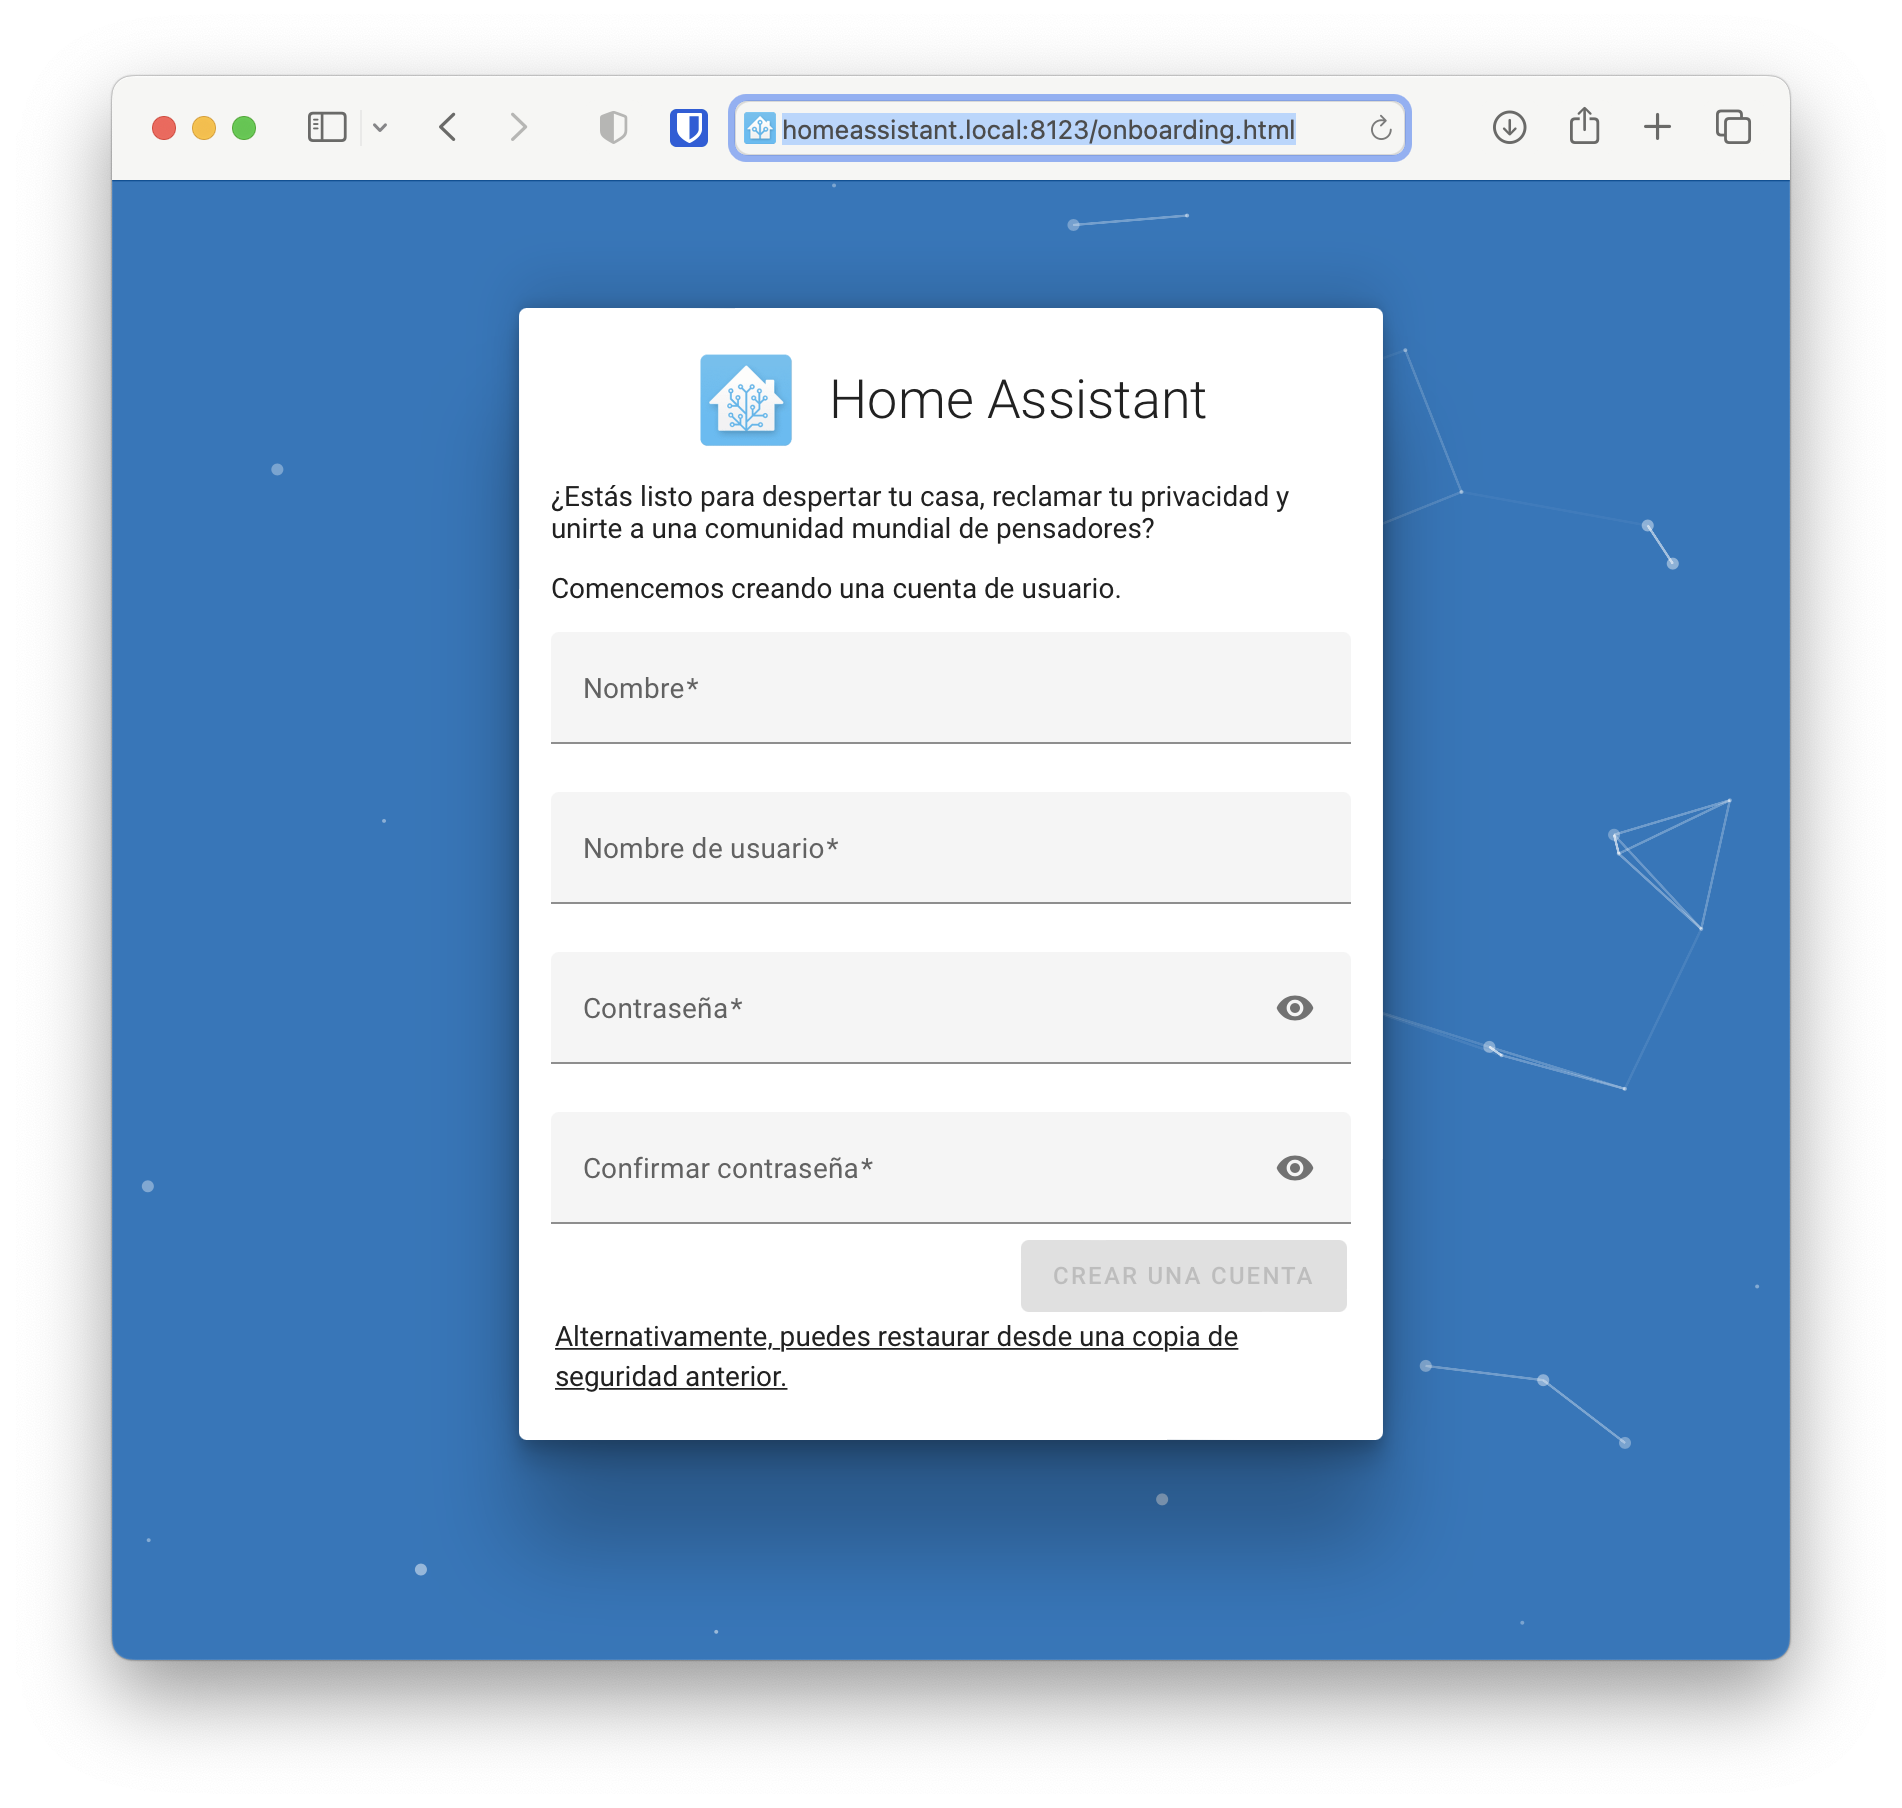
From here I continue with the Home Assistant onboarding. I connect to homeassistant.local:8123.
If you don’t need to migrate an old installation, you can follow the official documentation from this point to work with your new HA.
Transferring the Old HA to the New NUC
In my case, I did need to transfer the complete configuration from the old server (which was running on a virtual machine) to this new server.
Old HA Server (VM)
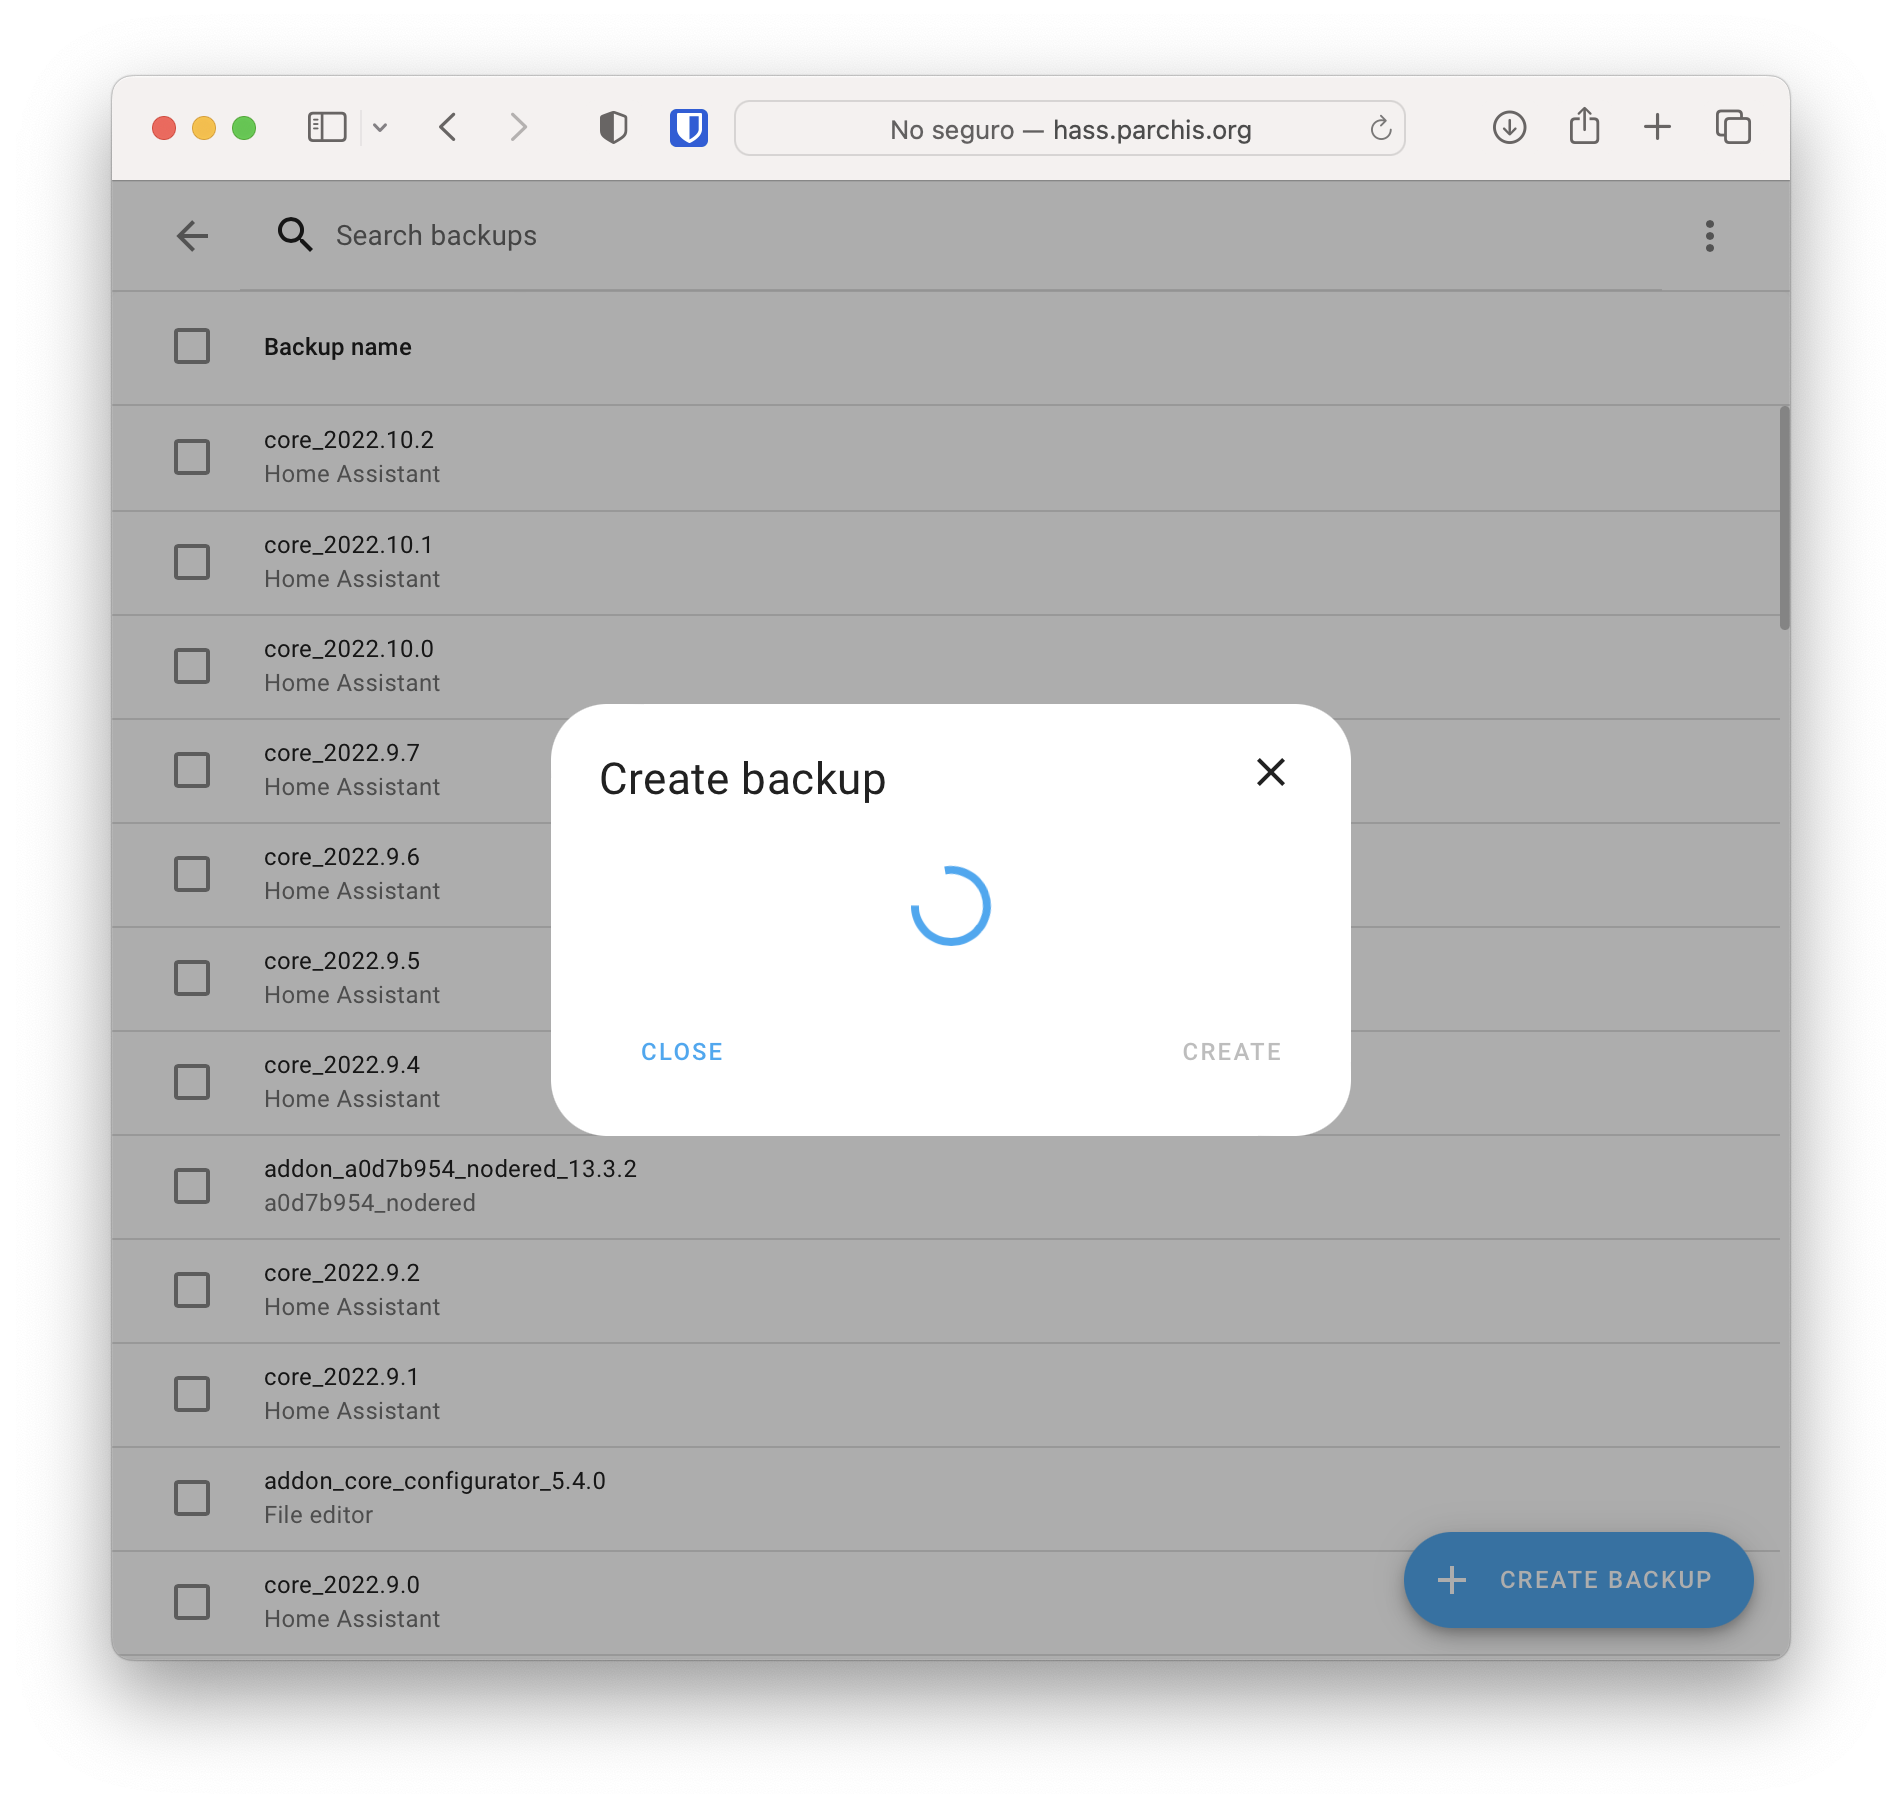
I connect to my old server (currently running on a virtual machine) — in my DNS server I reference it as hass.yourdomain.com.
I connect to http://hass.yourdomain.com:8123
- Settings –> System –> Backup –> Create Backup (Full Backup)
I select the freshly created backup and the “Download backup” option.
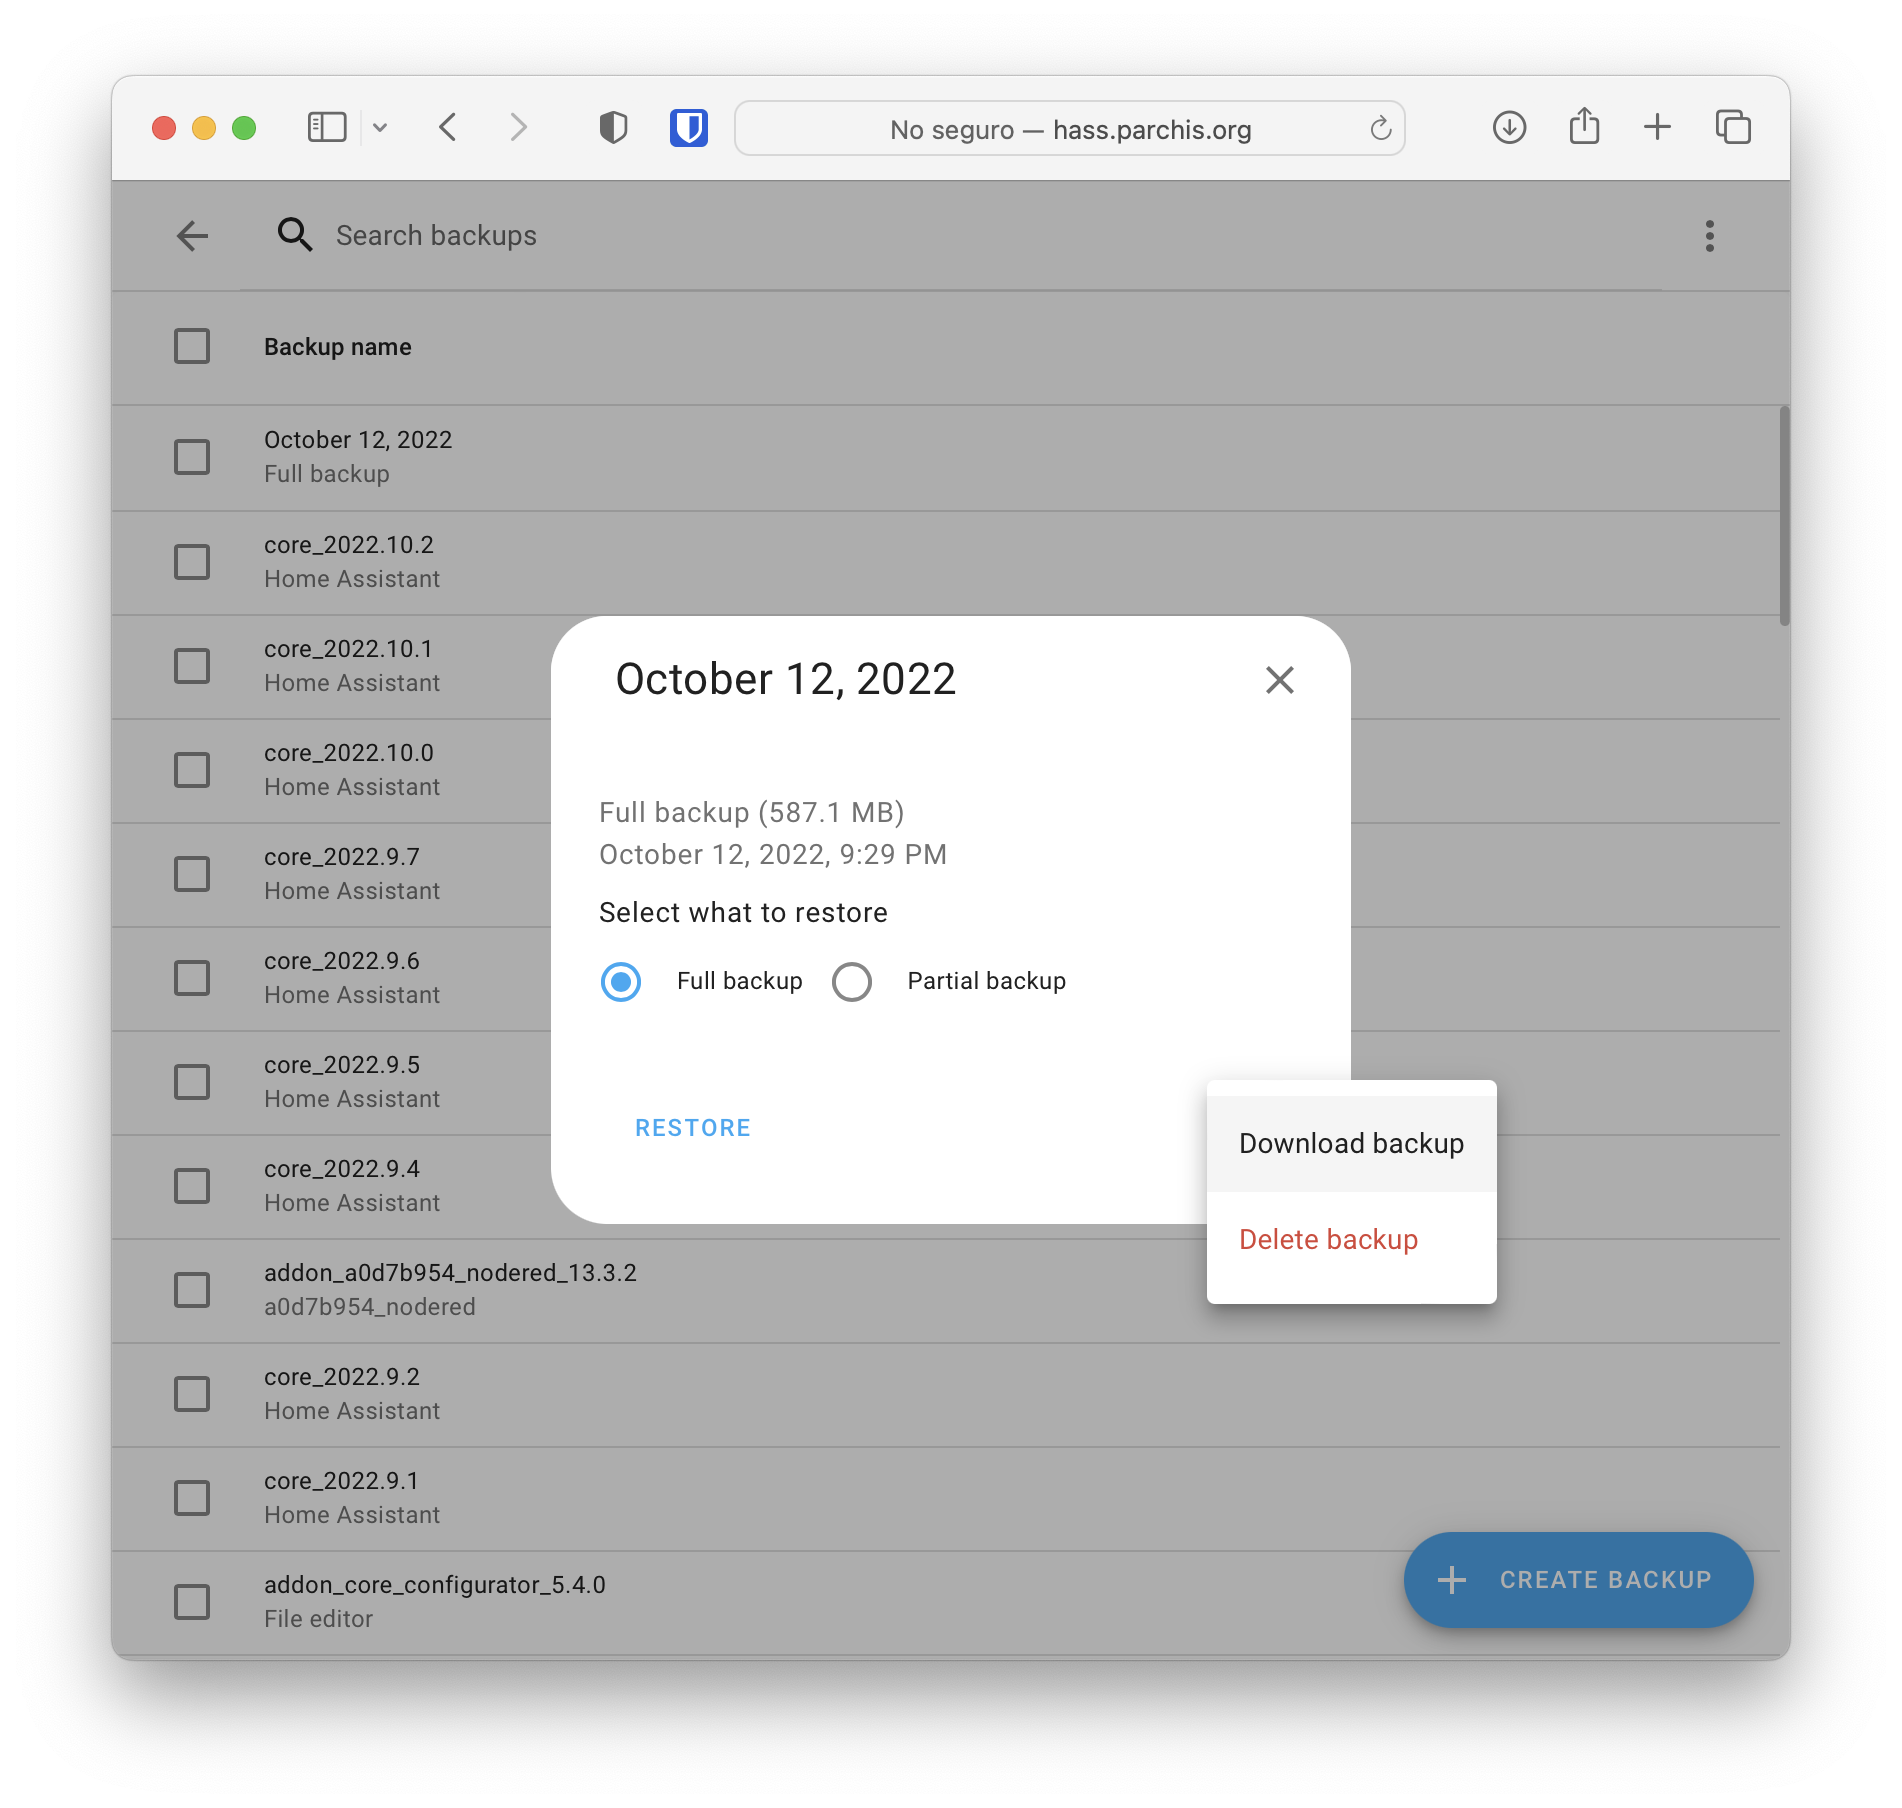
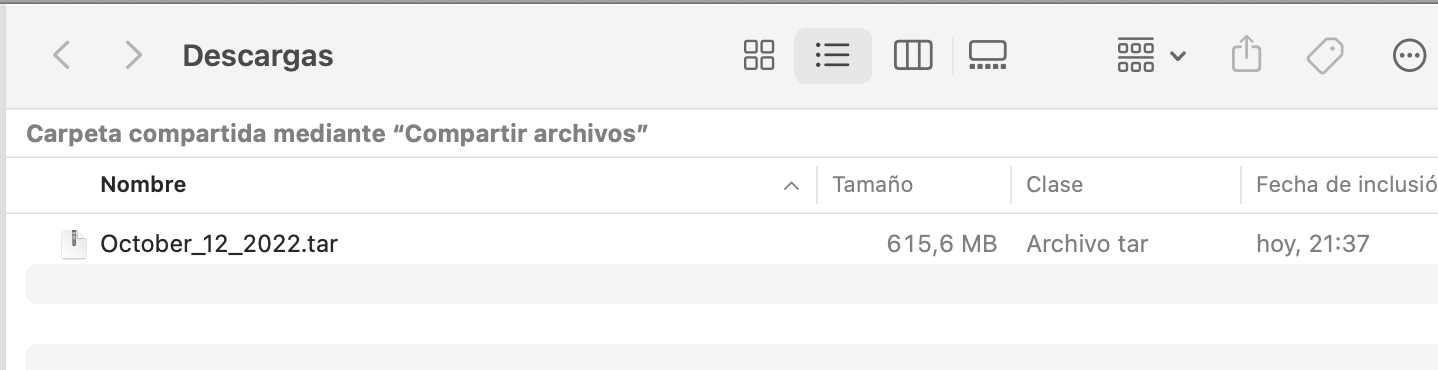
It creates a .tar file in my downloads directory.
I shut down the old server.
- Settings –> Hardware –> Shutdown System
Updating my DHCP Server
I access my DHCP Server and modify its configuration to associate the IP (192.168.100.244) of hass.yourdomain.com to the new NUC’s MAC address. I reboot the NUC ha > host reboot and when its network card activates, it receives that IP.
Restoring the Backup
I connect to http://hass.yourdomain.com:8123 (now it’s the NUC).
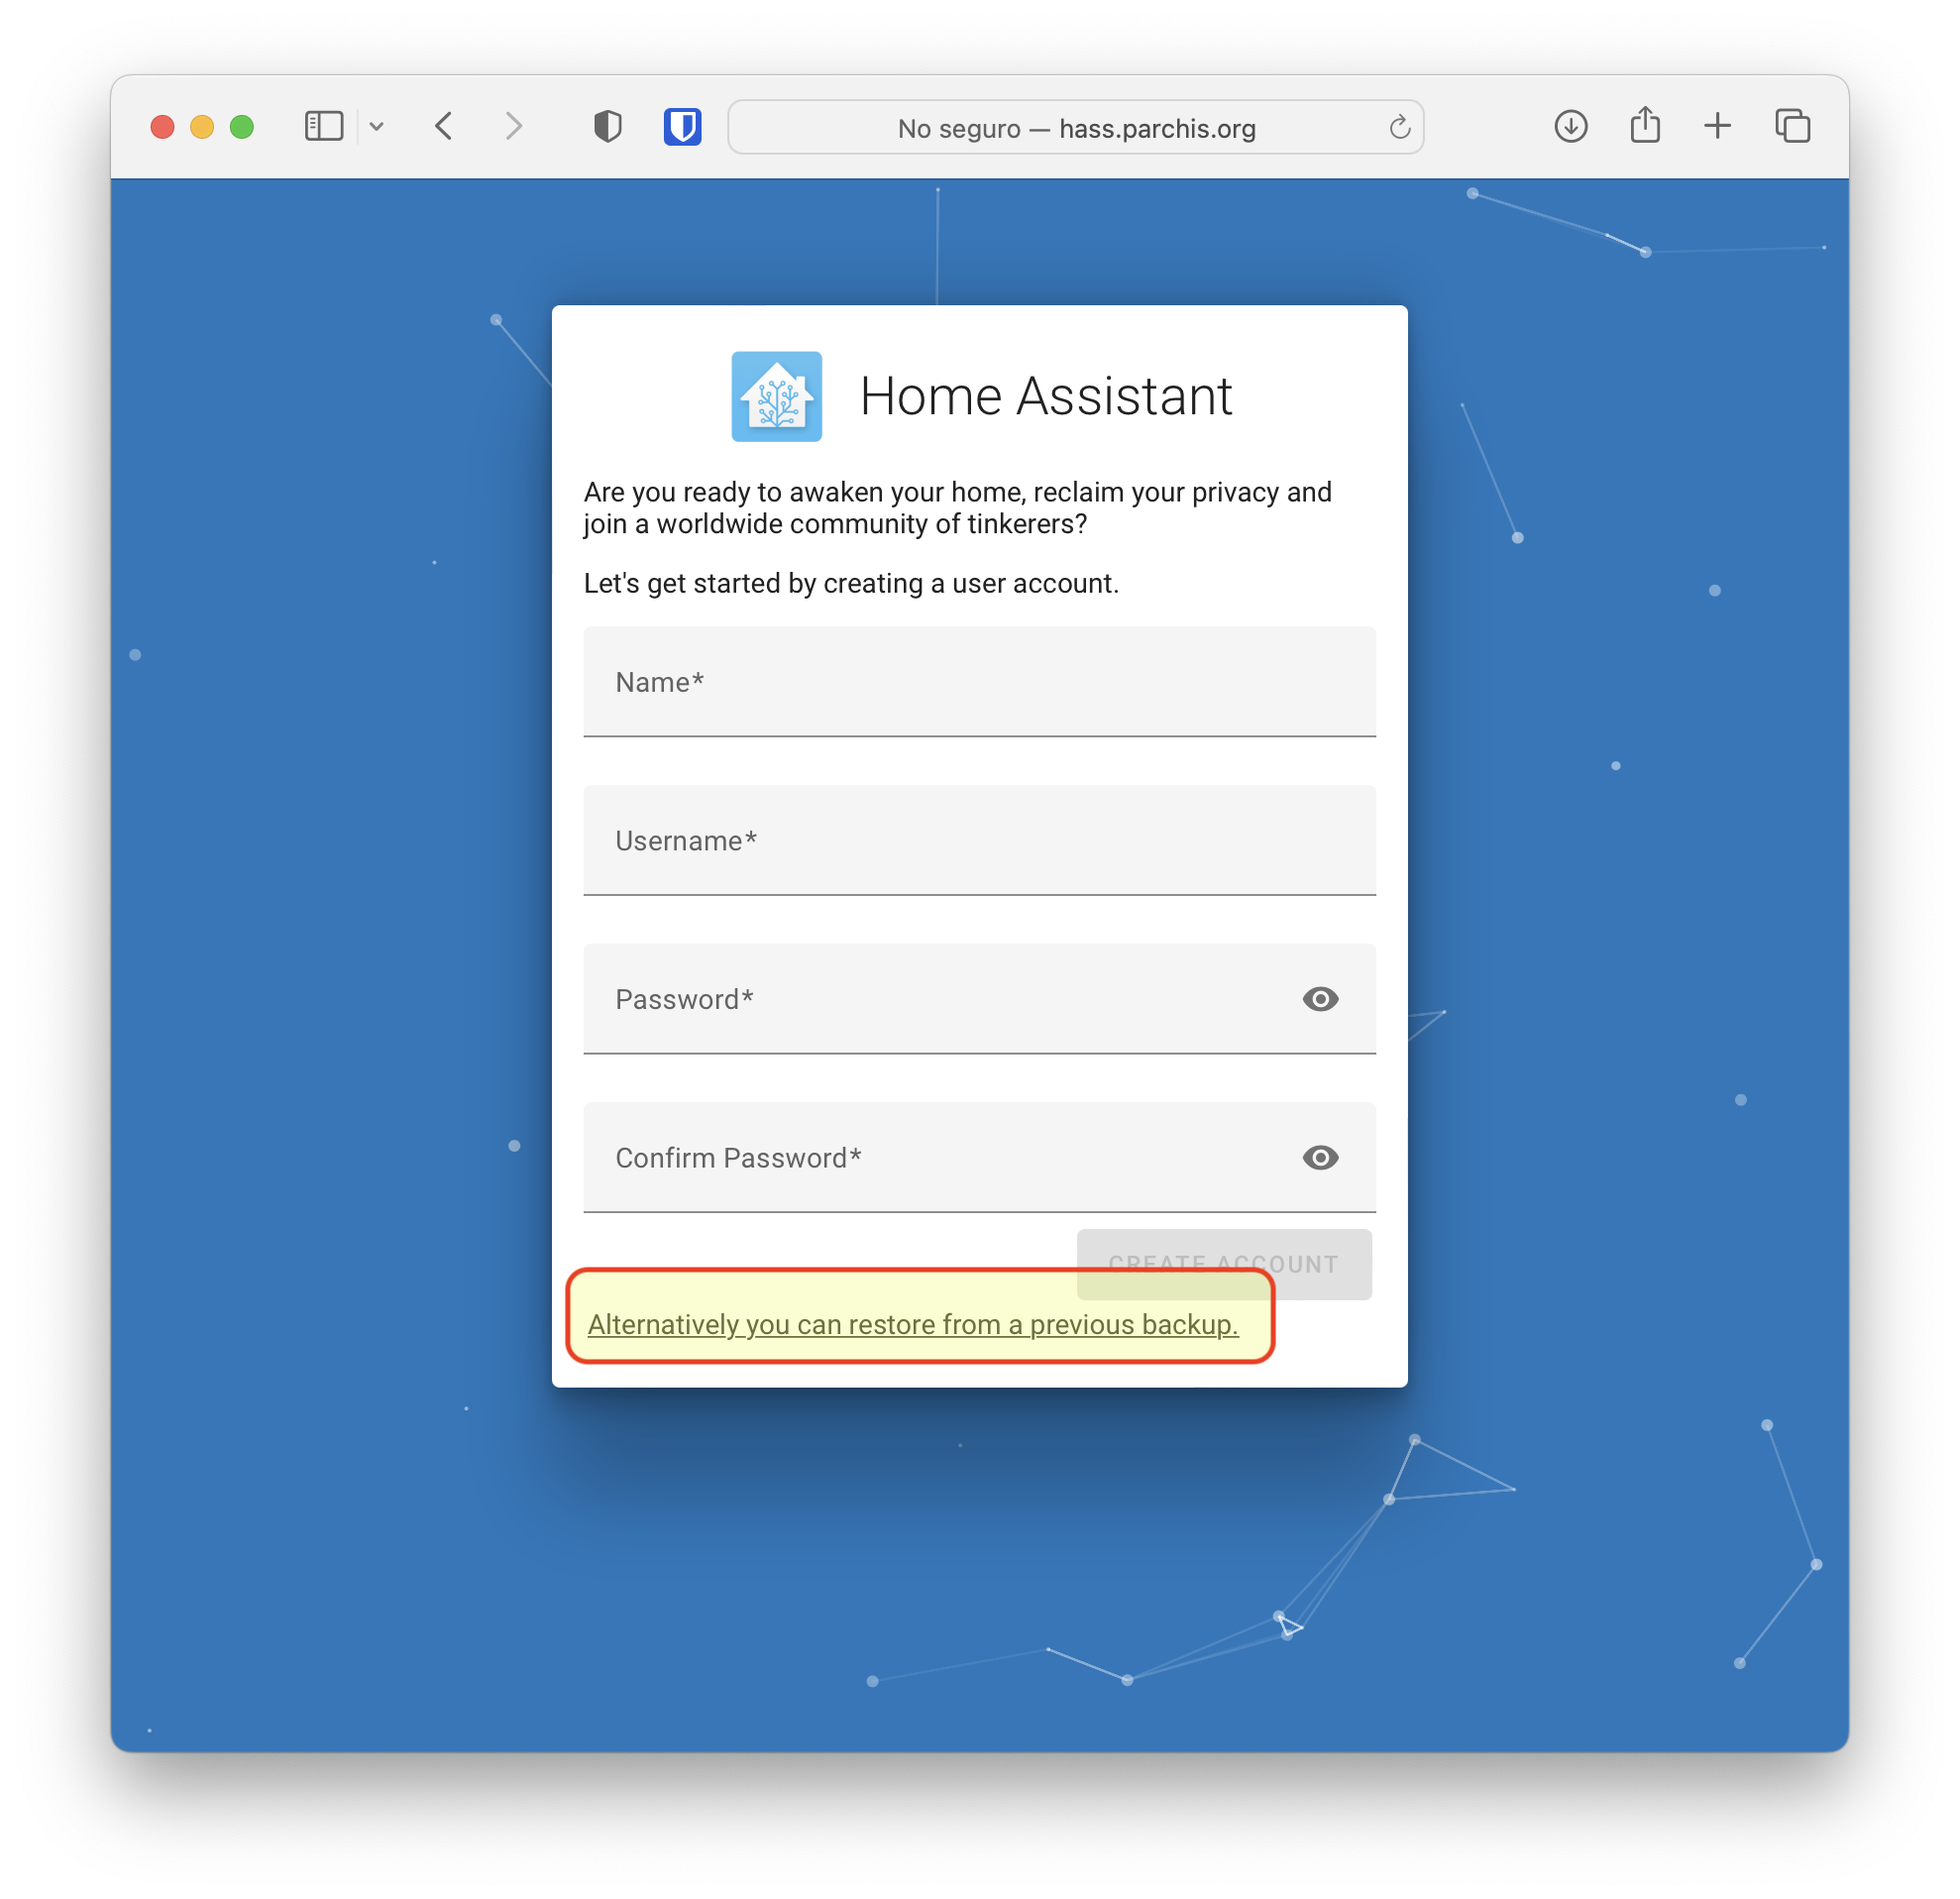
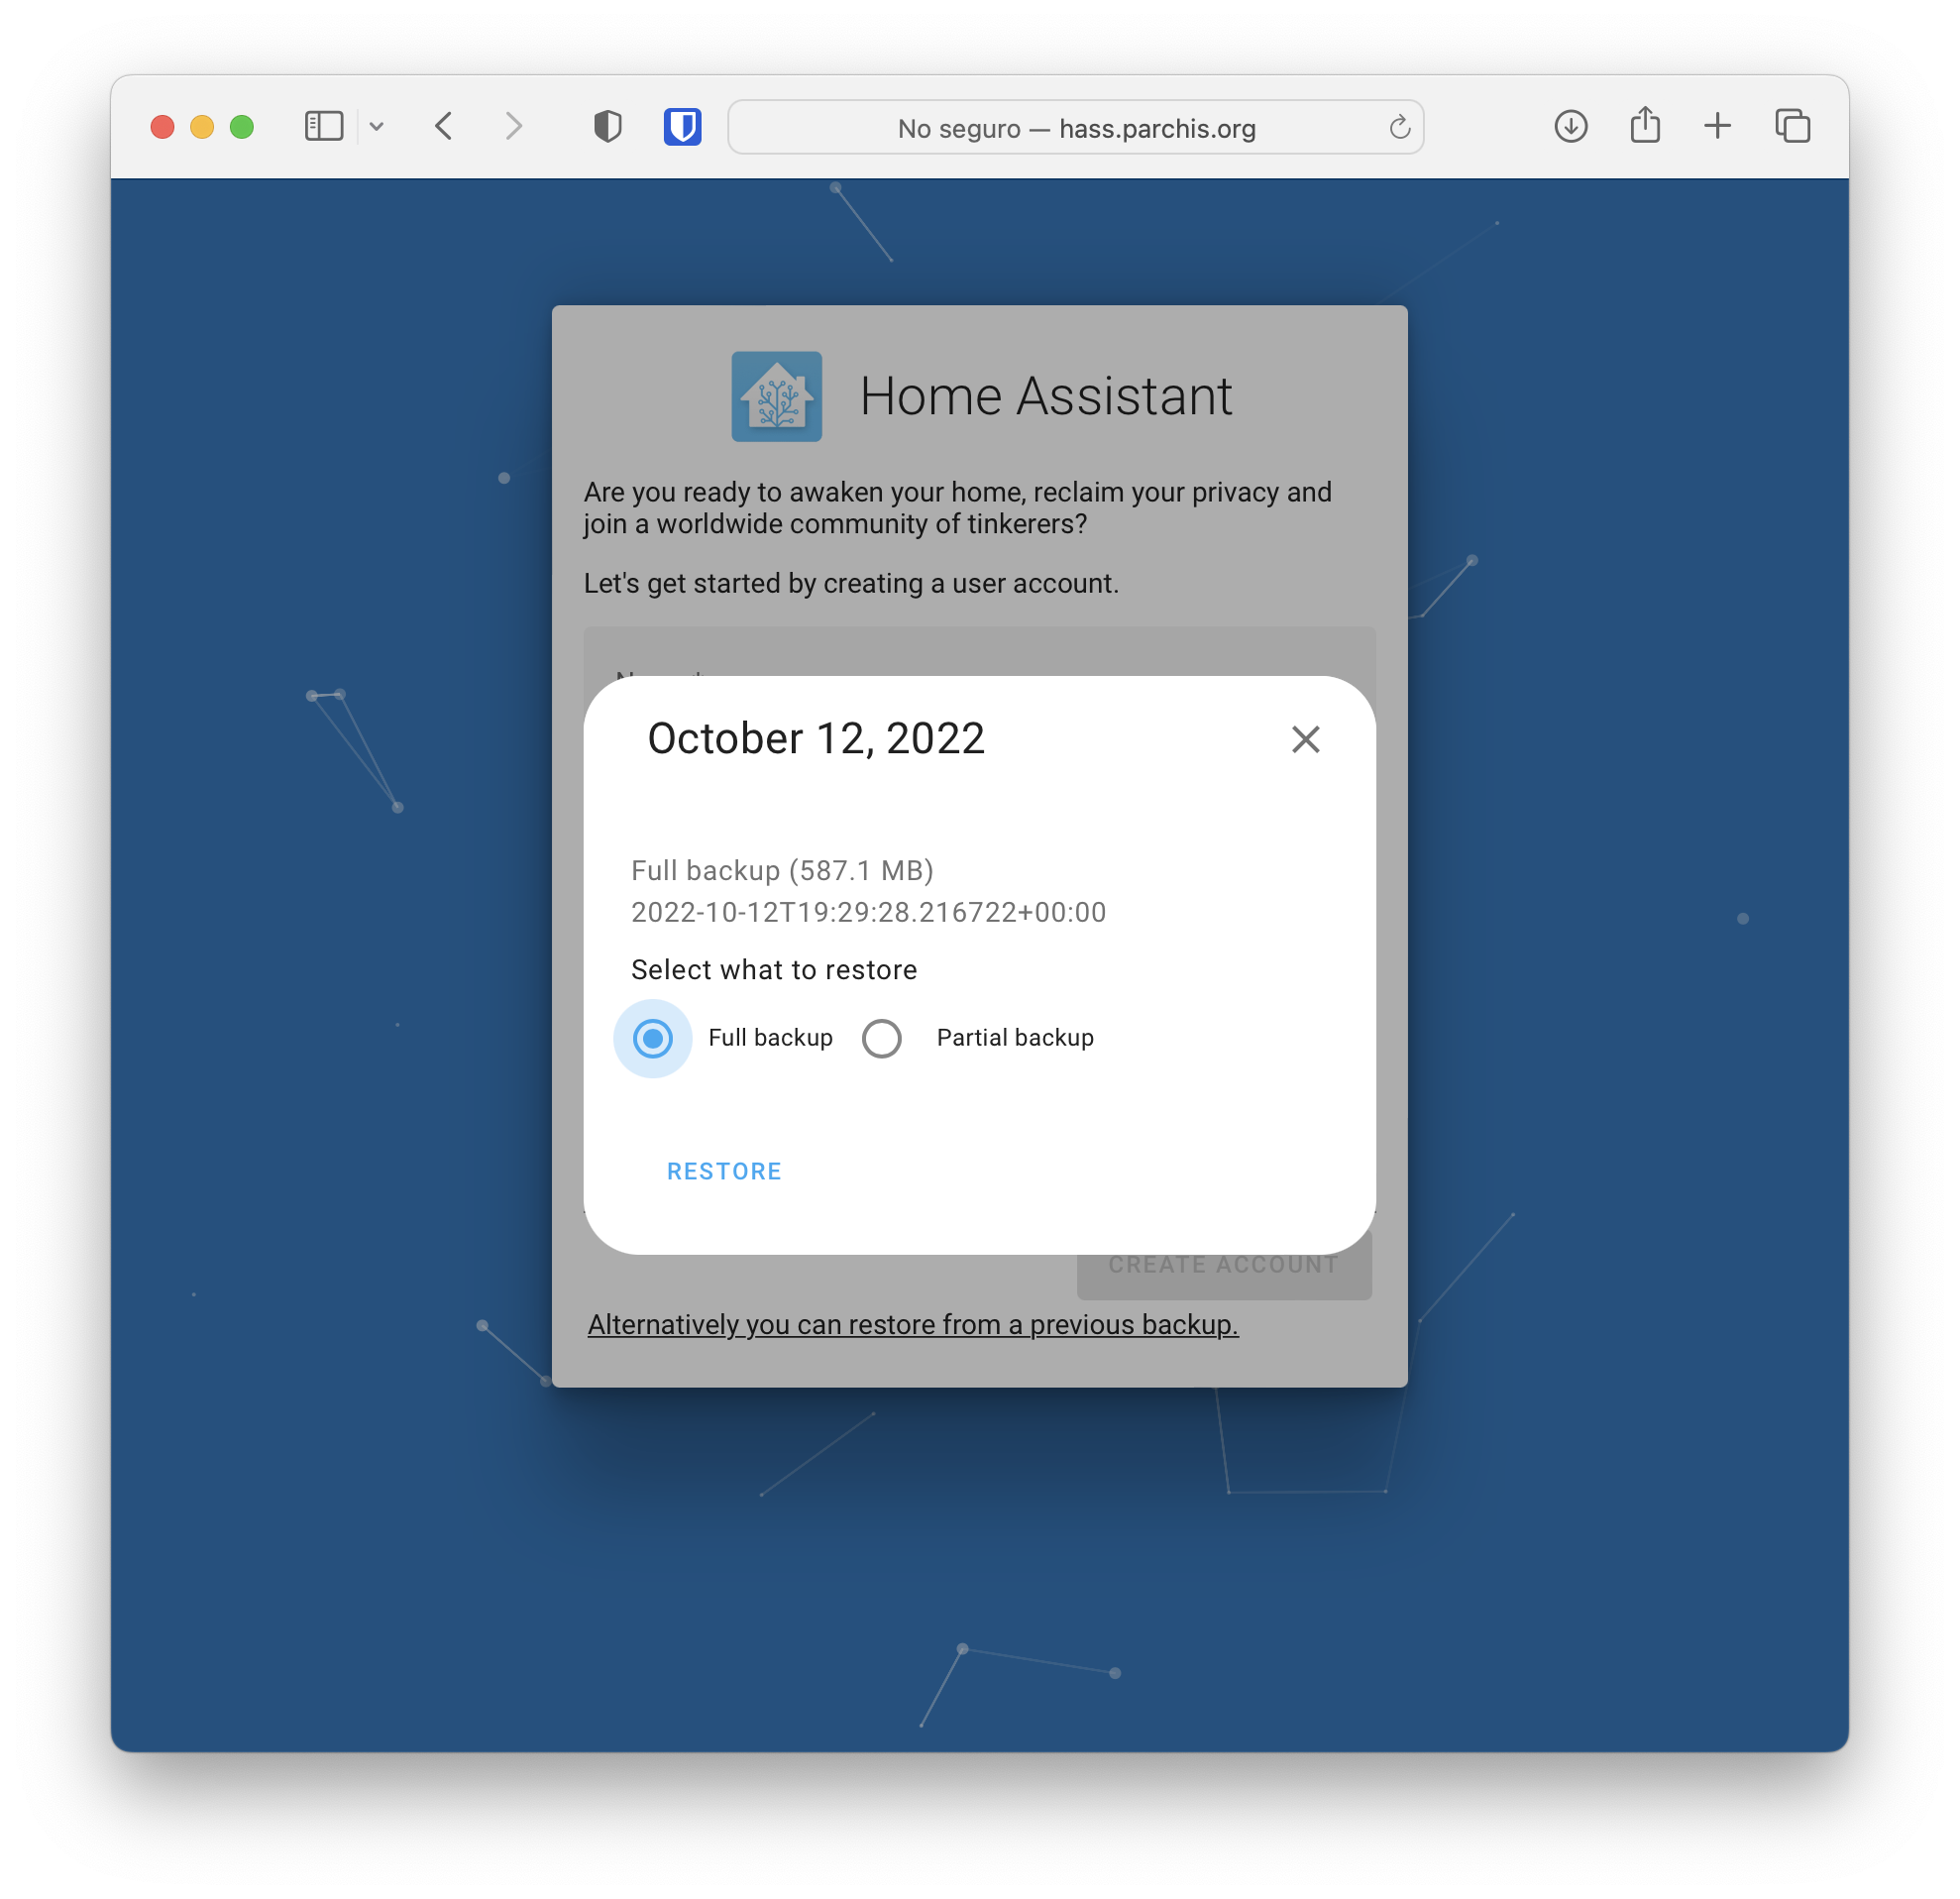
After confirming, the restore begins. Note that it takes a few minutes without apparently doing anything. After a while, I connected again to hass.yourdomain.com:8123 and verified it had finished. I detected minor issues that I resolved easily (by reviewing the log).