In this post I describe the installation process of a Raspberry Pi4B Rev1.5 (also tested with the Pi3B+) with the Raspberry Pi OS (64-bit) operating system (based on Debian). I normally use these Pis as single-purpose mini servers or for testing and lab work.
SD Card
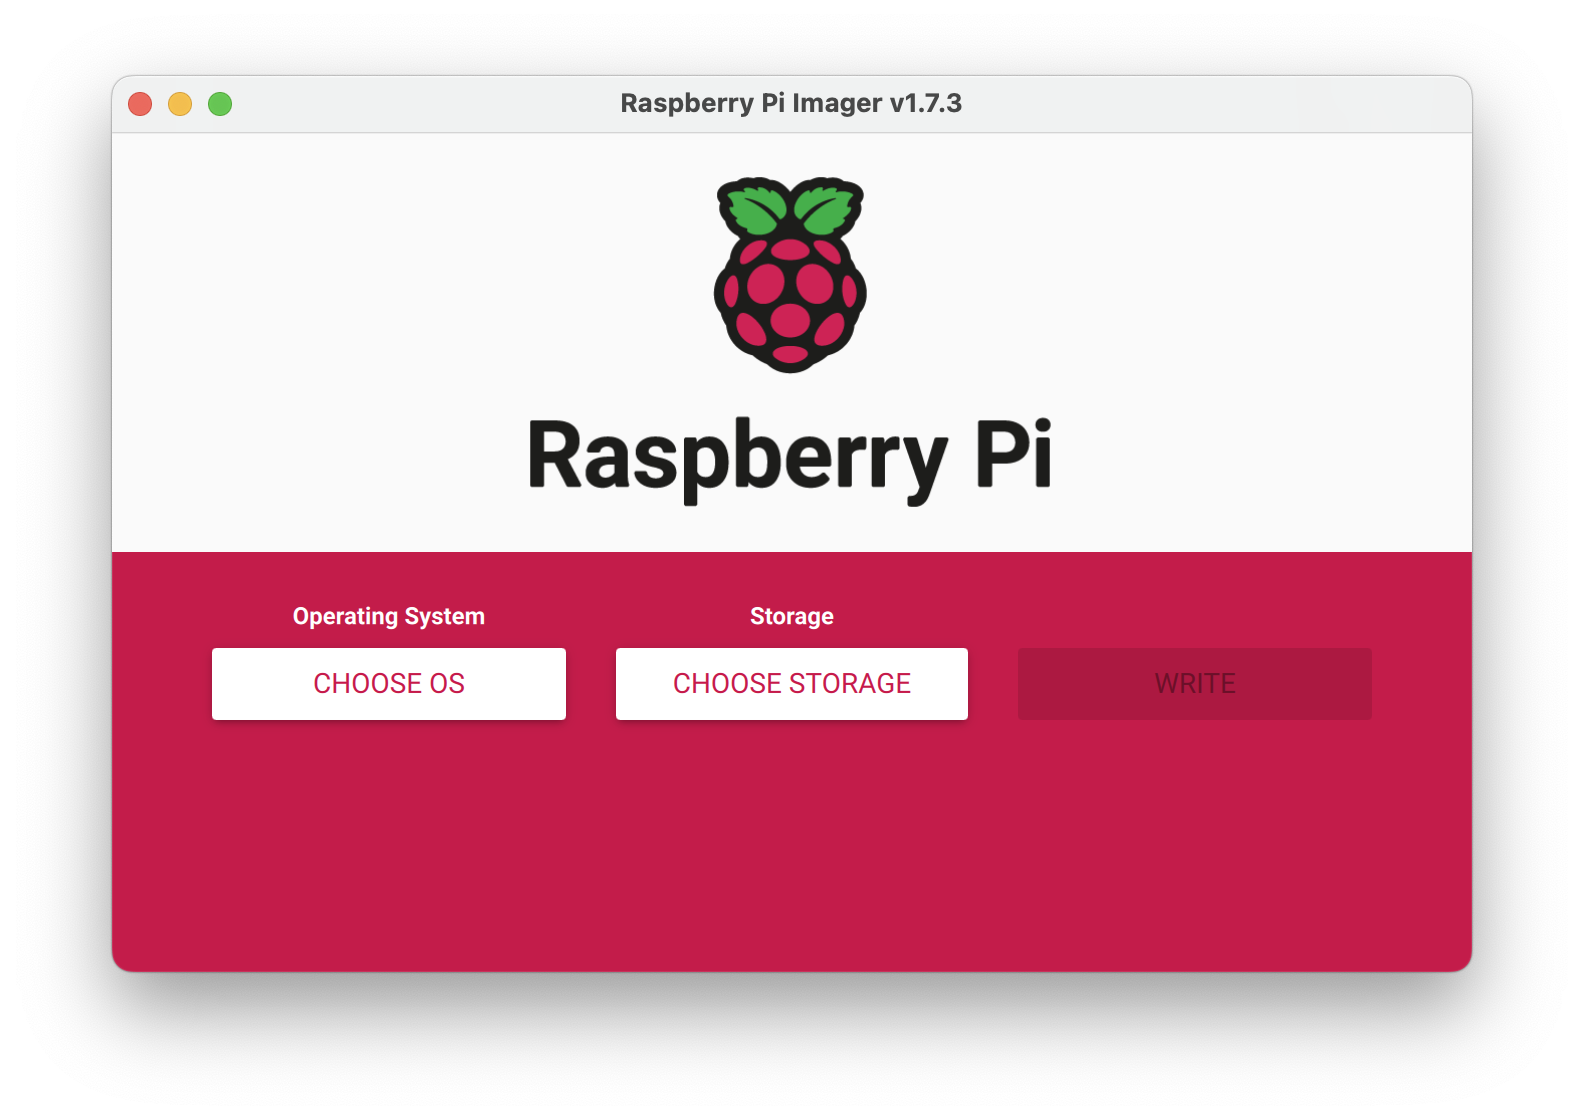
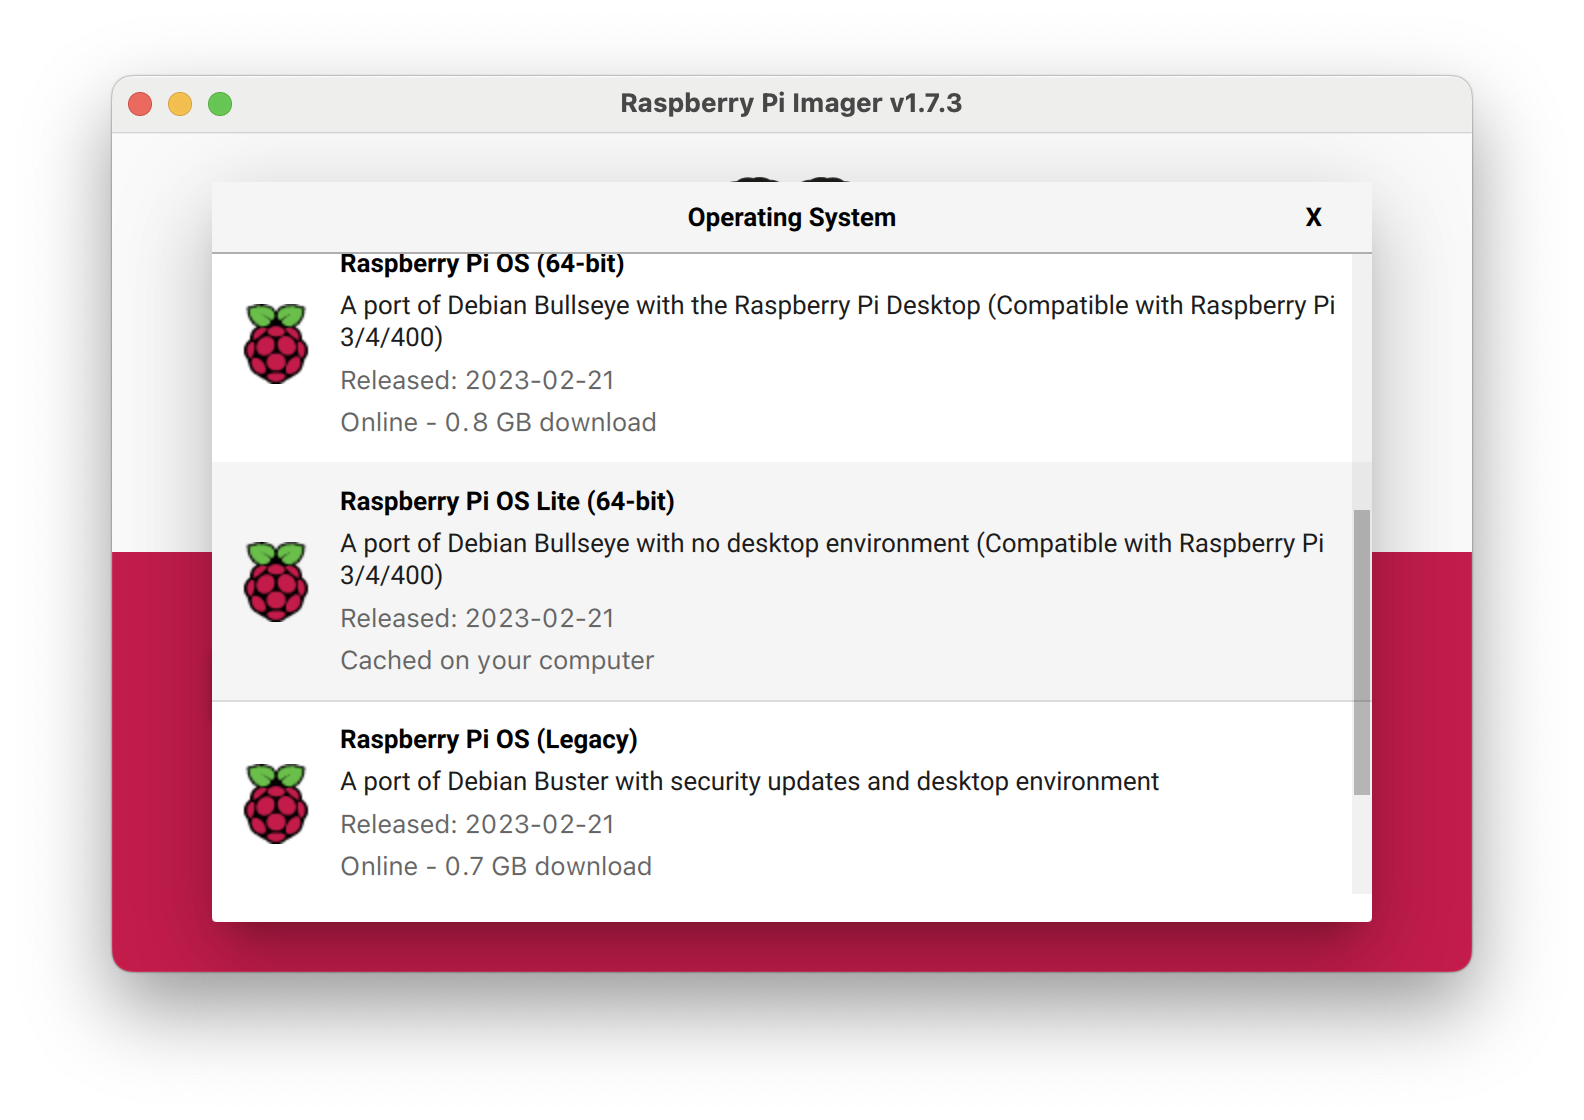
First things first — preparing a Micro SD card with the operating system. I chose Raspbian OS Lite 64-bit. I don’t need the graphical part, as I’ll be using it as a server running different services. You can use any method to clone the image to an SD card; in my case I used the Raspberry Pi Imager tool.

When finished, I remove the card and insert it into the Pi. I connect the Pi to a monitor, keyboard, and plug in an ethernet cable to the switch to start the first phase of installation, where internet access is important. The Pi will receive an IP address via DHCP initially.
First Phase of Installation
After a while the Pi boots and we’ll see a series of menus for basic configuration. Here’s what I configured in my case:
- Keyboard Layout:
Other -> Spanish,Spanish - New Username:
luis
I log in with the user and password I just configured, and the first thing I’ll do is enable sshd so I can connect to the Pi through the local network and continue from there.
raspberrypi Login: luis
Password: <the one from the previous step>

luis@raspberrypi:~ $ sudo raspi-config
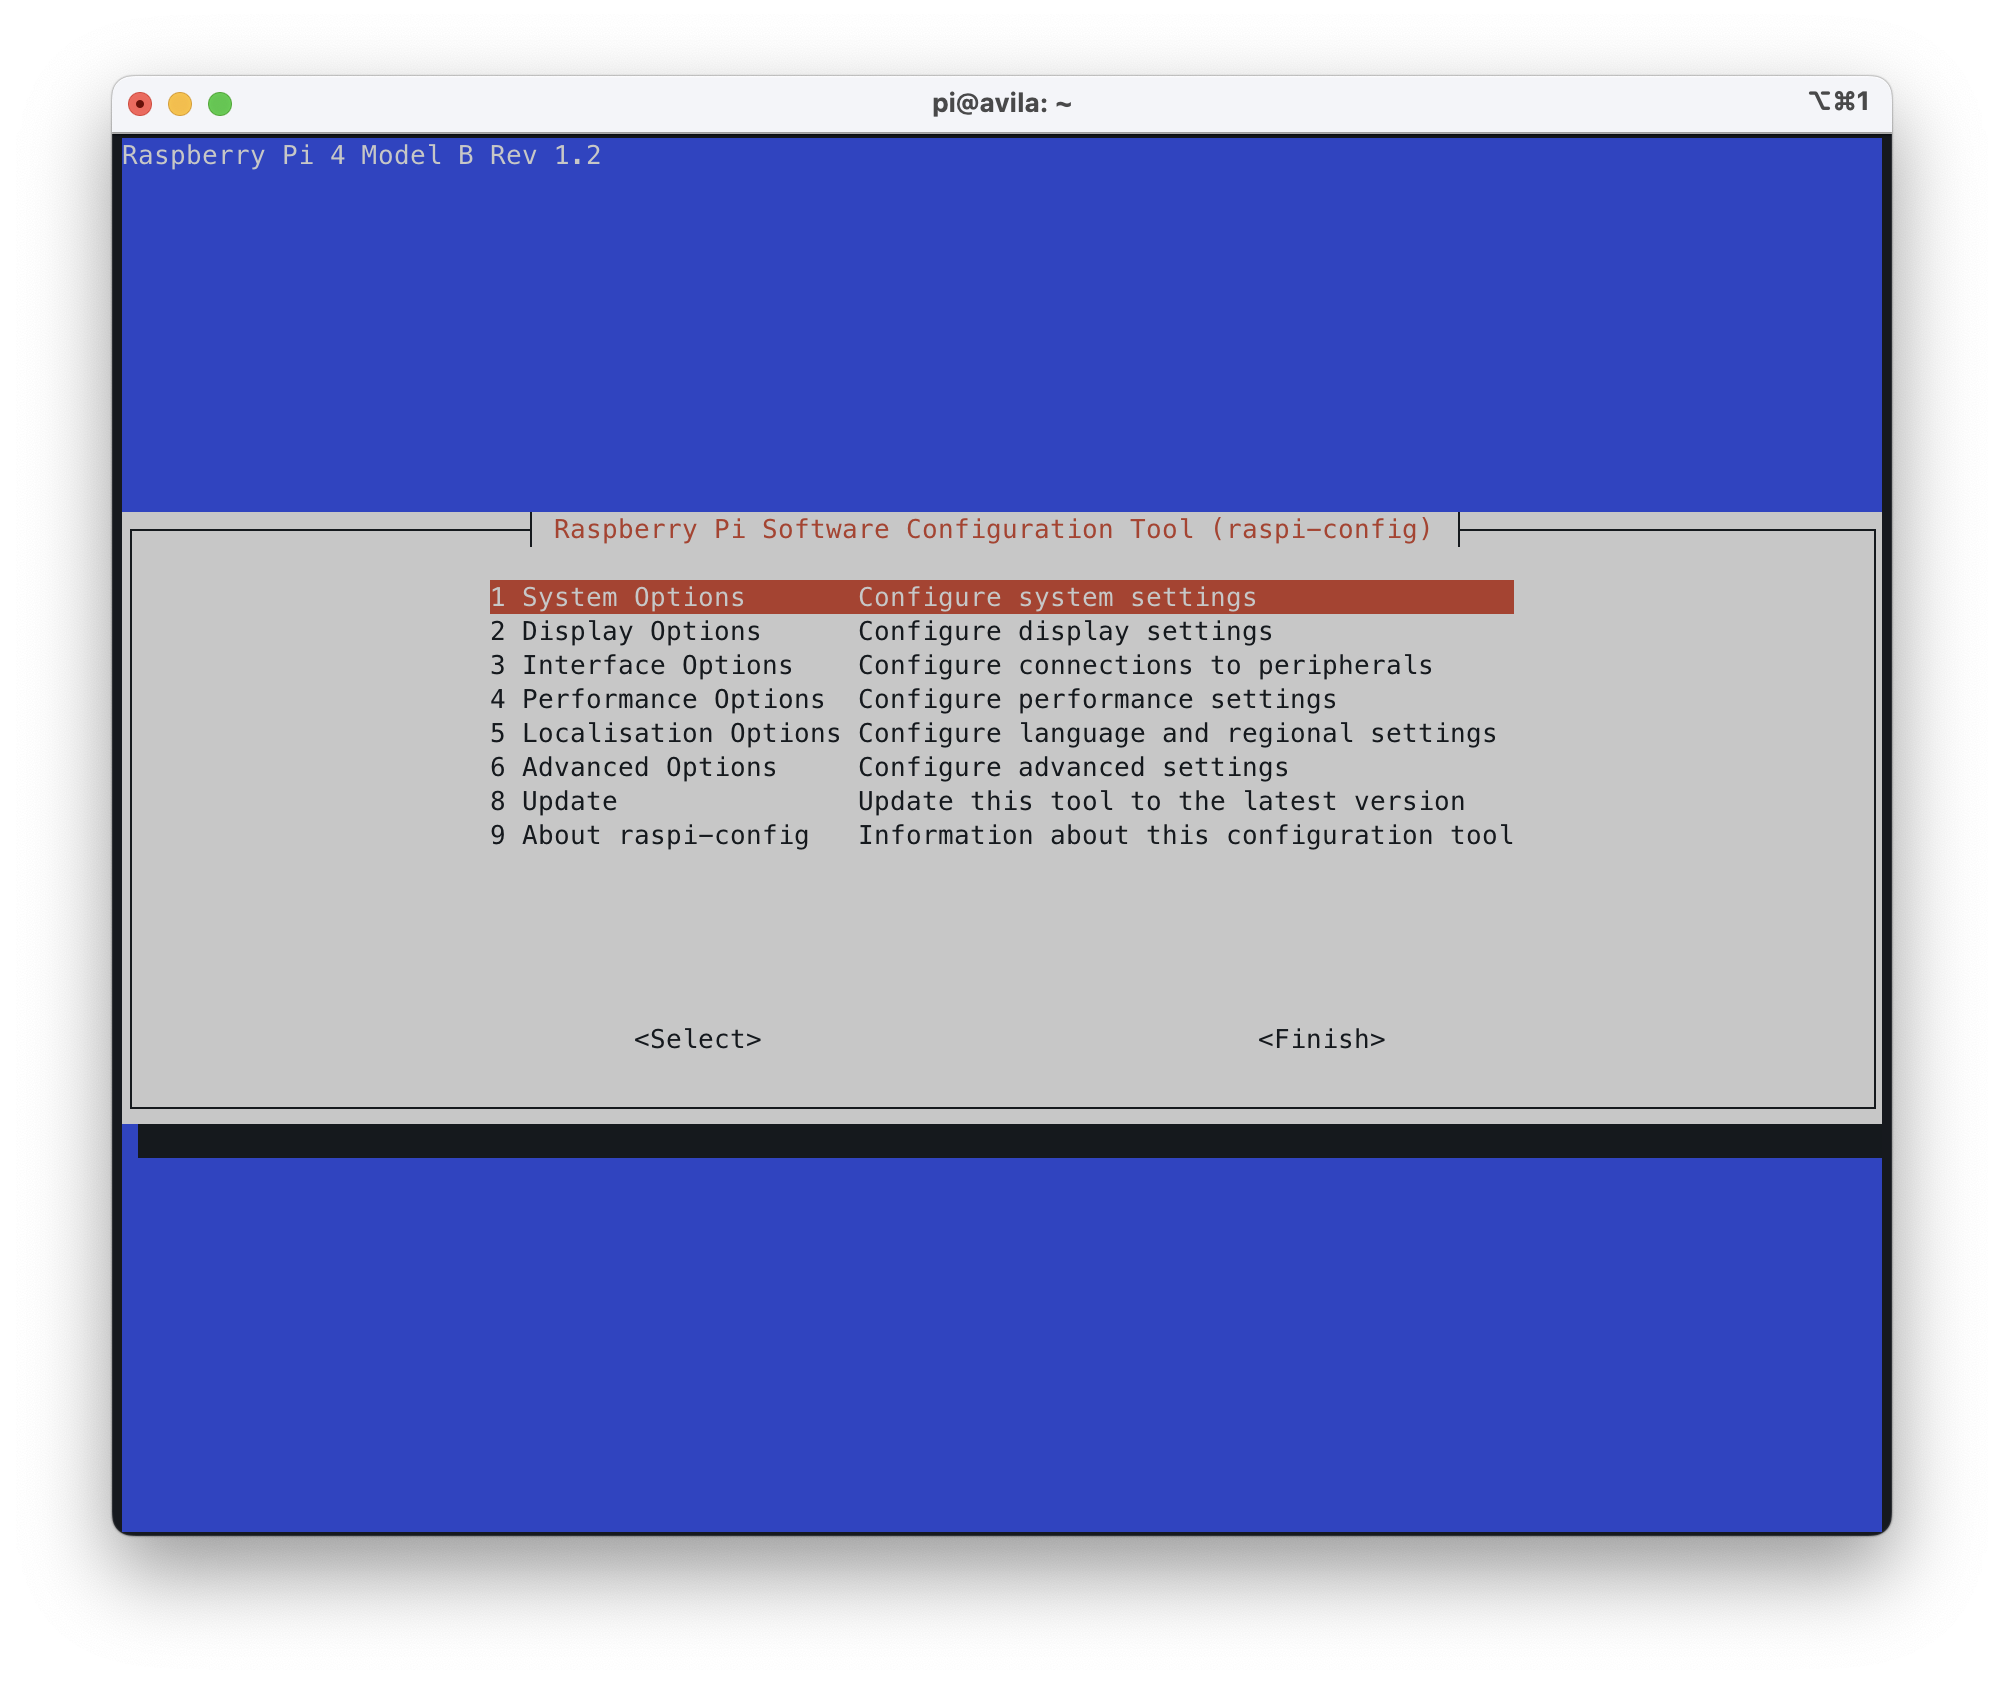
I select Interface options -> SSH -> Ok, which starts the SSHD service. I exit raspi-config and find out what IP address was assigned.
$ sudo ifconfig
eth0: flags=4163<UP,BROADCAST,RUNNING,MULTICAST>  mtu 1500
        inet 192.168.1.82  netmask 255.255.255.0  broadcast 192.168.1.255
             ============
:
I connect from my workstation:
$ ssh luis@192.168.1.82
:
Last login: Tue Feb 21 04:29:57 2023
-bash: warning: setlocale: LC_ALL: cannot change locale (es_ES.UTF-8)

Wi-Fi is currently blocked by rfkill.
Use raspi-config to set the country before use.

luis@raspberrypi:~ $
I run raspi-config again to finish configuring several important aspects:
luis@raspberrypi:~ $ sudo raspi-config
System Options > hostname > "idefix"Localisation Options > Locale >[ ] en_GB.UTF-8 UTF-8 <---- Remove it[*] es_ES.UTF-8 UTF-8 <---- Add itDefault Locale: es_ES.UTF-8 UTF-8
Localisation Options > Timezone > Europe, MadridLocalisation Options > WLAN Country > ESAdvance Options > Network interface names > NoNo: If you want to use eth0, eth1, etc.Yes: If you want predictable names
Finish and Reboot
Finally, we update the operating system!
$ ssh luis@192.168.1.82
:
luis@idefix:~ $ sudo su -
root@idefix:~# apt update && apt upgrade -y && apt full-upgrade -y
We’re done — I have a perfectly operational Raspberry Pi, updated to the latest 64-bit Raspberry OS version.
Customization
This part of the process is optional. I like to have some helper files and scripts on all the Linux systems I work with, along with some system tweaks. I leave them here as reference.
Removing IPv6, WLAN, BT
Again optional — only if you need it. Here’s how to disable IPv6, the Pi’s WiFi card, and Bluetooth. In my case, when I’m doing IPv4 lab work and don’t need them, I prefer to disable everything.
- File
/boot/cmdline.txt, append at the end of the line:ipv6.disable=1
console=serial0,115200 console=tty1 root=PARTUUID=2c310193-02 rootfstype=ext4 fsck.repair=yes rootwait ipv6.disable=1
- File
/boot/config.txt, add two lines at the end:
dtoverlay=disable-wifi
dtoverlay=disable-bt
- Remember that these changes require a Pi
rebootto take effect.
Assigning a Static IP
Normally I let the Pi use the default DHCP client, but sometimes I need to assign a static IP. It’s not obvious how to do it, because it depends on the OS version. In my case I configured raspi-config -> Advanced -> Network -> Predictable interface names -> No. Then I modify these two files:
- File
/etc/dhcpcd.conf, add the following at the end:
interface eth0
static ip_address=192.168.103.3/22
static routers=192.168.100.1
static domain_name_servers=192.168.100.224
- File
/etc/network/interfaces, add the following at the end:
auto eth0
allow-hotplug eth0
iface eth0 inet maual
Files and Scripts
If you want to install them, download the gists and give them execution permissions. To install them, here’s an example: click the link (e.g., for /usr/bin/e), select all, and copy with Ctrl-C. Then use cat, Enter, Ctrl-D, and once back at the command line, change the permissions:
luis@idefix:~ $ sudo su -
root@idefix:~# cat > /usr/bin/e
:
:
root@idefix:~# chmod 755 /usr/bin/e
- Script /usr/bin/e
- Custom /etc/nanorc file for the nano editor
- I create the nano backup directory for both
rootand my user.luis@idefix:~ $ sudo mkdir /root/.nanoluis@idefix:~ $ mkdir ~/.nano
- Script /usr/bin/confcat that displays files stripping comment lines
- Script /usr/bin/s to switch to root much faster
- Remember to change permissions
luis@idefix:~ $ sudo chmod 755 /usr/bin/e /usr/bin/confcat /usr/bin/s
The file /etc/sudoers.d/010_pi-nopasswd is already set up so that the luis user doesn’t get asked for a root password and can run sudo directly.
From now on, running e filename will launch the nano editor. The editor will work with the key scheme described in /etc/nanorc. Running s will switch to root, and the confcat command shows file contents while ignoring comment lines.