Vagrant lets you create and configure virtual development environments that are lightweight and reproducible. It does so by creating virtual machines and requires a Hypervisor. It doesn’t care which hypervisor you use – it supports VirtualBox, KVM, Docker, VMWare, and 30+ others. It’s a fantastic tool for spinning up Servers for our software development projects.
This guide only works, for now, with INTEL chips. I haven’t been able to make it work on a Mac with ARM (Apple Silicon) as the host yet.
VirtualBox
VirtualBox is virtualization software that allows you to install additional operating systems, known as “guest systems” or “virtual machines”, within your “host” operating system, each with its own virtual environment. You can create virtual machines based on FreeBSD, GNU/Linux, OpenBSD, OS/2 Warp, Windows, Solaris, MS-DOS, Genode, and many others.
To install it, download the VirtualBox binary from Download VirtualBox – the installation process is very straightforward. Once installed, you don’t need to create any virtual machines; we’ll do that directly from Vagrant.
A while back I wrote a post about how to work with Vagrant on Linux using a different hypervisor: Vagrant with Libvirt KVM.
I’ve seen that VirtualBox has a version that runs natively on ARM and works correctly, but I still haven’t managed to get Vagrant to spin up a native Linux ARM VM or a native Windows ARM VM.
As a side note, it seems that Parallels Desktop allows you to install Windows 11 on ARM by downloading the image from MS servers. You can activate it with any valid W7/8/10/11 license, since licenses don’t depend on the architecture. So in theory you can buy W11 for ARM and run it in Parallels Desktop on M1/M2.
Vagrant
I recommend installing Vagrant using Homebrew. If you have a Mac, check out the post MAC for Development where I describe how to install Homebrew and a bunch of very useful tools for development on a Mac.
brew update && brew upgrade
brew install vagrant

source ~/.zshrc
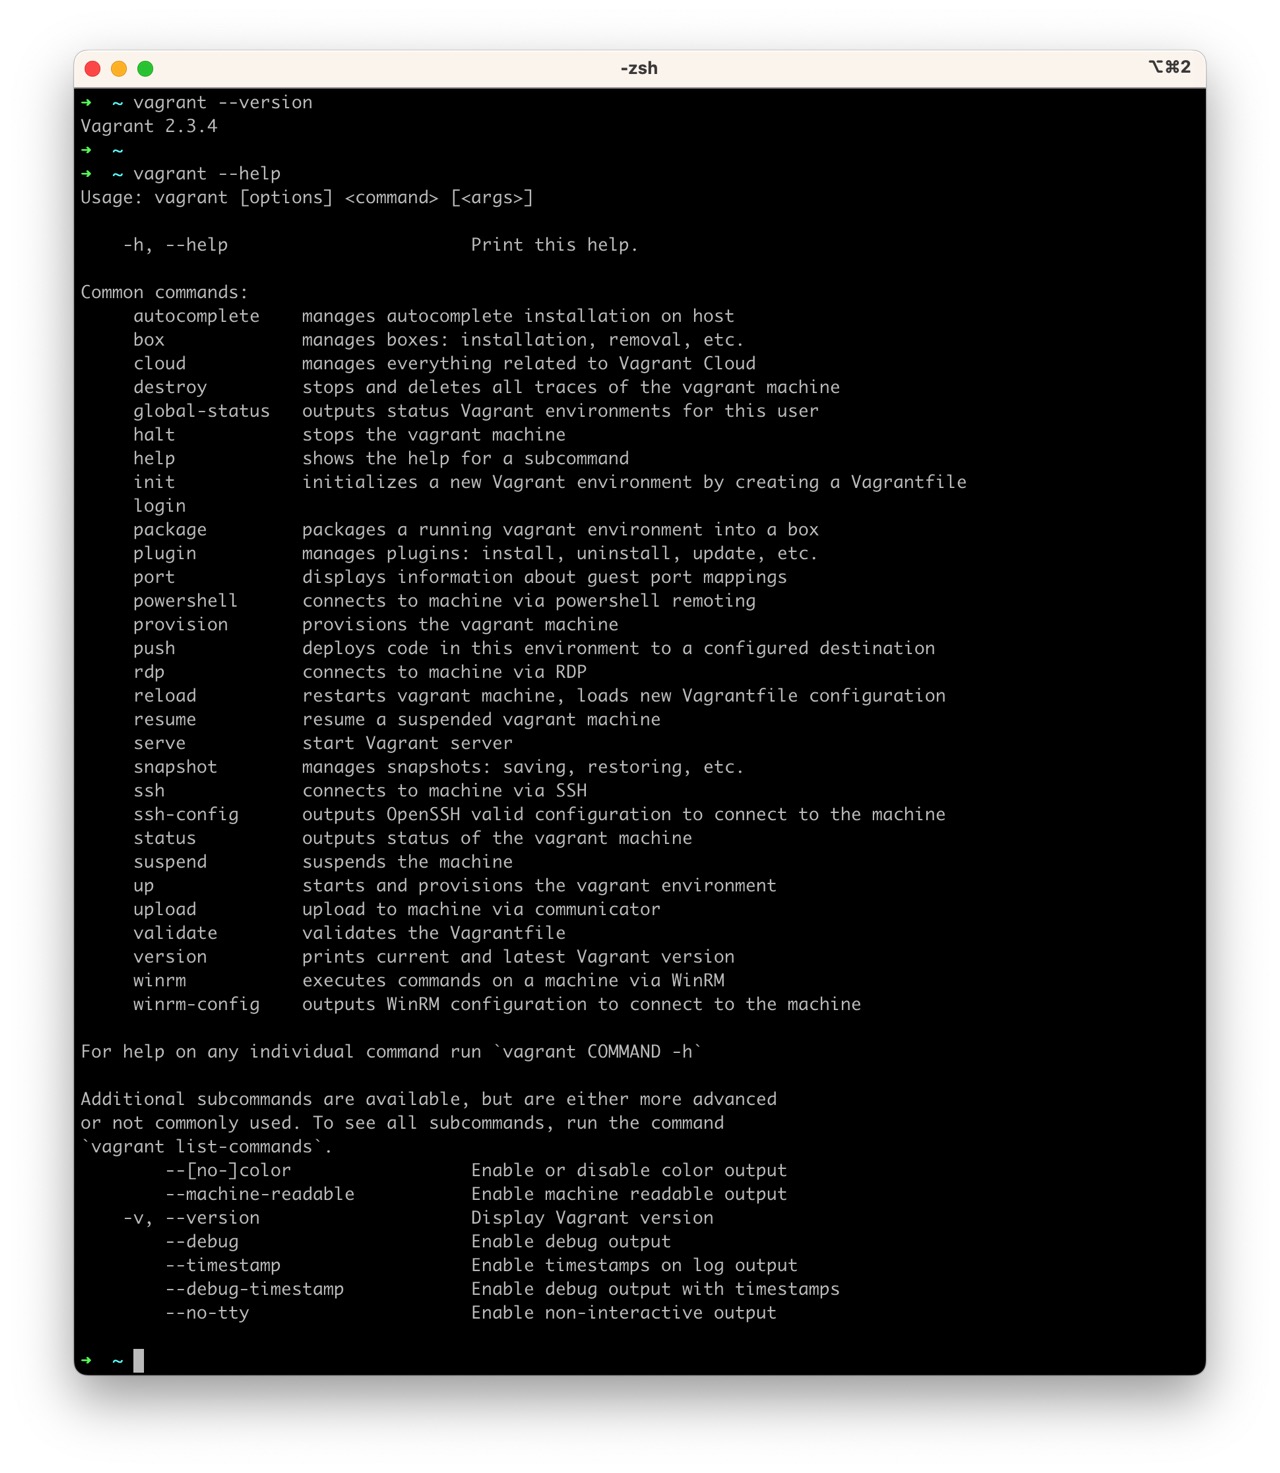
Once installed, I verify the version and that it works correctly
Creating a Test Server
I create a virtual machine for testing, spin it up, and destroy it to verify the entire process.
I create a temporary directory and a test VM using the image (Vagrant calls them boxes) trusty64. You can find many more at Discover Vagrant Boxes.
mkdir prueba
cd prueba
vagrant init ubuntu/trusty64
vagrant up
The virtual disk is created in your user’s HOME, in the subdirectory ~/VirtualBox\ VMs
ls -al ~/VirtualBox\ VMs/prueba_default_1682326653672_96128
total 3119136
drwx------  6 luis  staff         192 23 abr 10:59 .
drwx------  3 luis  staff          96 23 abr 10:57 ..
drwx------  5 luis  staff         160 23 abr 10:59 Logs
-rw-------  1 luis  staff  1584726016 23 abr 10:59 box-disk1.vmdk
-rw-------  1 luis  staff        4495 23 abr 10:59 prueba_default_1682326653672_96128.vbox
-rw-------  1 luis  staff        4904 23 abr 10:59 prueba_default_1682326653672_96128.vbox-prev
Connect to the VM using SSH
ssh -p 2222 vagrant@127.0.0.1 <== Password is 'vagrant'
We can quickly destroy this virtual machine with
➜ vagrant destroy
    default: Are you sure you want to destroy the 'default' VM? [y/N] y
==> default: Destroying VM and associated drives...
VM for Developers
In this GitHub repository you’ll find a virtual machine for software development prepared with Vagrant. It’s a repository with everything needed to create a virtual machine oriented to Software Development with Python and JupyterLabs. You can use this VM to connect with additional Database services and Jupyter exercise notebooks. All the information is in the repository’s README.