Virtualization allows running multiple operating systems on the same machine without making changes to the main disk. In this post I show how I install VMWare Workstation Pro as a host on a Windows 11 Pro and how I create a Windows 11 Pro Guest without TPM 2.0, for the purpose of having an isolated development environment.
Windows post series
- Set up a PC for Dualboot Linux / Windows and install Windows 11 Pro.
- Configure a decent Windows 11 by removing the bloatware.
- Set up Windows for software development, CLI, WSL2 and tools.
- Install VMWare Workstation Pro on Windows 11 with a Windows 11 Pro VM.
- Install Windows 11 VM on Proxmox to have a Windows 11 Pro on a Proxmox Host.
VMWare Workstation Pro
As I mentioned, I’ll use VMWare Workstation Pro as the virtualizer and the host is a Windows 11 Pro. I’ve ruled out Hyper-V or VirtualBox as virtualizer – Broadcom decided to release VMware Workstation Pro and VMware Fusion for free as part of their strategy after acquiring VMware.
From the VMWare site and specifically from this post the free availability was announced. To install, go directly to VMWare Workstation Pro (Win/Linux) or VMware Fusion Pro (Mac). The first time you have to register as a Broadcom user. When you’re on the downloads page enter the terms & conditions or it won’t let you accept them. Then you have to authenticate before downloading. For future updates what I do is go back in and download newer versions, because the application’s own Update doesn’t work for me.
In my case I used VMware-workstation-full-17.6.2-24409262.exe, you run it, accept the license terms and customize the installation if desired (location, shortcuts, etc.).
Although it’s off-topic, installation on Linux is also very simple, I just ran the following:
⚡ luis@kymerax:VMWare % sudo ./VMware-Workstation-Full-17.6.2-24409262.x86_64.bundle
Extracting VMware Installer...done.
Installing VMware Workstation 17.6.2
    Configuring...
[######################################################################] 100%
Installation was successful.
Creating a VM with Windows 11 Pro
I download Windows 11 from Microsoft’s downloads. ISO section, option Windows 11 (multi-edition ISO for x64 devices). I select the Product language and start the download. The file Win11_24H2_English_x64.iso is approximately 5.4GB.
Note: If you want, you can bypass the TPM and Secure Boot requirements of Windows 11. It’s ideal for testing or running Windows 11 on incompatible hardware or virtual machines, not recommended for production. If you’re going to do this, it’s important that when creating a new VM you tell it it’s Windows 10 (even though you’ll use a Windows 11 ISO).
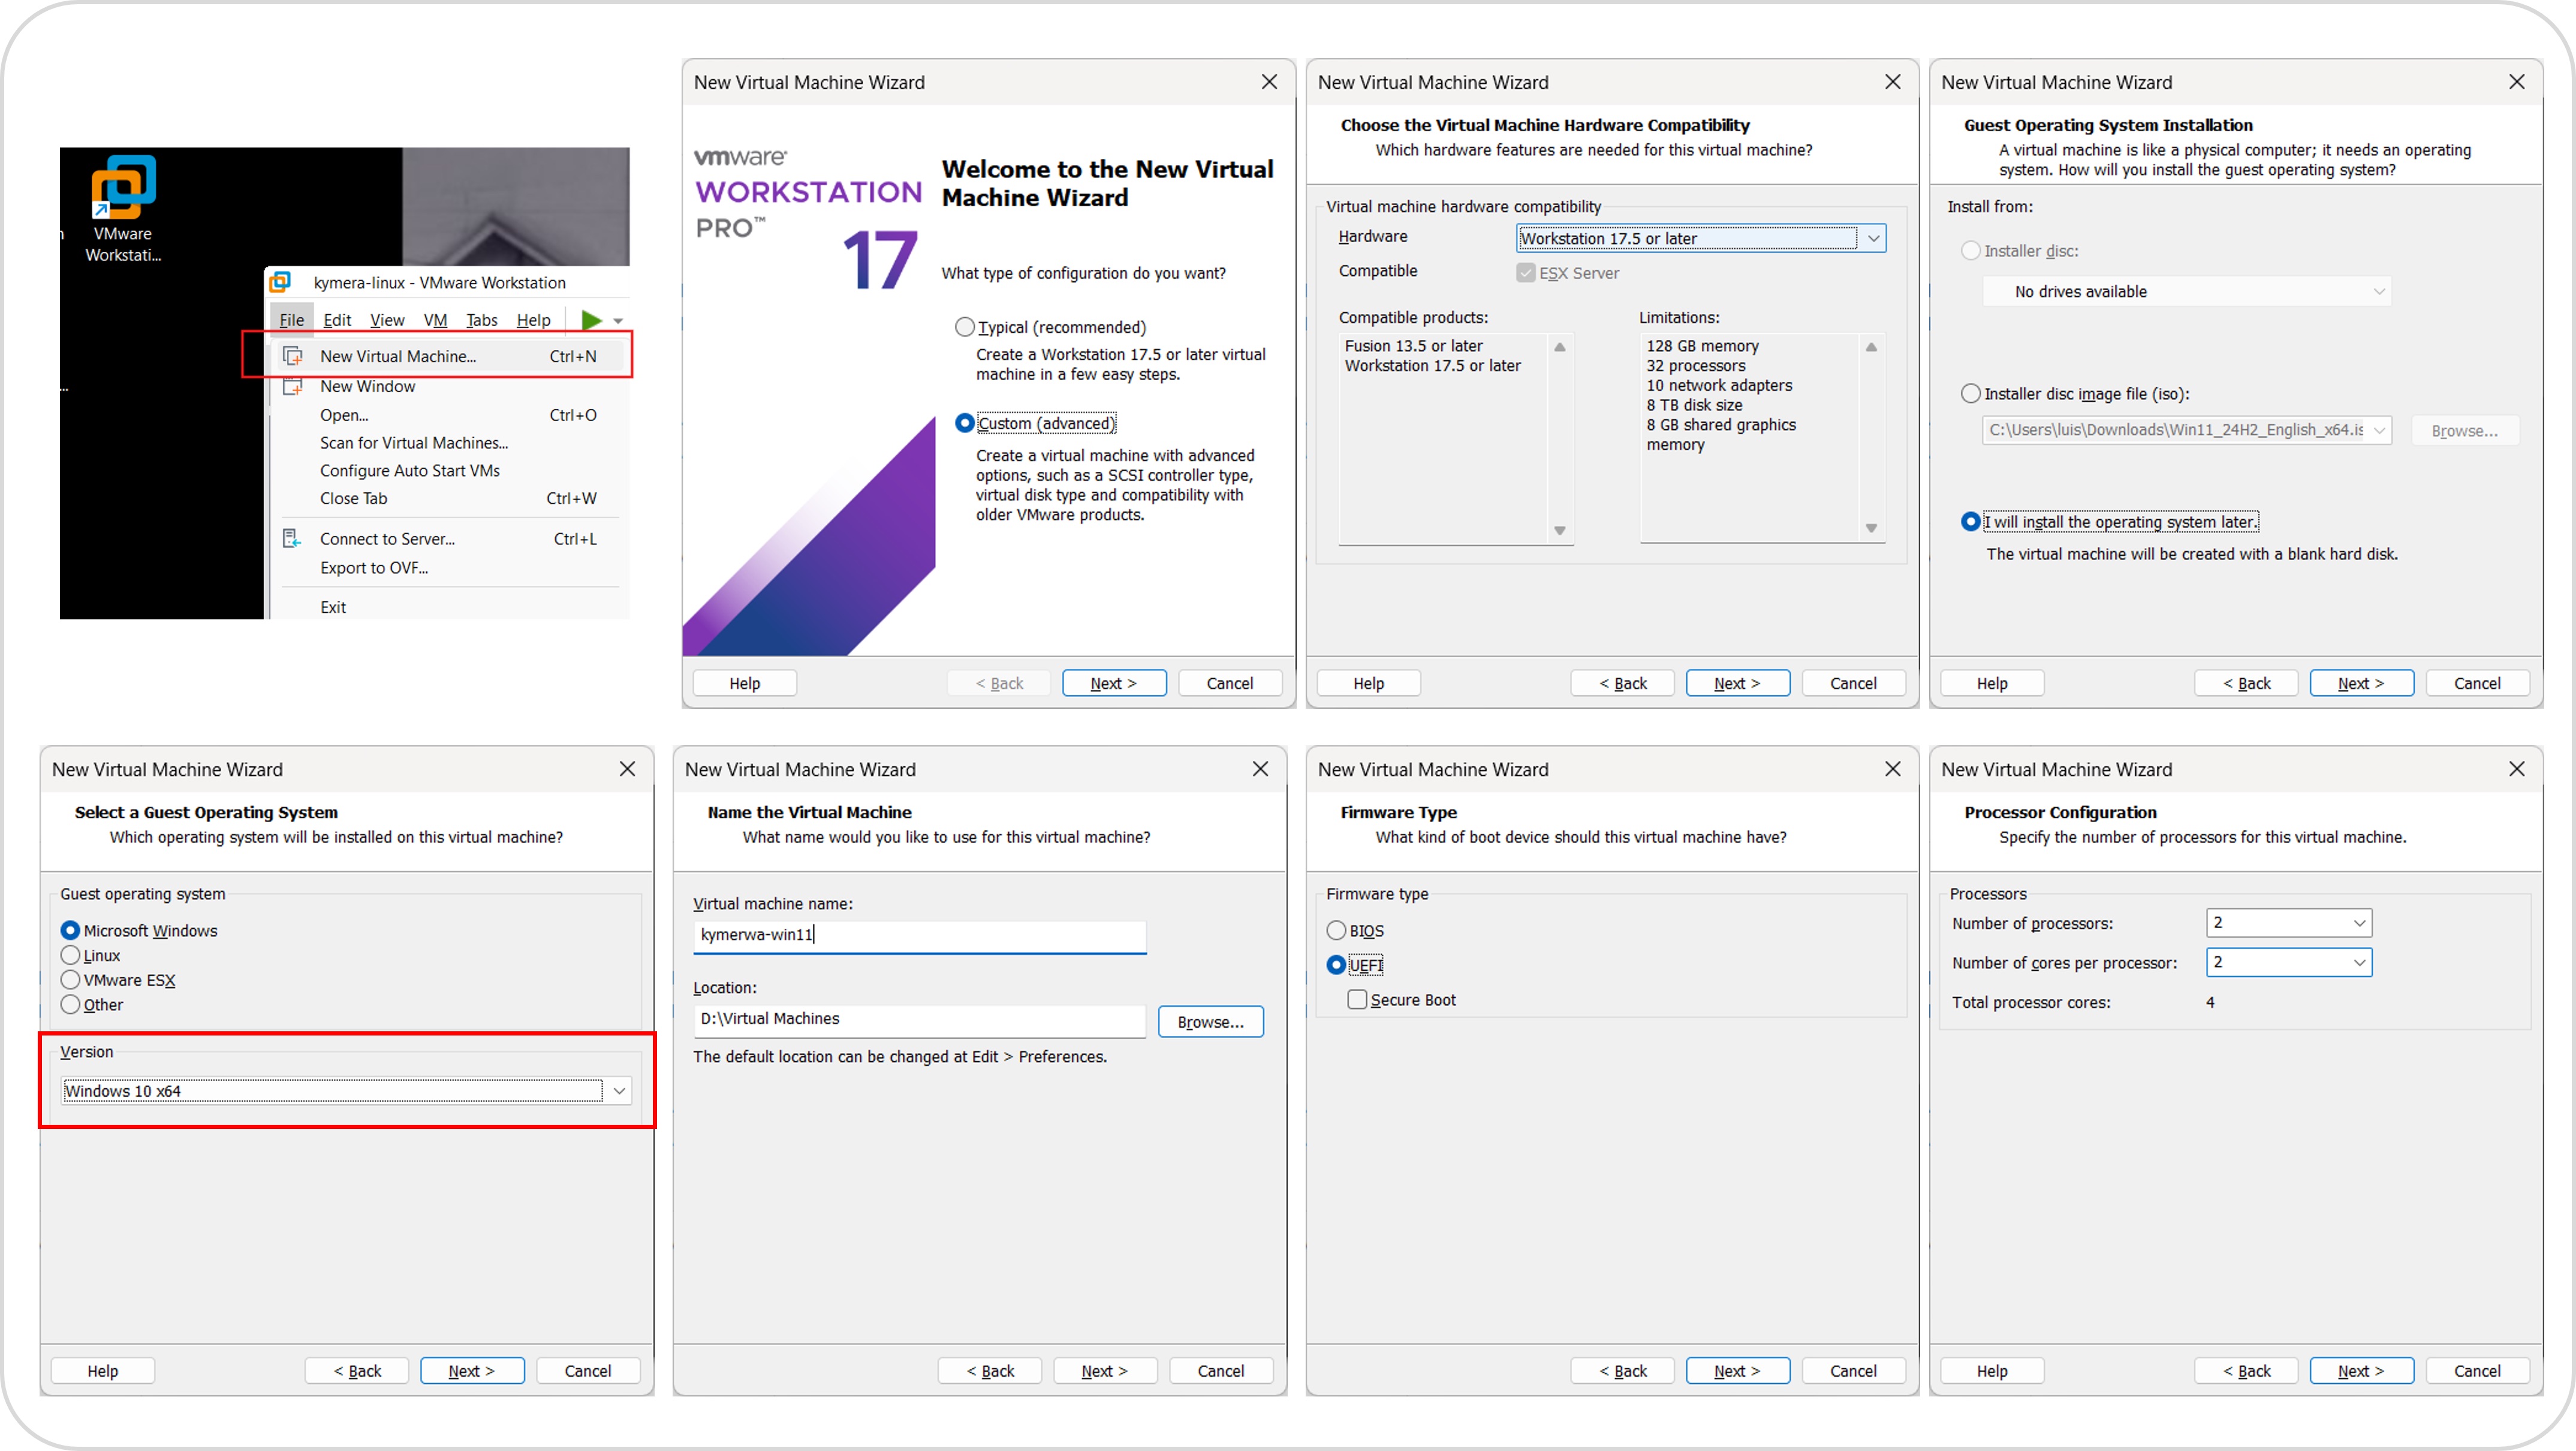
I use 4 vCPUs, 16 GB, a maximum disk of 120 GB
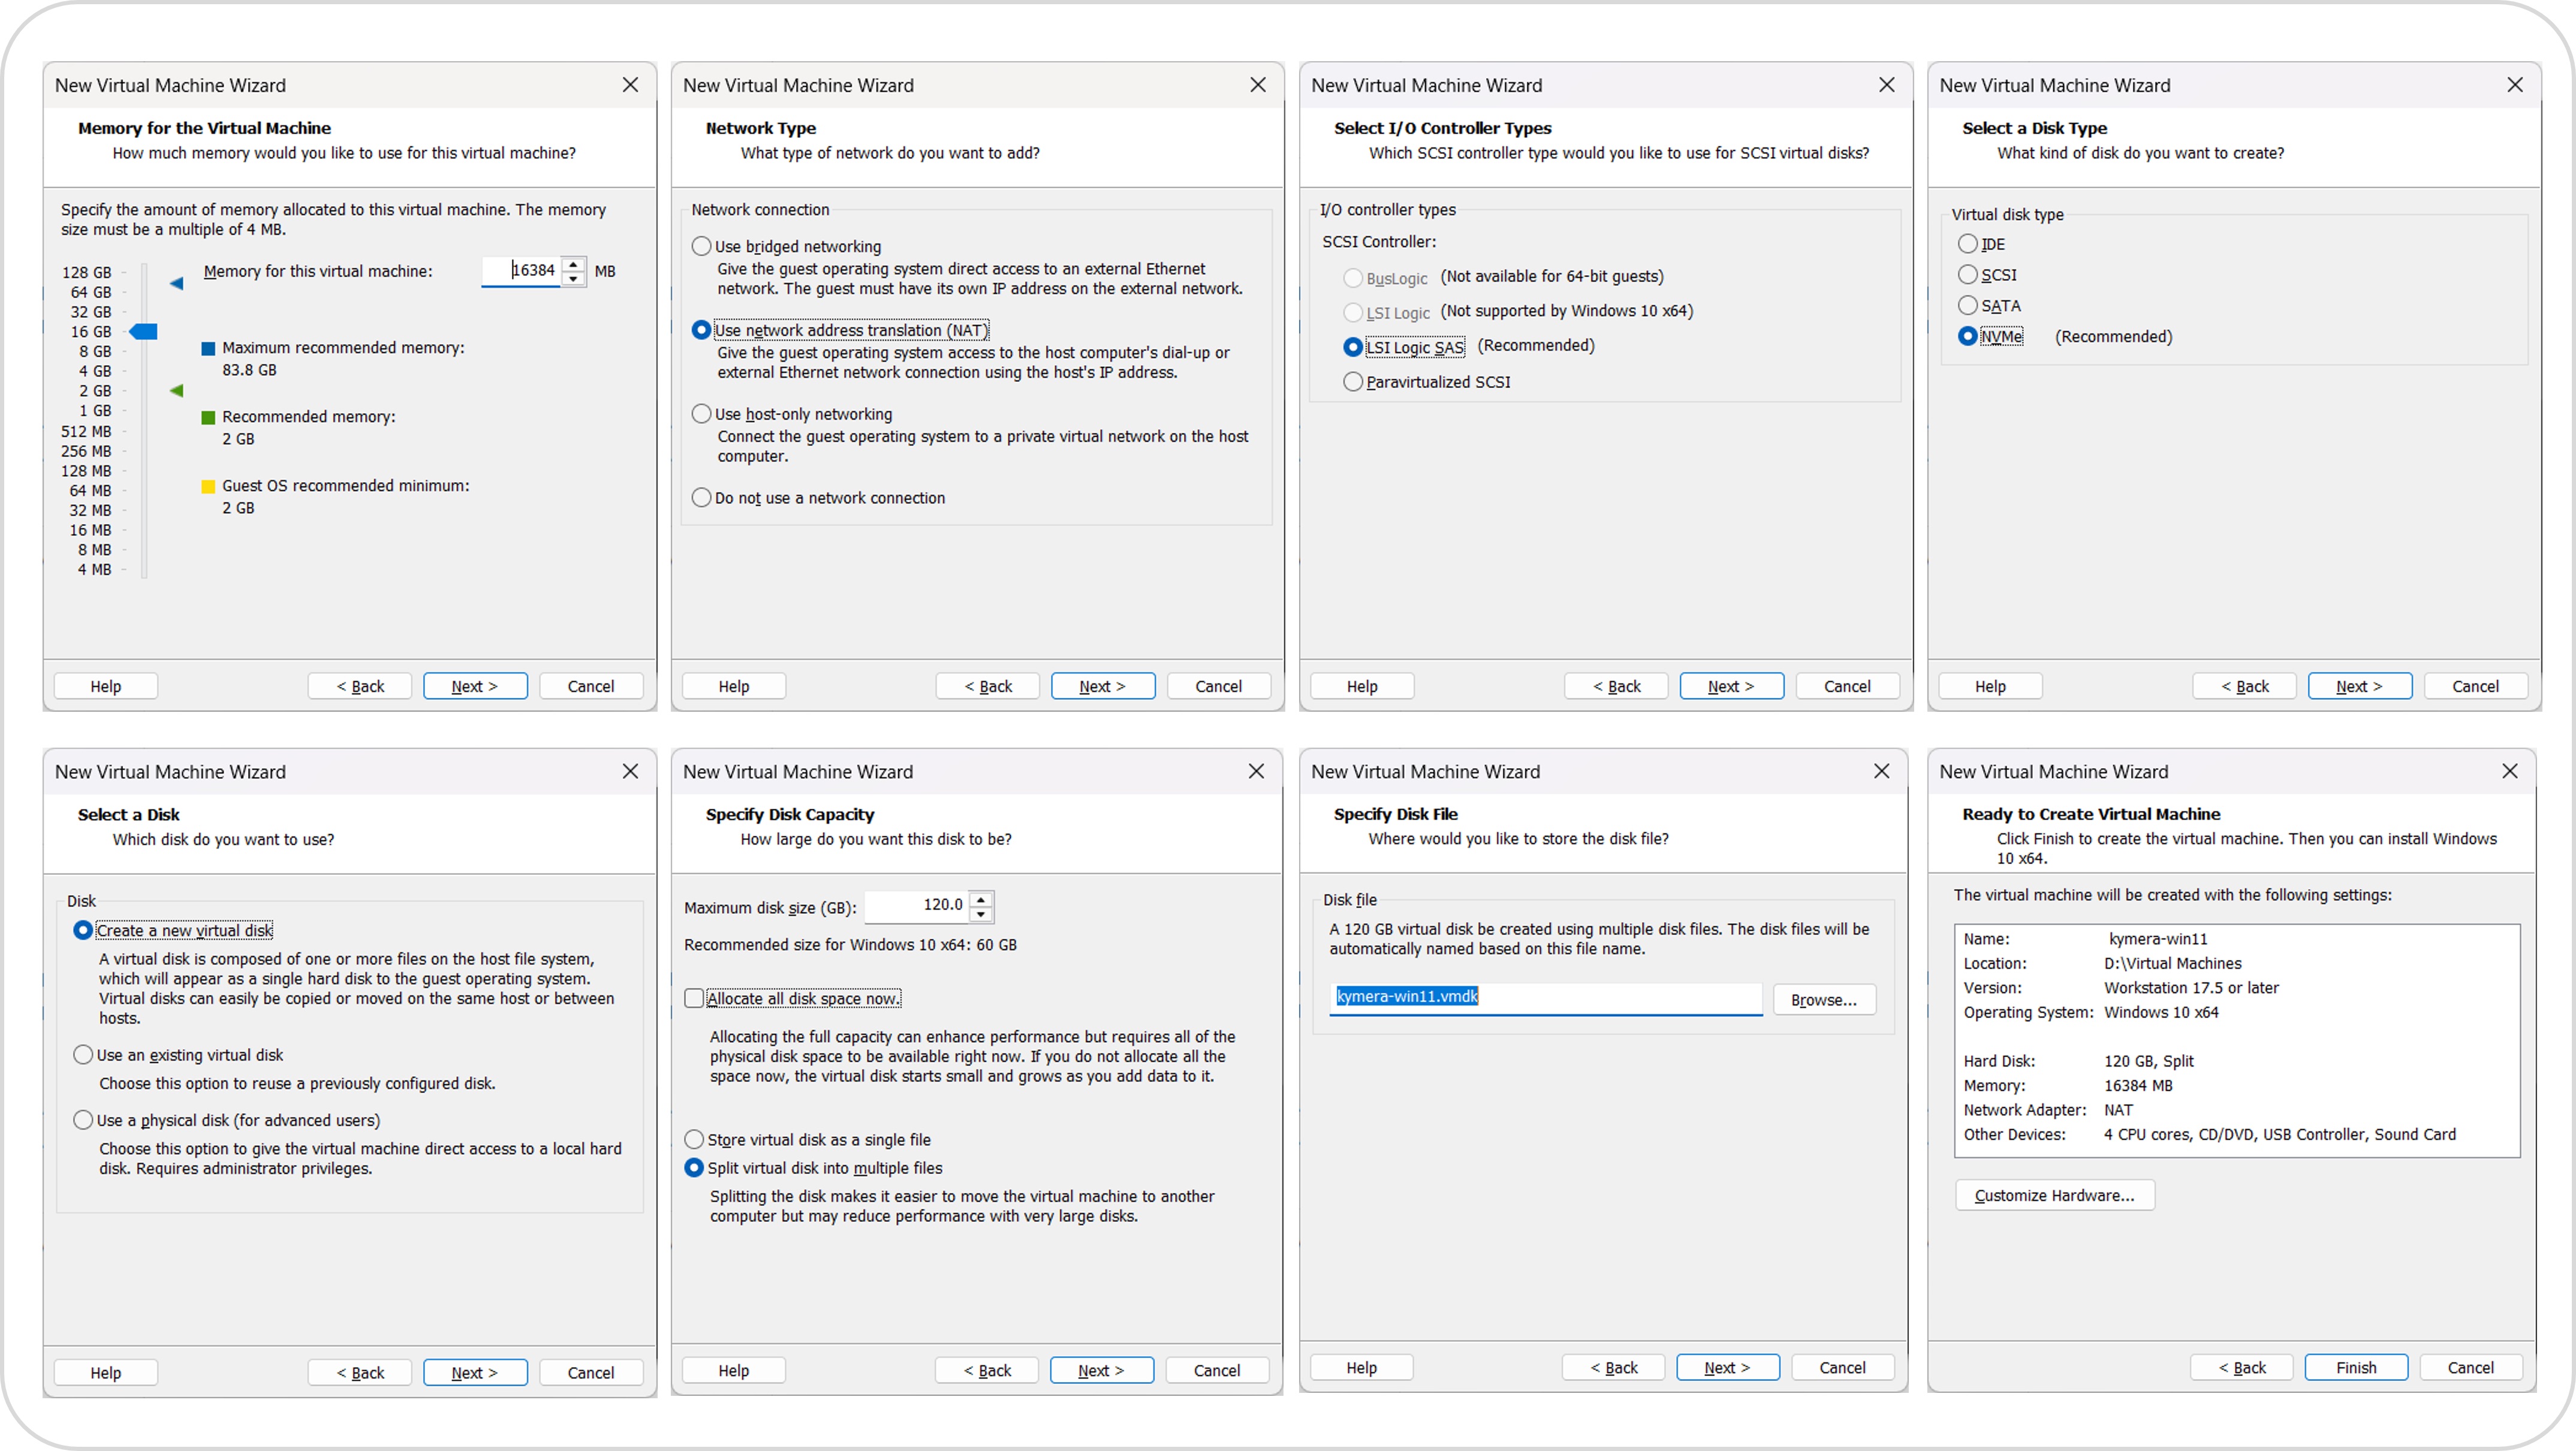
Once I have the VM, I connect the official ISO to the CD/DVD (VM settings), boot, press a key/ESC to boot from DVD and when I reach the keyboard type question.
I pause here: If you’re NOT going to do the TPM bypass, skip to “Continue with Installation”.
Only if you want to disable TPM 2.0,
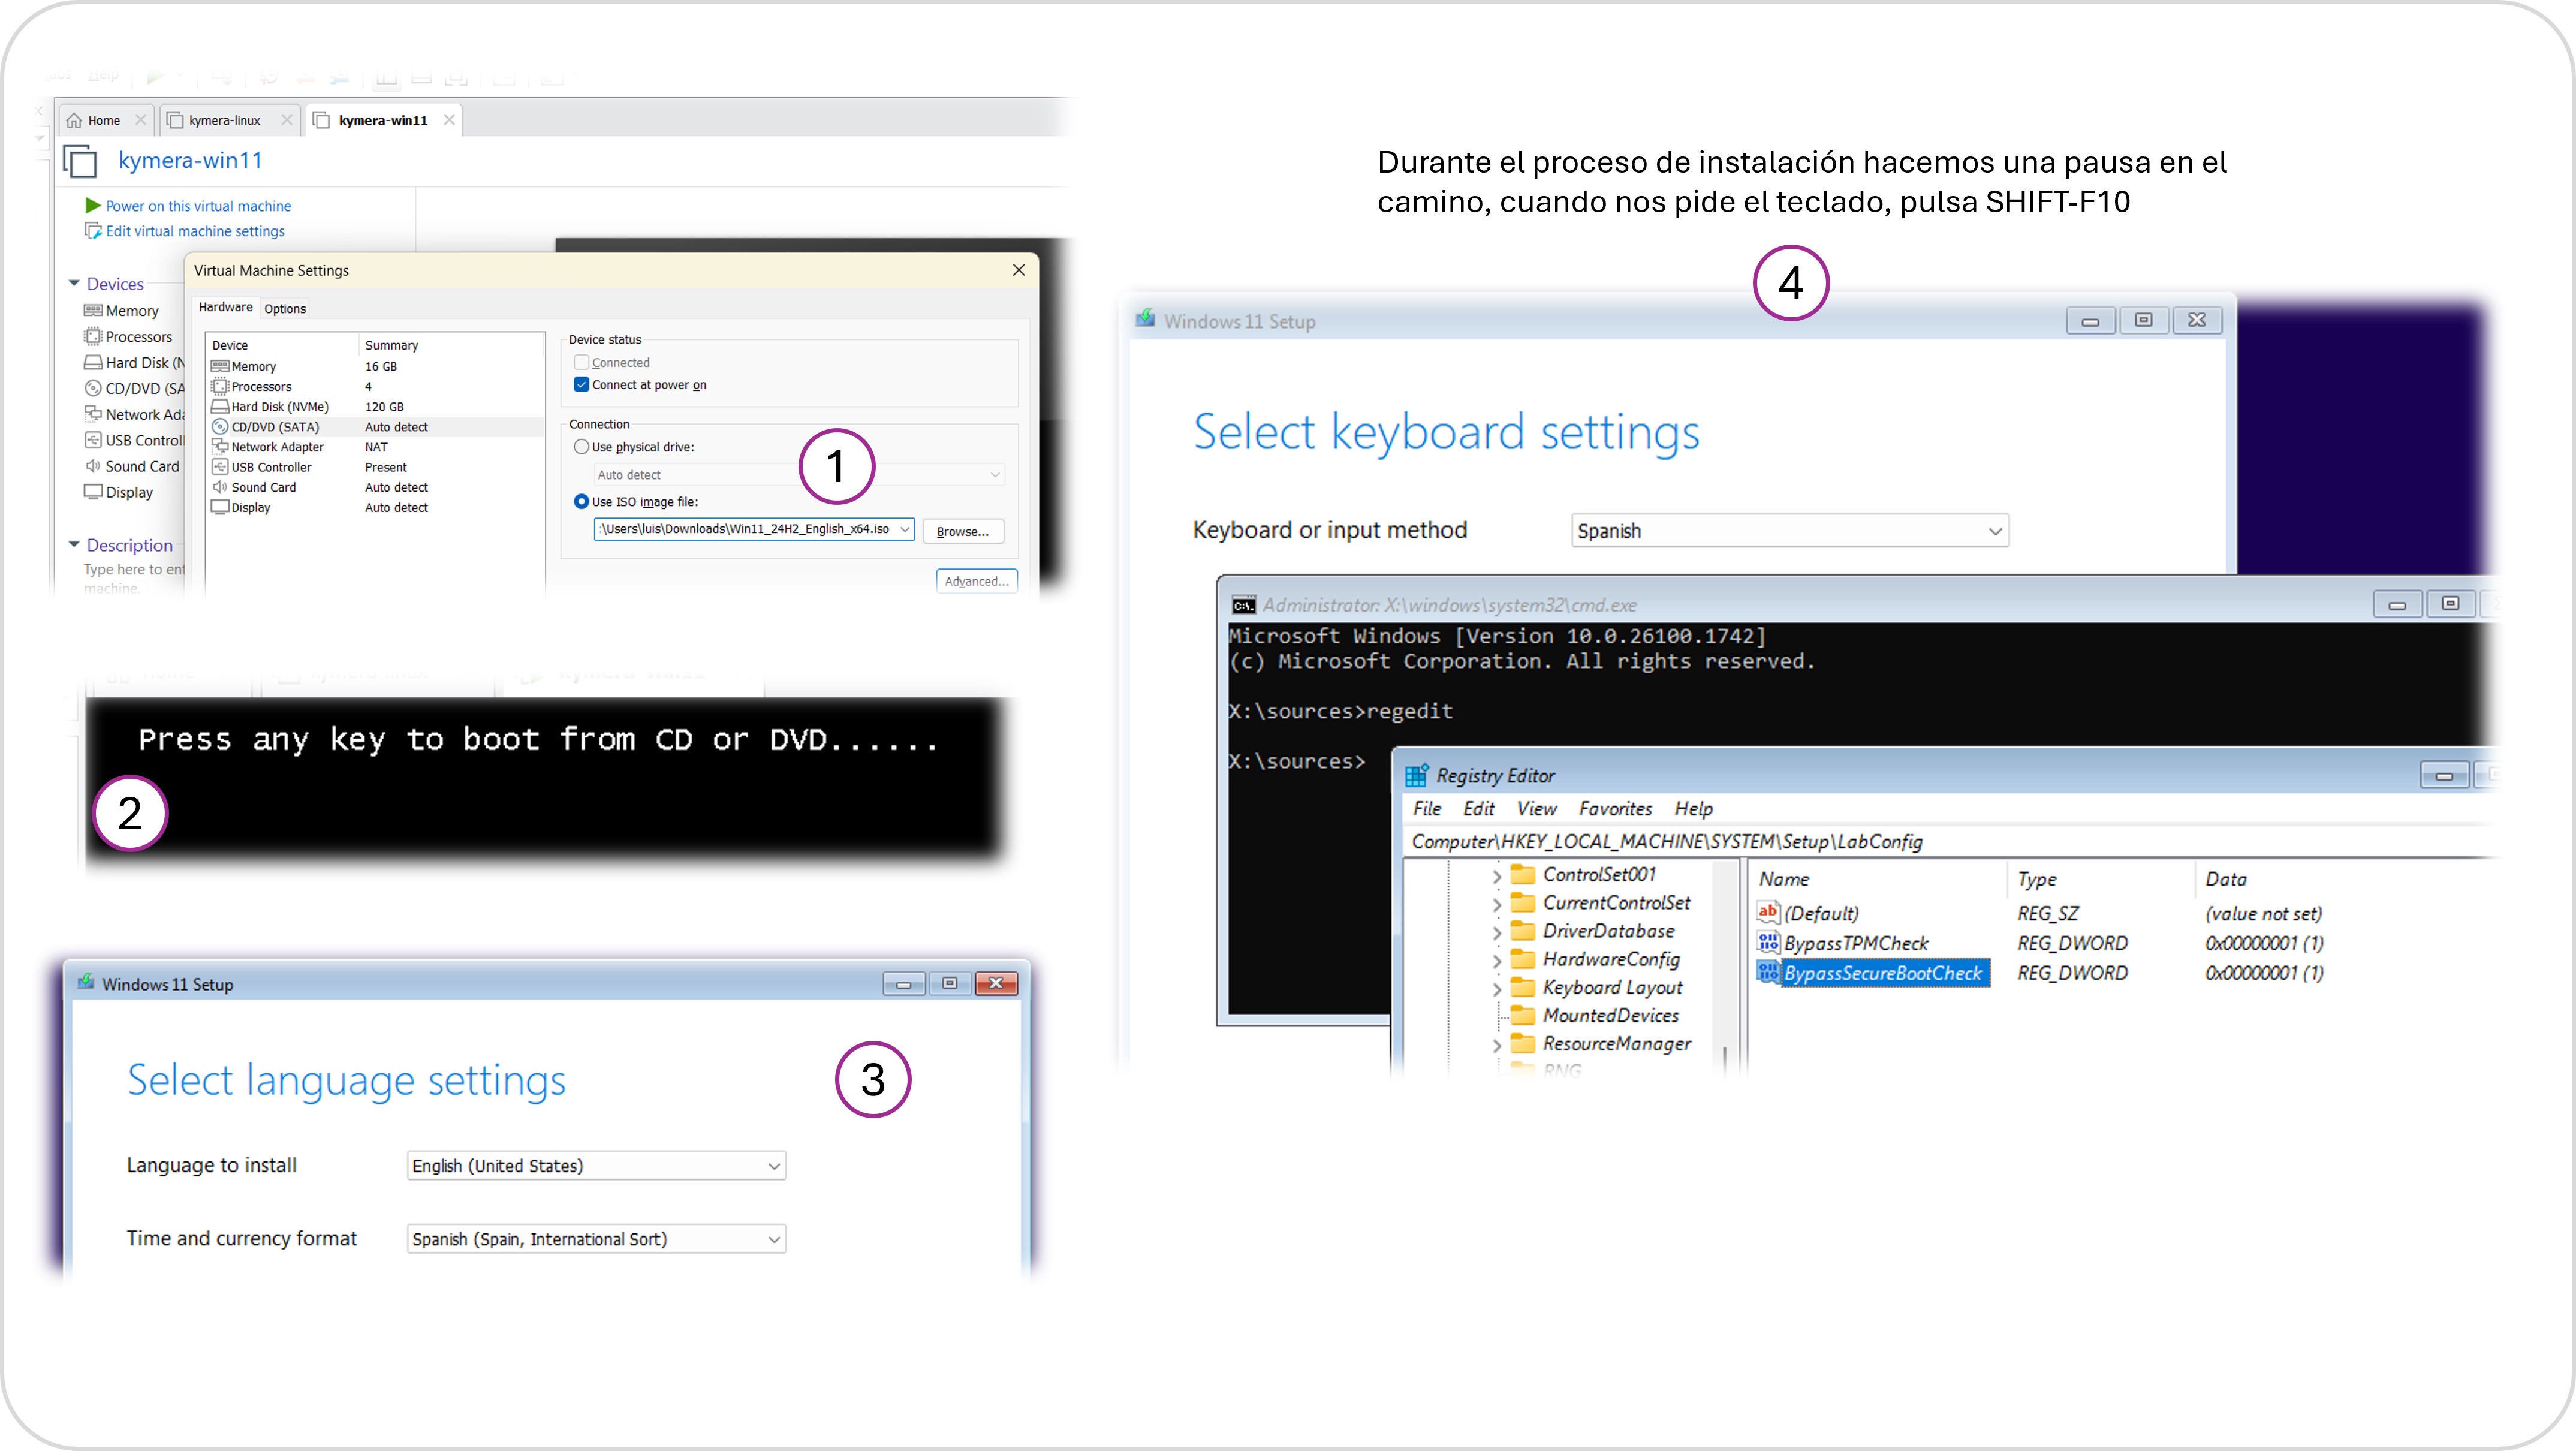
We press Shift + F10, the DOS box appears and I open regedit.
- Navigate to
HKEY_LOCAL_MACHINE\SYSTEM\Setup - Right-click on
Setupand selectNew > Keyand name itLabConfig - In LabConfig
- Right-click in the right panel:
New > DWORD (32-bit):BypassTPMCheck- Double-click on BypassTPMCheck and set the value to
1
- Double-click on BypassTPMCheck and set the value to
- Right-click in the right panel:
New > DWORD (32-bit):BypassSecureBootCheck- Double-click on BypassSecureBootCheck and set the value to
1
- Double-click on BypassSecureBootCheck and set the value to
- Right-click in the right panel:
I close the registry editor and close the command prompt. Back to where we were.
Continue with Installation
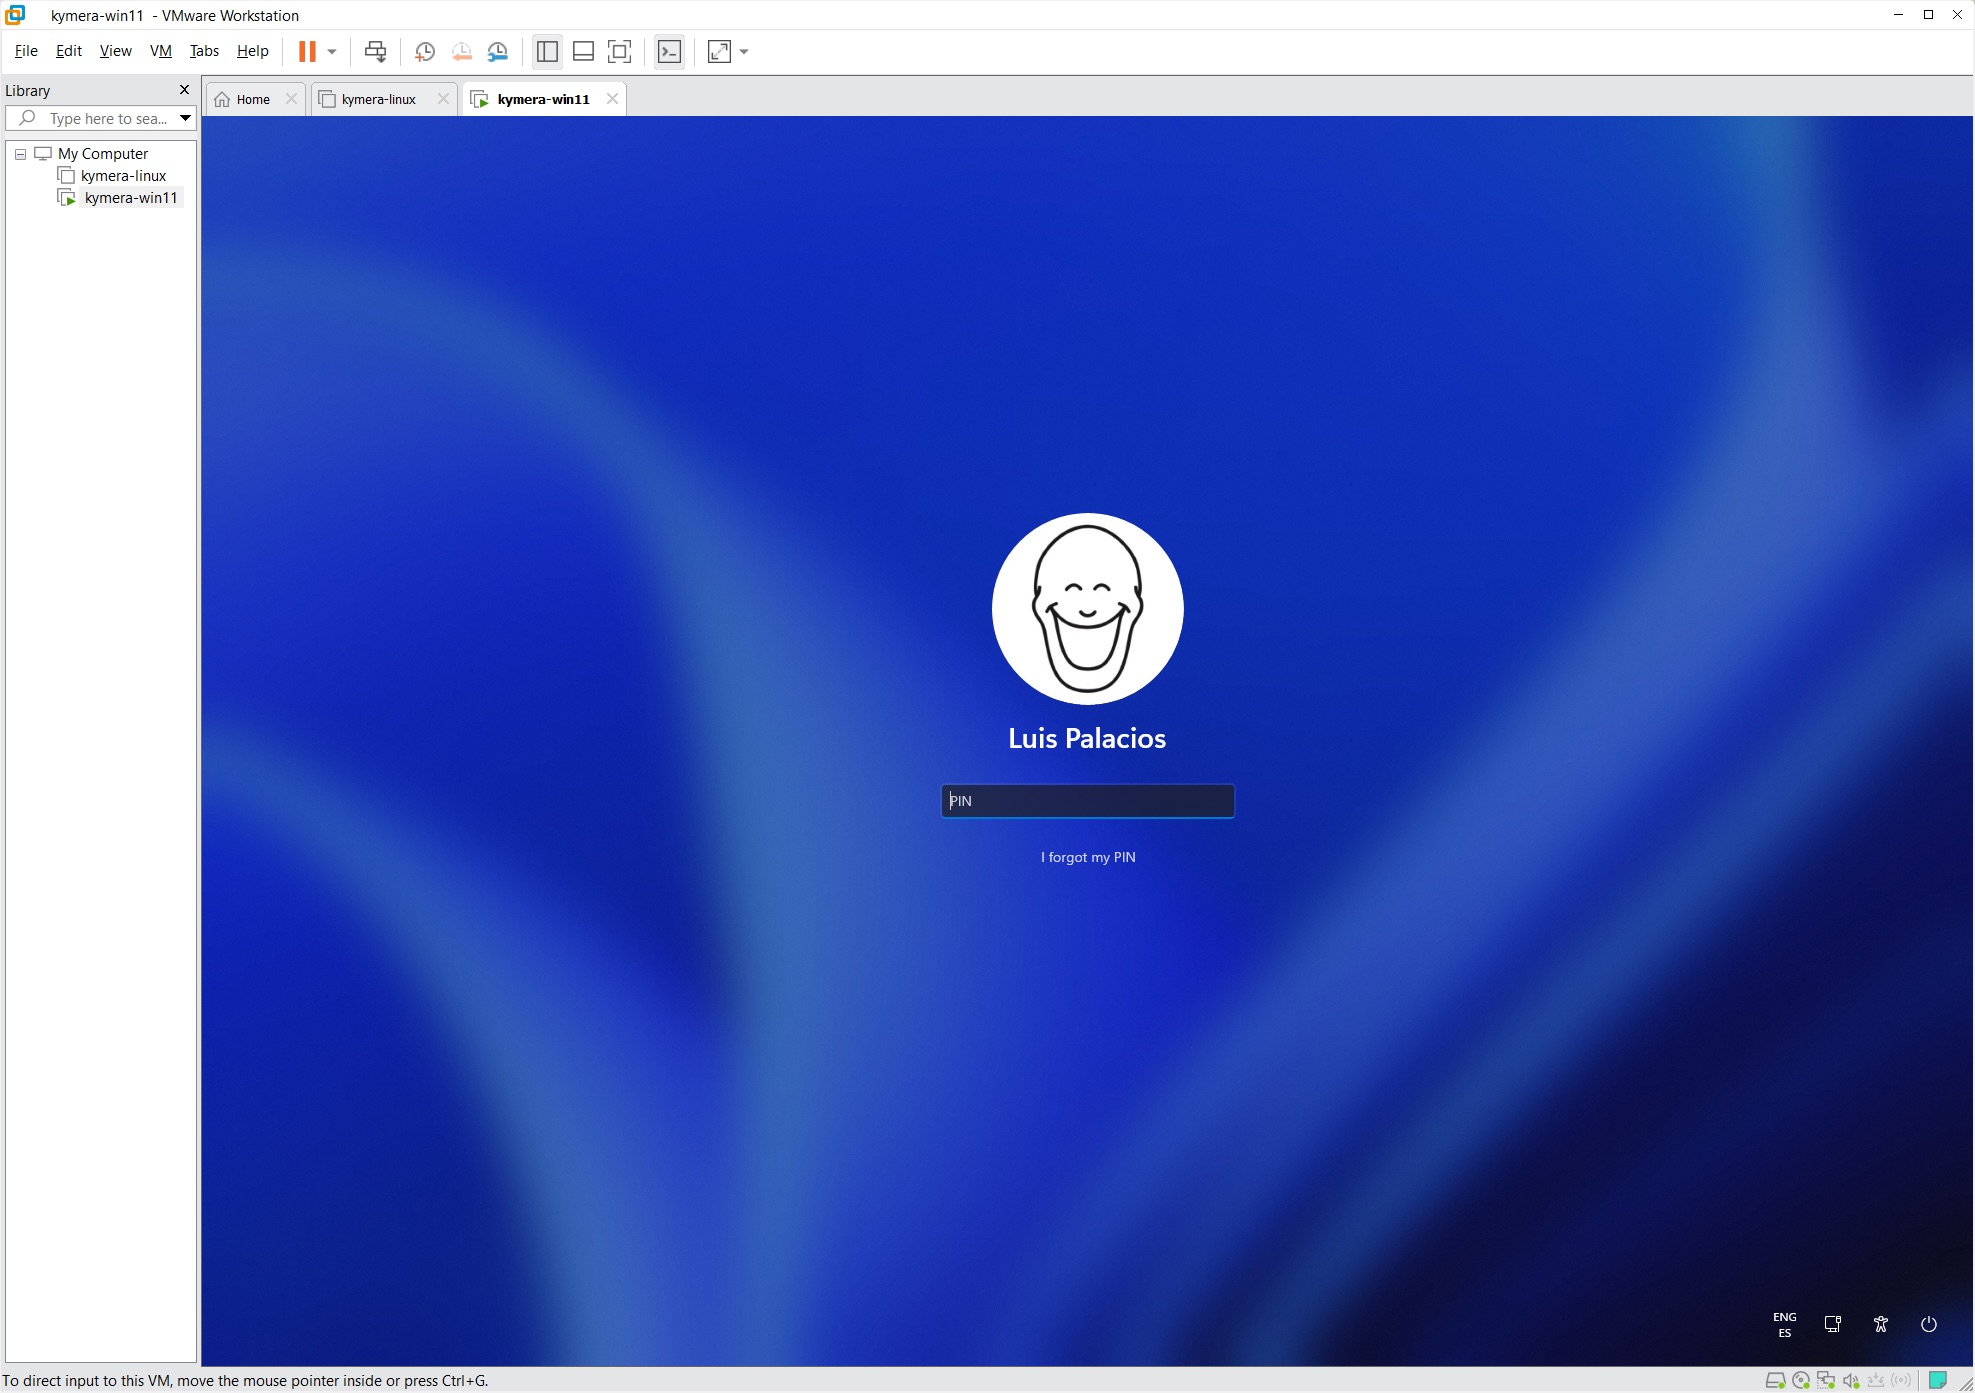
I continue with the installation, keyboard, updates, naming the machine, asks how to use it (personal or work), I select “Personal”, log in with my Microsoft account and continue configuring as a new machine. I create a PIN and say no to location, find device, diagnostics, inking, typing, tailored experiences, ads ID, etc. I skip the phone part, ask it not to make backups, not to import anything from another browser and after a few reboots it finishes. You’ve got it!
Customization
- I install VMWare Tools
- VMWare Workstation menu
VM->Install VMWare Tools- Win+R
D:\setup.exe
- Win+R
- VMWare Workstation menu
- I shut down the VM
- I disable the CD/DVD during power on.
- VM -> Options
- Enable Shared Folders (to access the Host’s disk)
- I sync the guest time with the host.
- I turn on the VM, go back to Settings -> Options -> Autologin: I enable it.
- I customize this virtual machine. Making a Windows “decent” without bloatware is a tedious process, but it’s worth it.
- I apply the post: A decent Windows 11
- I shut down the VM and save the image as-is in case I want to create another one in the future.
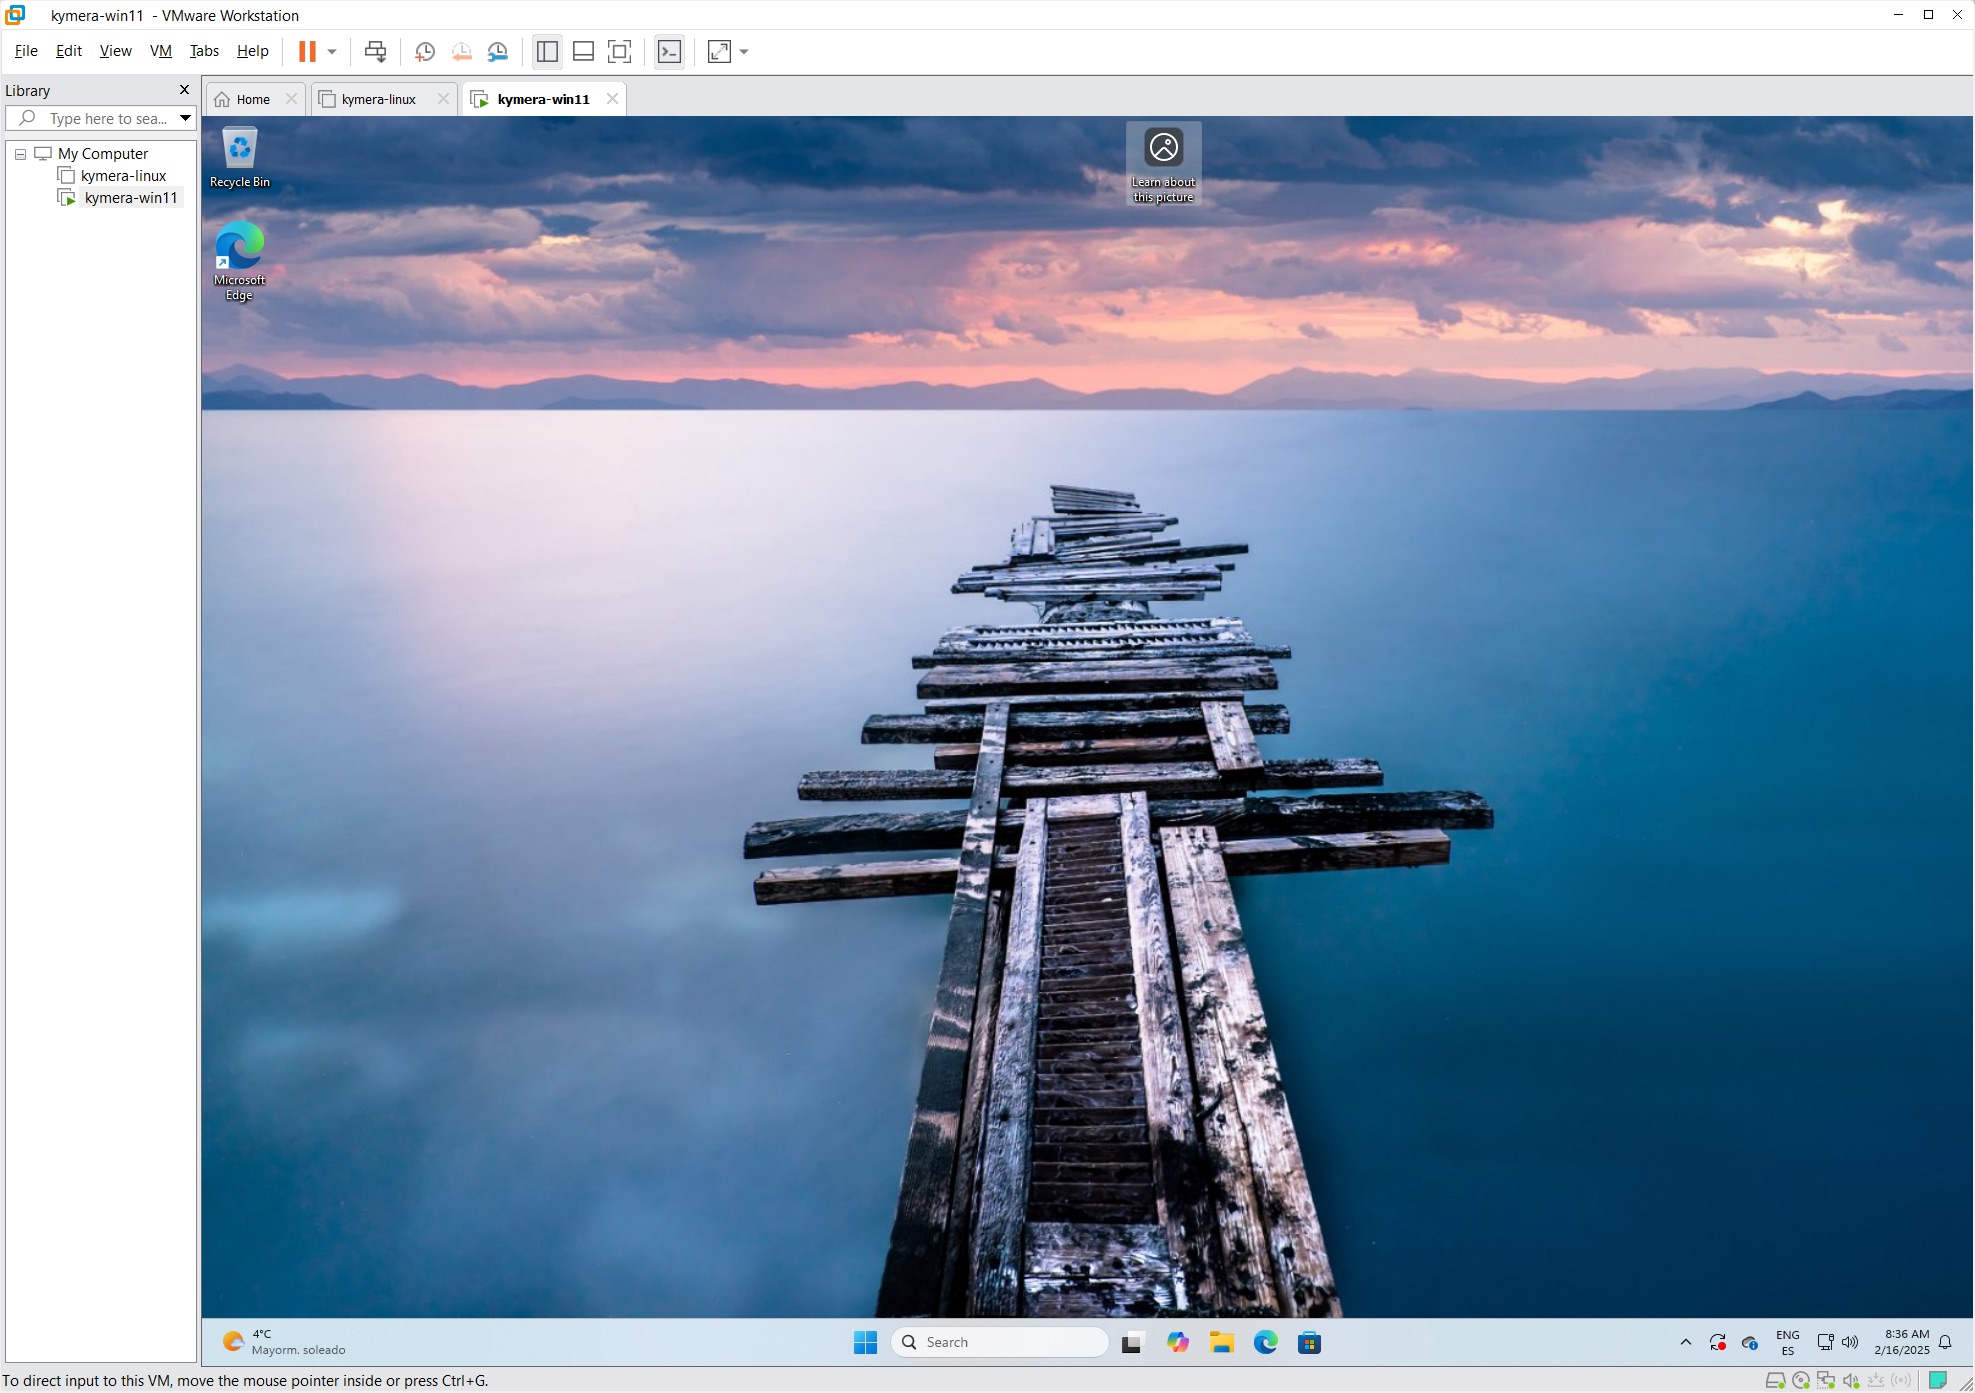
From this point I have another Windows inside Windows, isolated, very useful for development environments. In fact I apply the Windows for development post to my VM.
Cloning the VM
The goal is to have a good “base” VM to be able to create multiple ones for testing, labs, etc.
Note: If you’re going to create template(s), delete the SNAPSHOTS first.
Once you have your perfect VM, empty, no bloatware, updated, the right thing to do is save it so it’s the base for future ones.
- While still in your VM, run the following if you want to “Generalize” it
C:\Windows\System32\Sysprep\sysprep.exe-> Generalize, Shutdown, Out-of-box experience.- Later, when you use this image it will ask for: region, keyboard, device name, login options, PIN and a bunch of options to which I again say “I don’t want anything…”
- The VM will shut down
- VM > Manage > Clone (Current state, Full clone, “Win11-Master”)
- Note where to save it, normally in your
Documents/Virtual Machines/Win11-Master/** - Optional: Make a ZIP of the “Win11-Master” folder with all its contents (note: takes a long time)
Using the clone on the same or another machine
Copy the Win11-Master directory somewhere else.
Or copy and decompress the ZIP
Rename the
.vmxand folderOpen the
.vmxfrom VMware.When it asks if you moved or copied the VM -> choose “I copied it” to regenerate UUID and MAC.
VMware OVF Tool (another option)
- Download and install the OVF Tool from the Official Link
- Add it to your user’s PATH:
$ovfToolPath = "C:\Program Files\VMware\VMware OVF Tool" [Environment]::SetEnvironmentVariable("Path", $env:Path + ";$ovfToolPath", [EnvironmentVariableTarget- From the CLI go to the “Win11-Master” directory and run the following (note: takes a long time)
ovftool.exe .\Win11-Master.vmx ..\Win11-Master.ova- You can take the
.ovaelsewhere and create VMs from it.- Useful for migrating to another platform (like ESXi, VirtualBox, etc.)
- Useful for publicly distributing a VM (for example, an educational or demo image).
In the following example I took the ZIP to a Linux with Ubuntu 24.04 and VMWare Workstation Pro, decompressed it and it worked perfectly.
