In this post I describe the process of installing a “Bitwarden” server. I’ve been using their Cloud service for several years, but I’ve decided to go with an on-premise home installation.
While researching I discover with surprise that I have two options, the first is to use the official Bitwarden self-hosted (which consumes quite a few resources and seems complex) or go with a lightweight Vaultwarden, a clone of the former, which apparently installs quickly and is simple.
Introduction
Bitwarden is a free and open-source password manager that stores sensitive information – such as website credentials – in an encrypted vault. The service is available as a web interface, desktop applications, browser extensions, mobile applications and command-line interface. Bitwarden offers a cloud-hosted service (the one I use) and you can also install it “at home”:
- Option 1: Install the Bitwarden Server using the official Bitwarden self-hosted version. You need Docker and a configuration that apparently has some complexity.
- Option 2: Install Vaultwarden, an alternative implementation written in
Rustthat supports the Bitwarden client API and is compatible with the official Bitwarden clients (disclaimer).
To keep things simple, I’ll go with the second option and if it covers what I need I’ll probably stick with it.
Installation
These are the two options I have.
- In an LXC container with a Proxmox VE Helper-Scripts > Authentication & Security > Vaultwarden.
- On a Raspberry Pi 5 that I have dedicated to NextCloud, which is always on.
In both cases it’s mandatory to have an Nginx Proxy Manager at home. I already had one, and I documented it in my post about Home Automation and Networking, look for the Reverse Proxy section.
Vaultwarden on Pi5:
I decide to go with the Pi5, where the first thing is to install Docker. First as root I update to the latest:
apt update && apt upgrade -y && apt full-upgrade -y
apt full-upgrade -y && apt autoremove -y --purge
From my user I install Docker:
curl -fsSL https://get.docker.com -o install-docker.sh
cat install-docker.sh                                    # (verify the script)
sh install-docker.sh --dry-run                           # a dry-run doesn't hurt
sudo sh install-docker.sh
I give permissions to my user
sudo usermod -aG docker $USER
I reboot the machine and verify
reboot
:
docker ps -a

luis@cloud:~ $ docker ps -a
CONTAINER ID   IMAGE     COMMAND   CREATED   STATUS    PORTS     NAMES

luis@cloud:~ $ docker info
Client: Docker Engine - Community
 Version:    28.0.1
:
I create a directory, prepare the compose.yaml to (download and) start Vaultwarden
luis@cloud:~ $ mkdir vaultwarden
luis@cloud:~ $ cd vaultwarden/
luis@cloud:~/vaultwarden $ mkdir vw-data
luis@cloud:~/vaultwarden $ nano compose.yaml
luis@cloud:~/vaultwarden $ tree .
.
├── compose.yaml
└── vw-data
Contents of compose.yaml:
#
# Compose for the on-premise vaultwarden service
#
services:
  vaultwarden:
    image: vaultwarden/server:latest
    container_name: vaultwarden
    restart: unless-stopped
    environment:
      DOMAIN: "https://bitwarden.tld.com"
    volumes:
      - ./vw-data/:/data/
    ports:
      - 8080:80
More or less it looks like this – you’ll have your NGINX in between, with your domain, all requests that arrive on the https port get redirected to internal server X.Y on port 8080.

I start the container and watch its log
luis@cloud:~/vaultwarden $ docker compose up -d
luis@cloud:~/vaultwarden $ docker compose logs
I configure my DNS, create a new entry in NGINX and connect to my new server at https://bitwarden.tld.com (use your domain)
From here, time to configure Vaultwarden…
Configuration
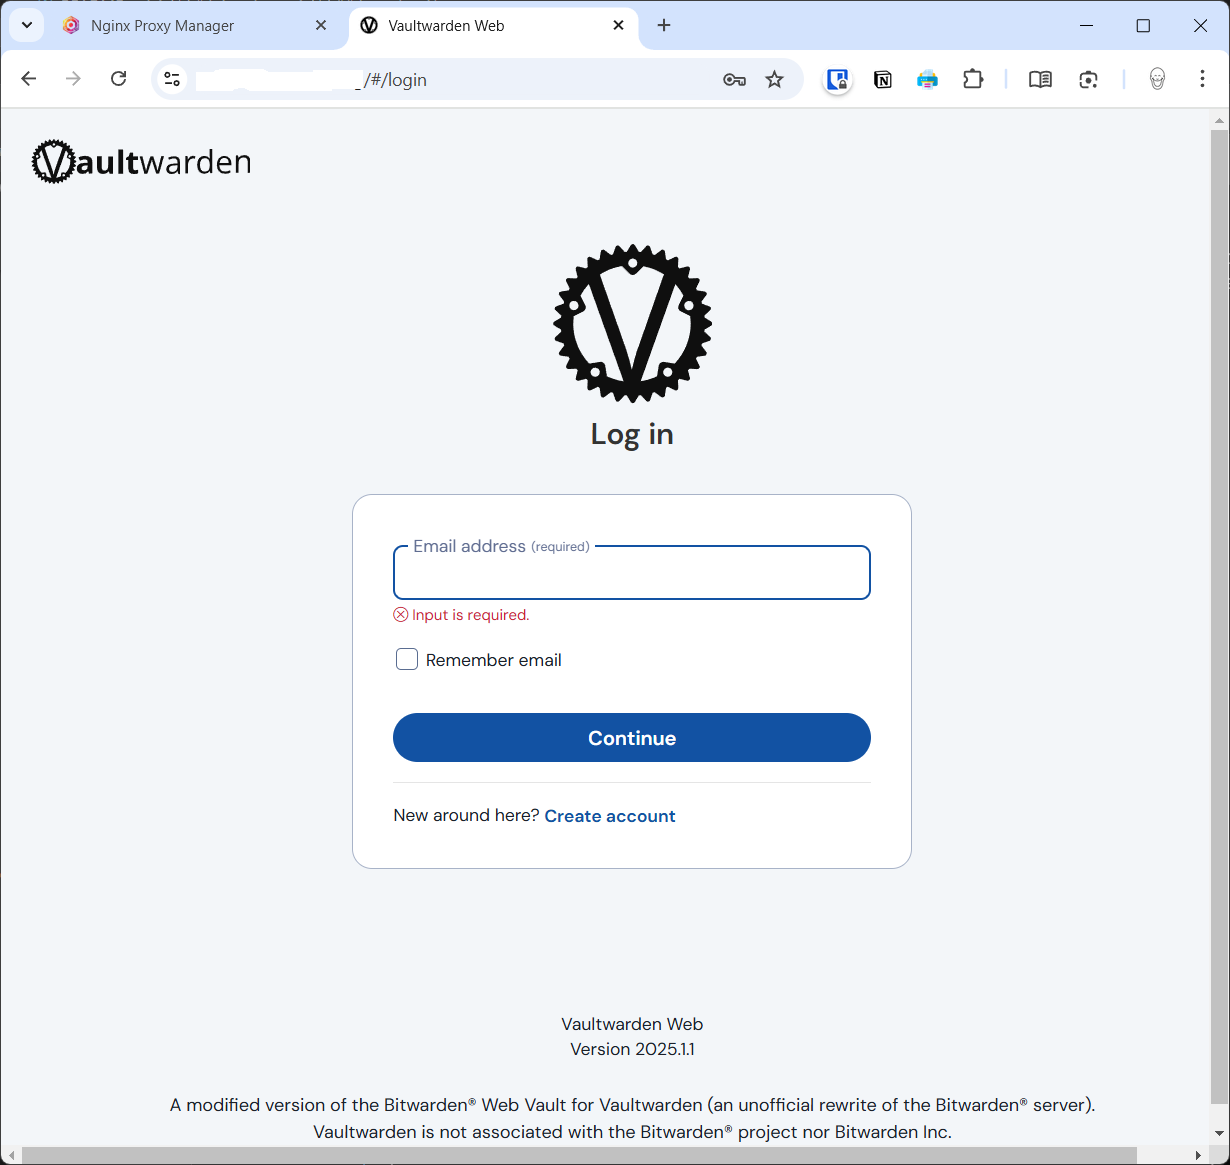
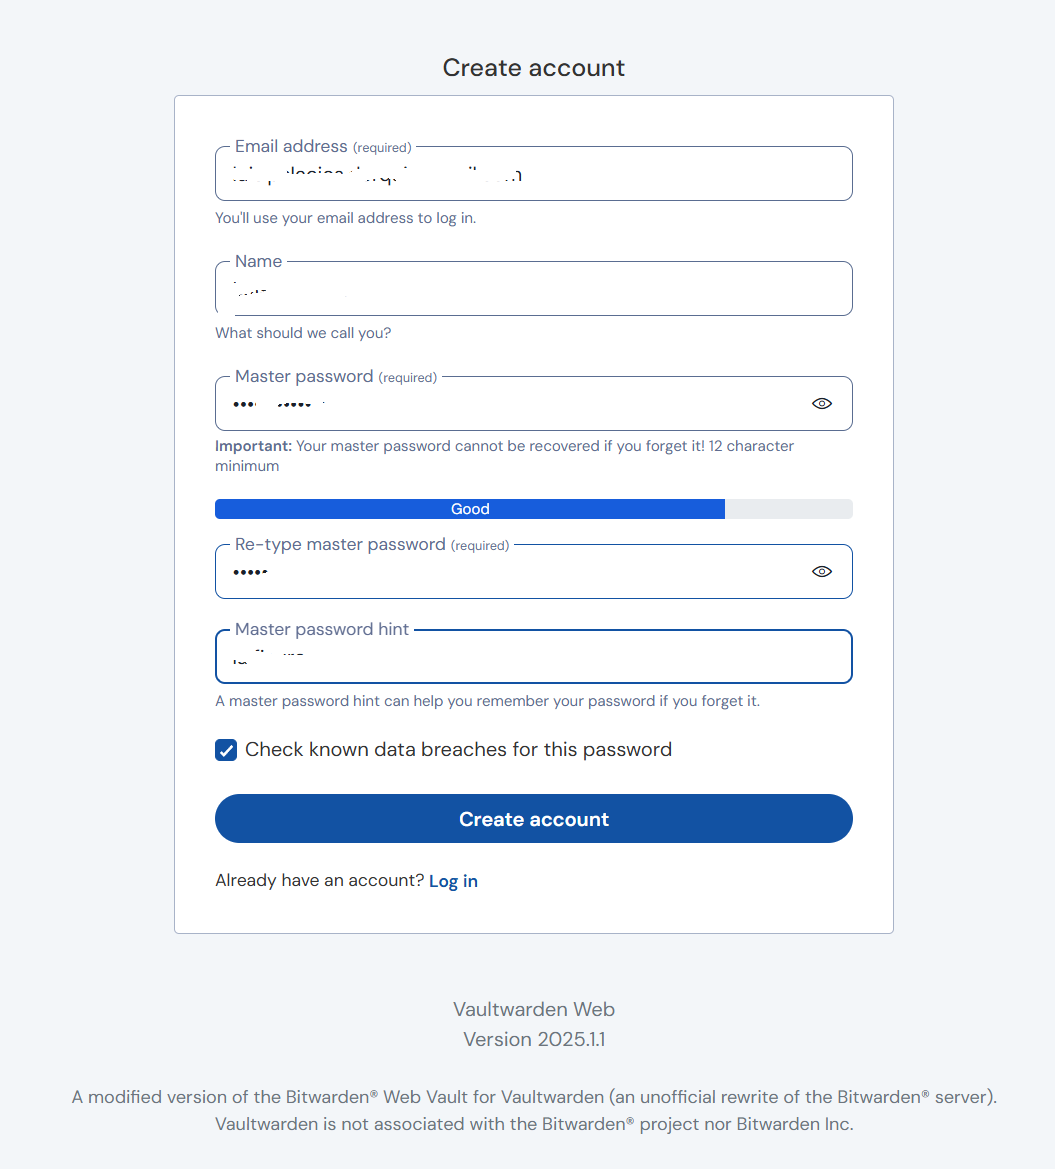
I click on Create Account, enter my personal email and the required data
I log in again and now have access to my Vaultwarden (Bitwarden) server.
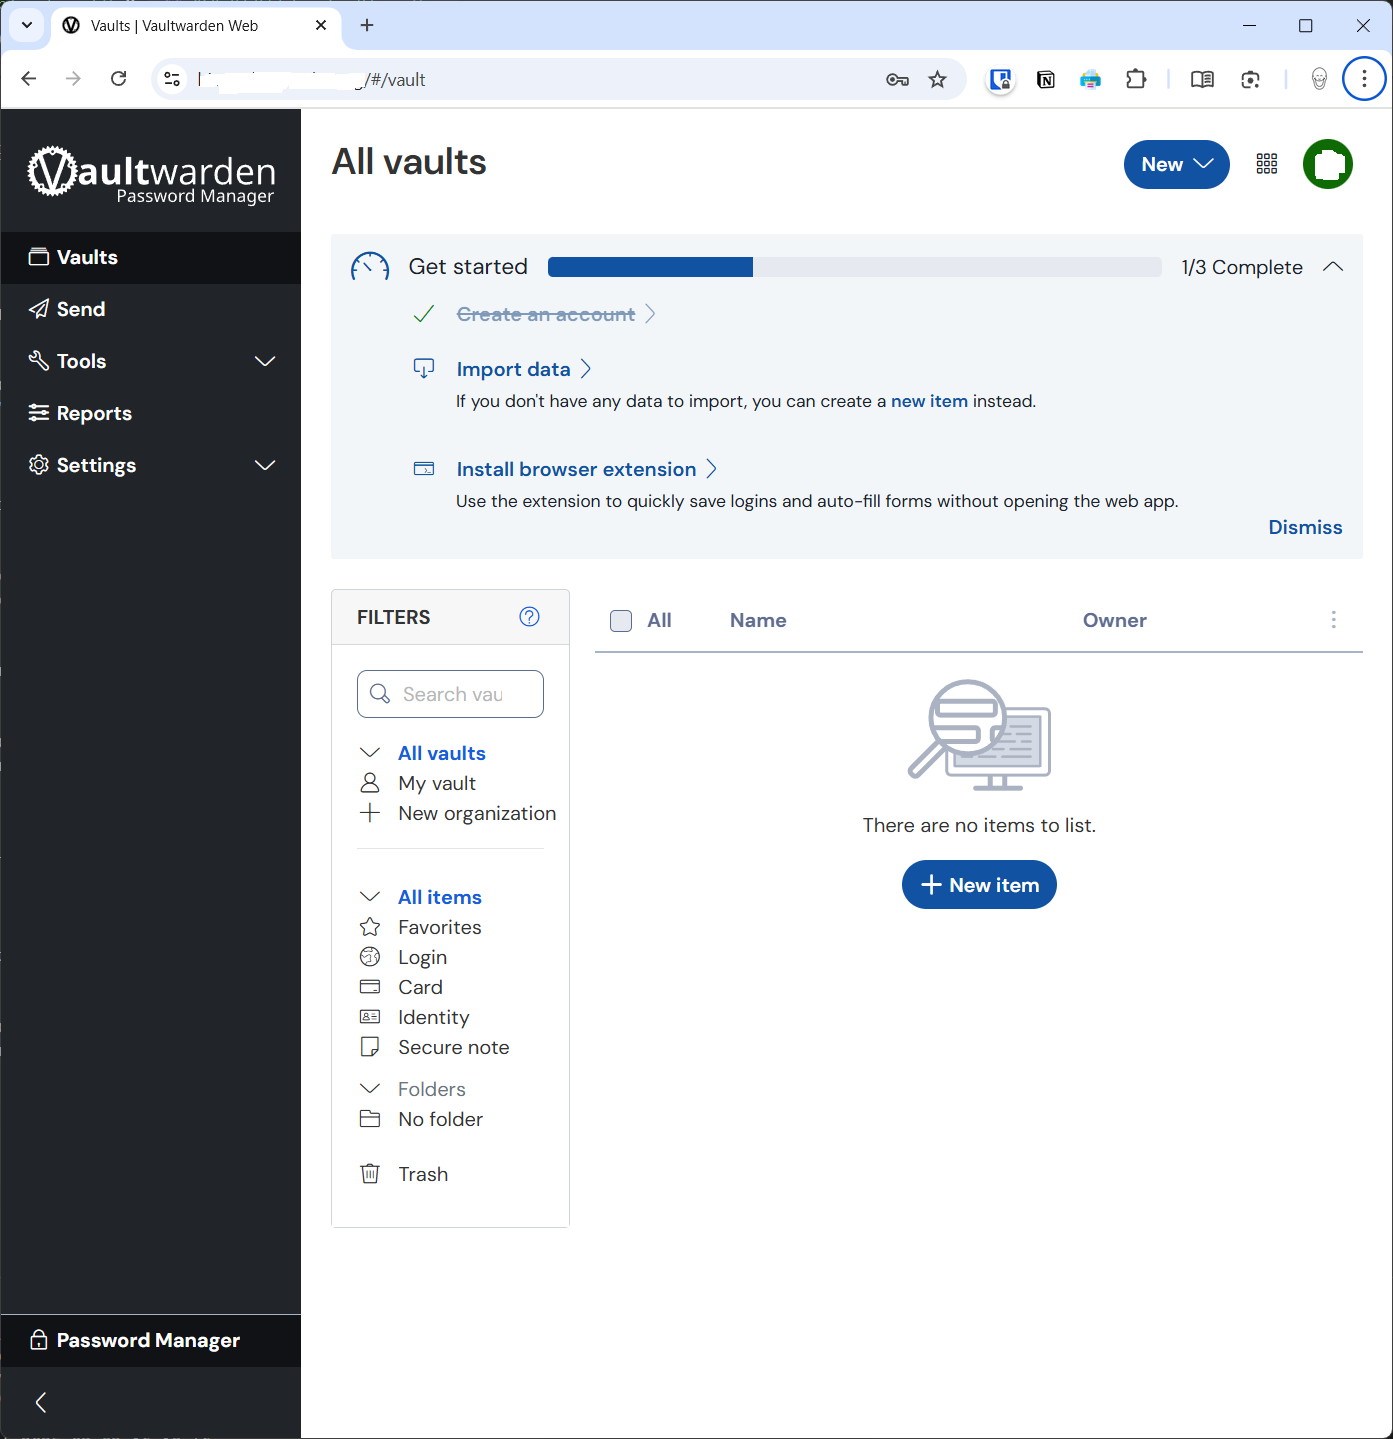
Once the installation is complete I can see the data and reconfigure the clients with the local server address.
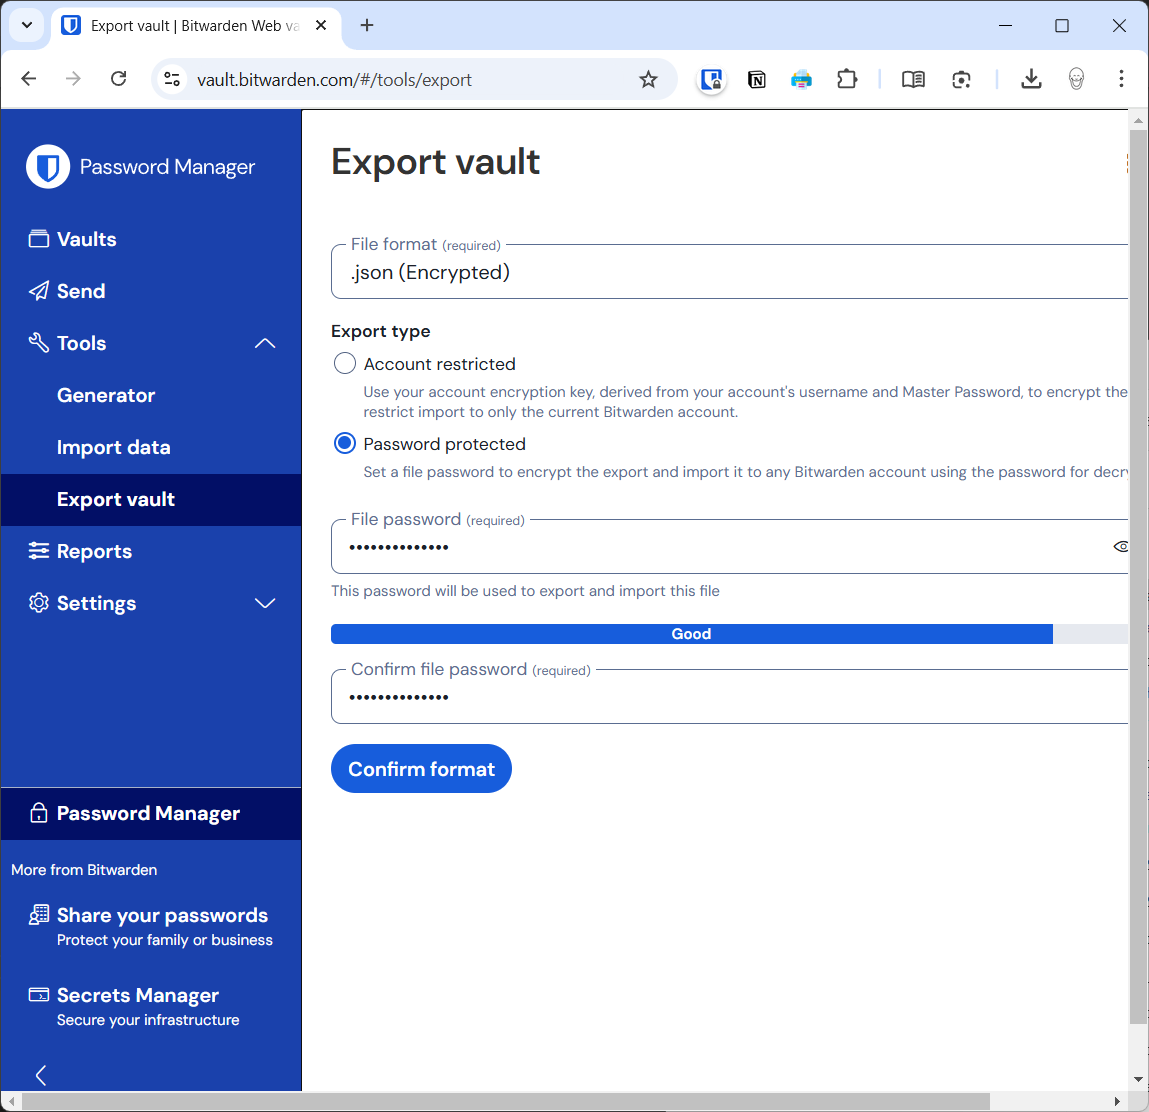
Export
The next thing I did was go to my Bitwarden account, in the cloud, log in with my usual user and went to Vault > export. I exported in encrypted JSON format with a password. It created a file like bitwarden_encrypted_export_20250302162516.json and I downloaded it to my computer.
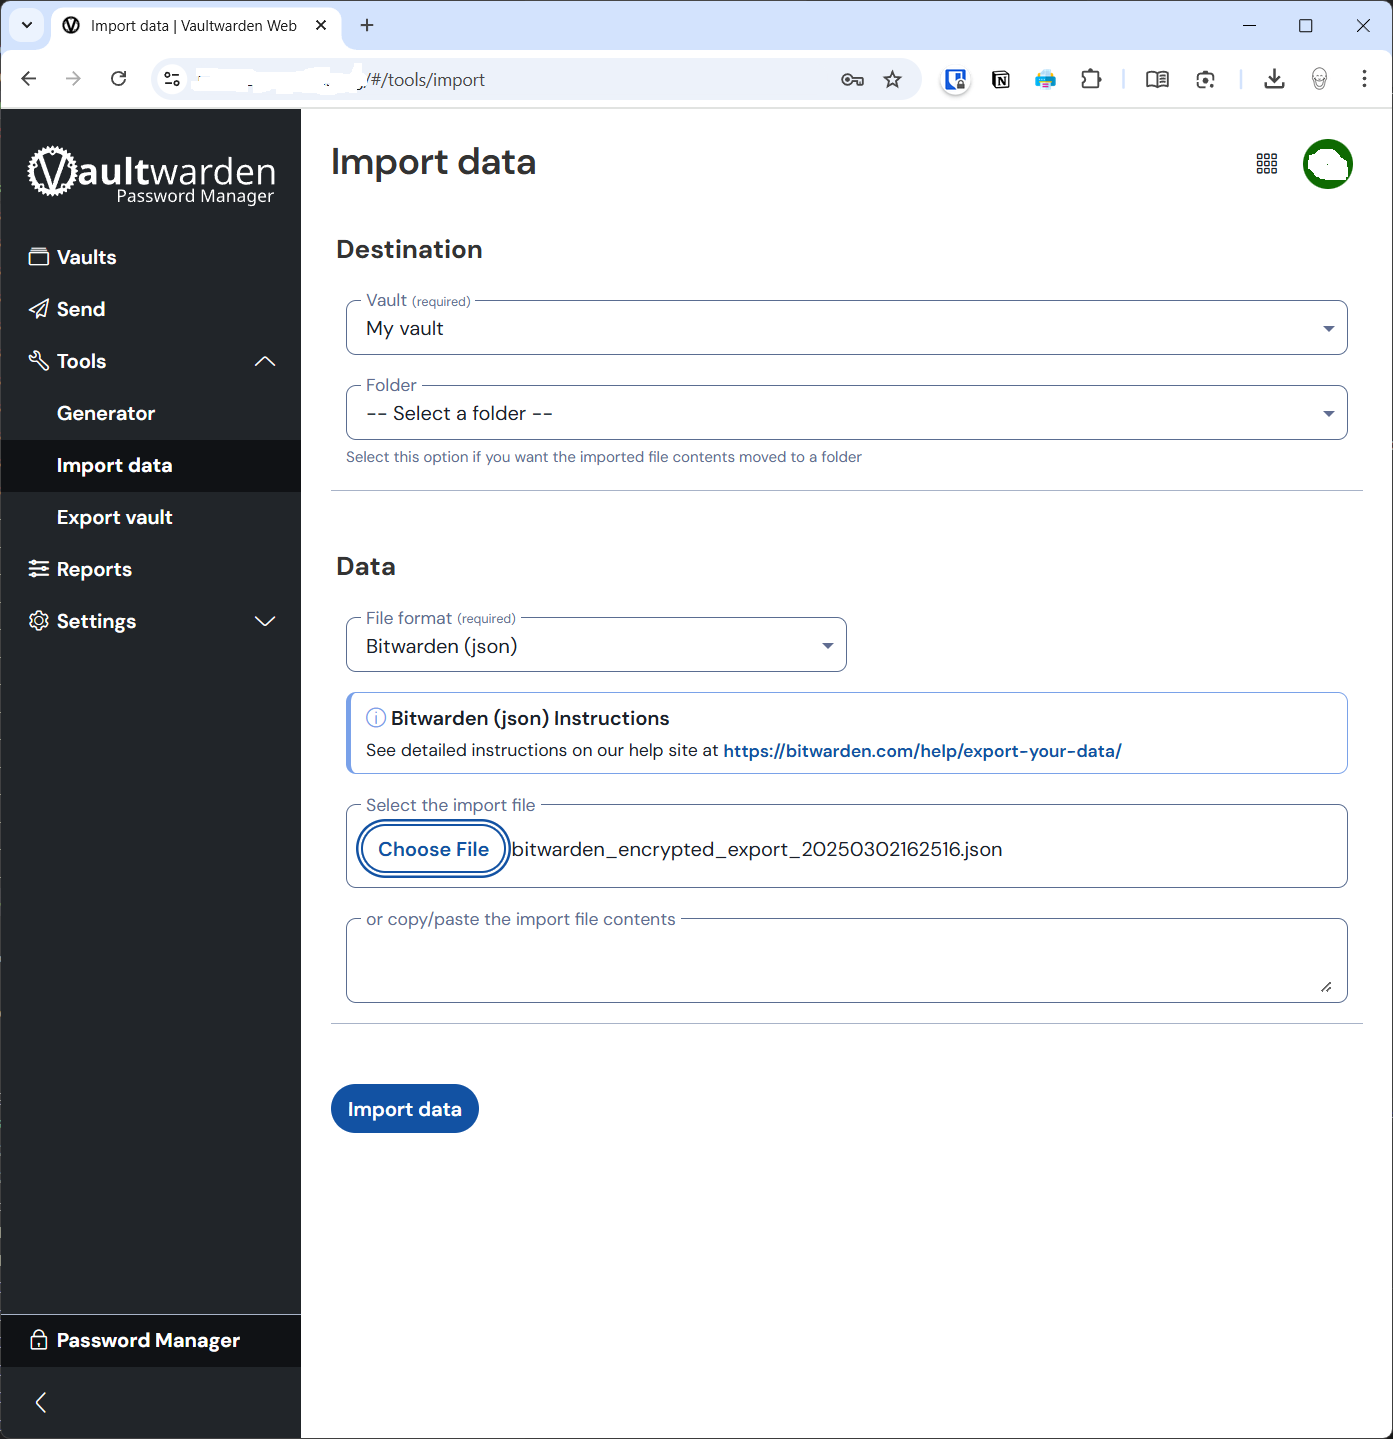
Import
Next I connect from the browser to my local server, log in and click on Import Data.
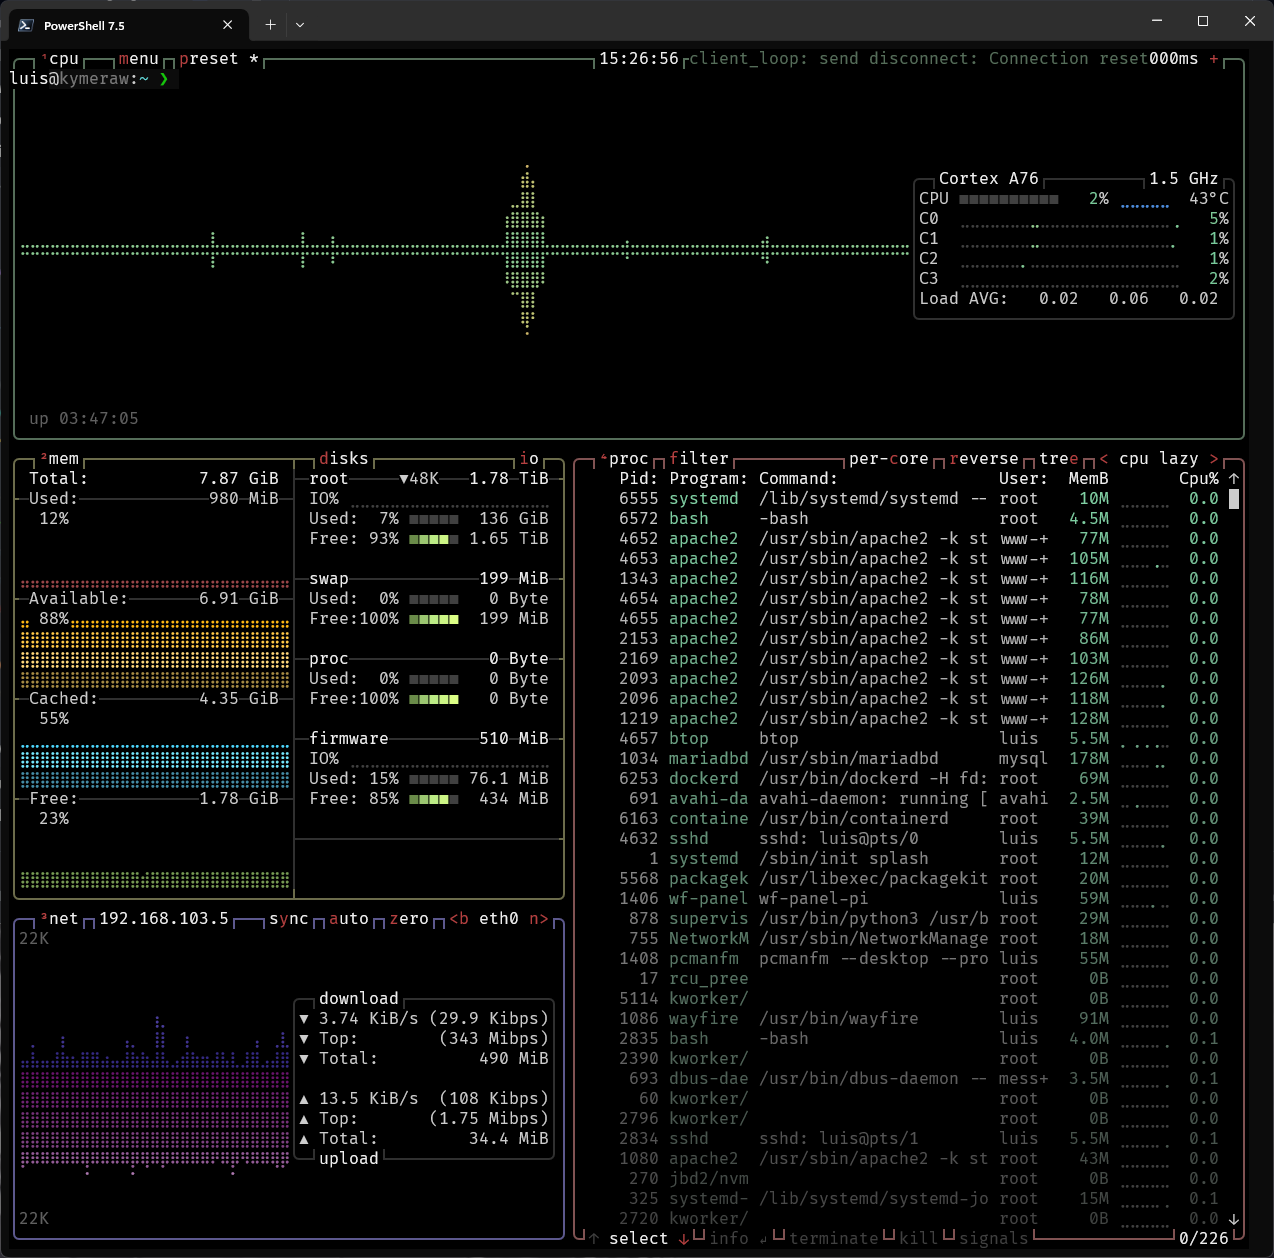
Once the data was imported I changed all clients to point to the local server and went to my cloud Bitwarden account to delete it. So far it looks very good – as you can see, the Raspberry Pi5 (8GB) is more than capable in terms of resources, running NextCloud and Vaultwarden simultaneously.